We may earn revenue from the products available on this page and participate in affiliate programs. Learn more ›
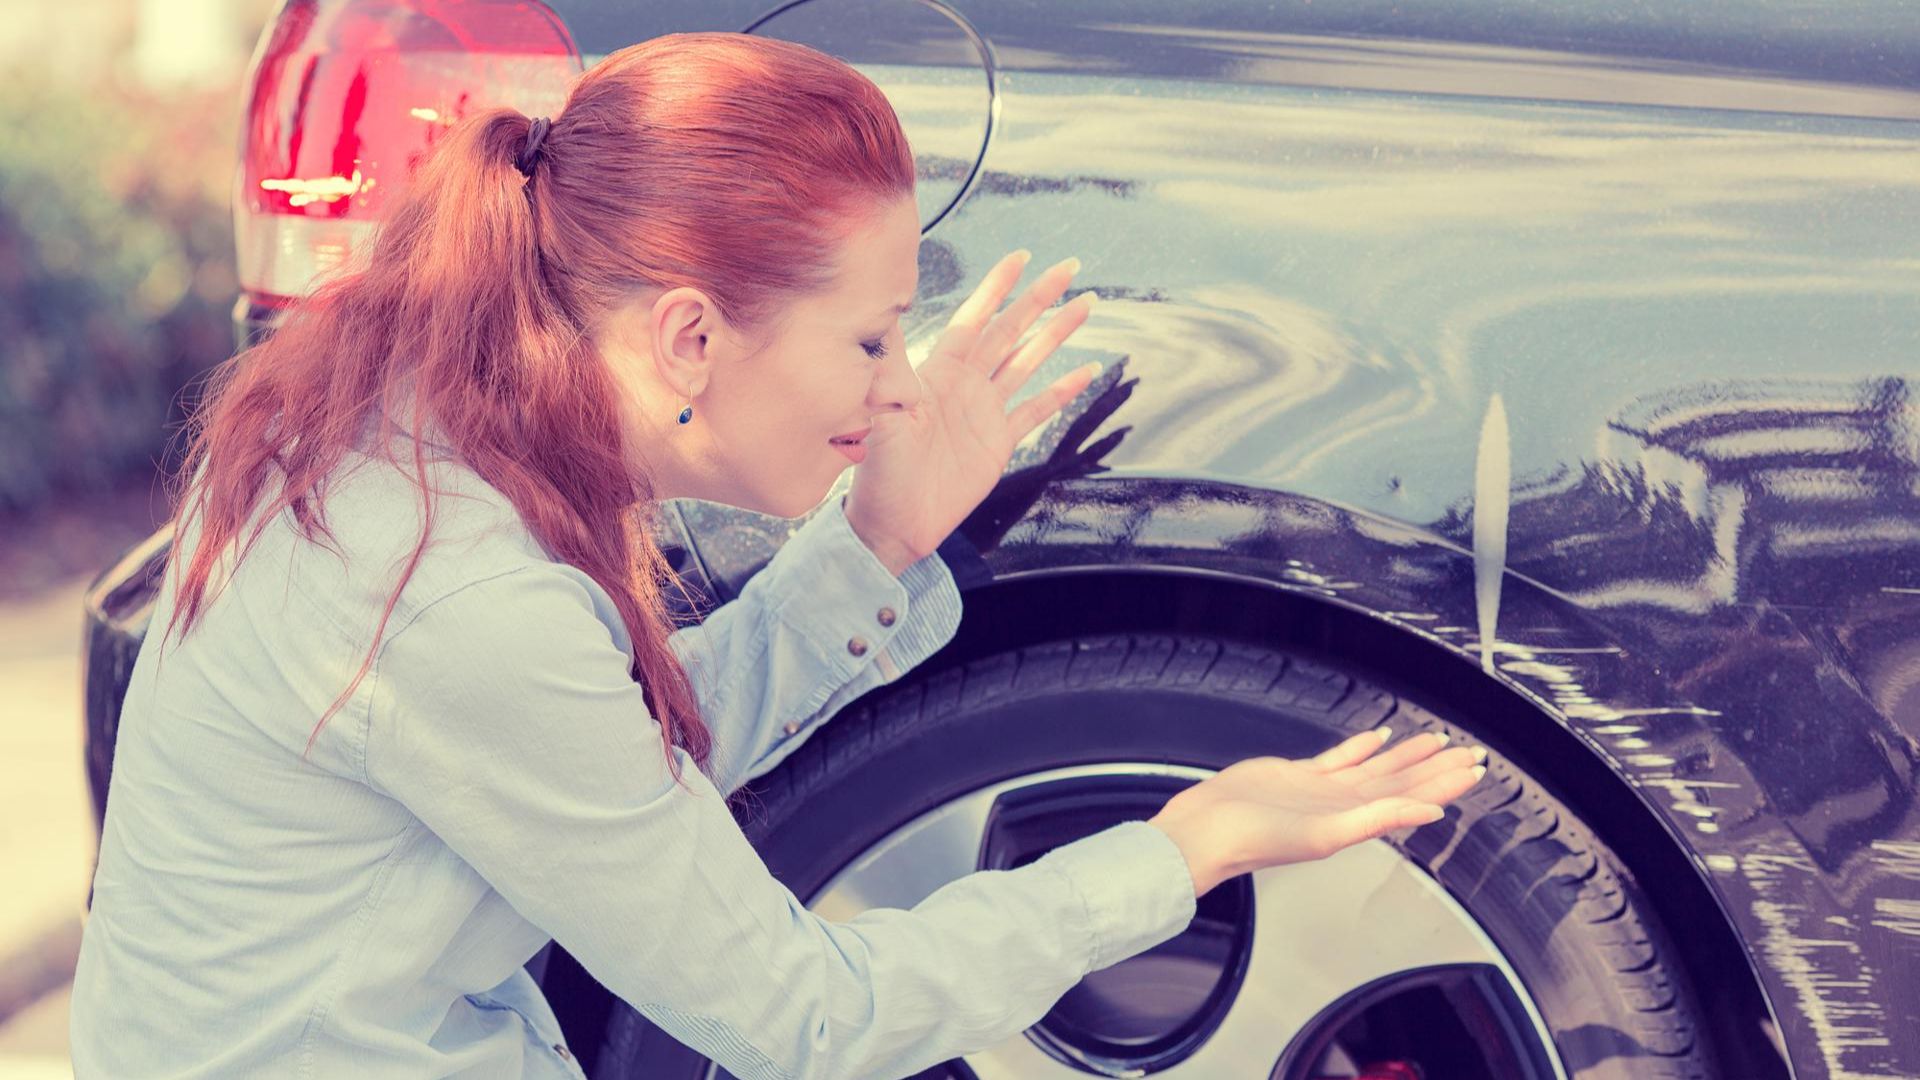
Scratches in your car’s paint are similar to birth, death, and taxes: inevitable. You’re out getting groceries and a mouth-breather dings your door, scrapes your fender, or worse, keys your car. Want to remove those scratches yourself? Perfect. You’ve come to the right place.
Paint scratches range from light surface scrapes that only affect the clear coat to deep gouges that reach the car’s metallic dermis. The rule is, if your fingernail doesn’t catch on it, the scratch is superficial and can usually be buffed out with a polishing compound. Surface scratches (the nail-catching kind) are commonplace; the market is full of scratch-removal products to handle these. For to-the-metal cuts, given the time, knowledge, and perseverance, you can do it yourself and save hundreds or thousands of dollars.
The Drive’s crack How-To team is here to help you remove pesky surface scratches and deep cuts, and get your car looking factory-fresh. You game?

Everything You’ll Need To Remove Scratches
You’ll probably have most of what you need laying around your garage. So take a peep at the list below and see what you’re missing.
Tool List
- Bucket for soap and water
- Car-specific soap
- Water
- Microfiber towels
- Buffer (if applicable)
- Cordless drill (if applicable)
- Sandpaper in a selection of grits (i.e., 1000, 2000, and 3000)
- Polish
- Wax
- Isopropyl alcohol
Parts List
- Scratch repair kit
- Easy-release painter’s tape
- Can of auto-body primer
- Automotive touch-up paint (A quick online search can help you find your car-specific paint color)
- Clear coat lacquer
Just like your safety gear, get your tools and parts ready beforehand, and you’ll be staring at a clear reflection in a couple of hours.

Here’s How To Remove Scratches From Your Car’s Paint
Depending on how deep your scratch is, there are two different methods to get rid of it. Check them both out below.
Surface Scratches (w/Scratch Filler Kit)
- Wash the area you’ll be working on with a car-specific soap.
- Using a microfiber towel, dry the area thoroughly.
- Apply a small dab of isopropyl alcohol on a clean microfiber towel and gently wipe the scratched surface to remove any wax, polish, and debris that could affect the scratch repair solution.
- Use easy-release tape to mark off an area around the scratched surface.
- Using a scratch repair kit, apply the filler (usually a type of resin) to the scratch as directed.
- Allow the resin to dry, as directed.
- Spray the affected area with sanding/buffing lubricant provided.
- Using a selection of sandpaper provided with the kit, buff the area in stages, starting with the coarsest and ending with the finest. Make sure to moisten both the sandpaper and work area with lubricant provided.
- Polish and wax the affected area as directed to match the surrounding finish.
- You did it. Give yourself a round of applause.
Large, Deep Scratches
- Wash the area you’ll be working on with car-specific soap.
- Using a microfiber towel, dry the area thoroughly.
- Apply a small dab of isopropyl alcohol to a clean towel and wipe the scratched surface to remove any wax, polish, and debris that could affect the scratch repair solvent.
- Let dry.
- Using the painter’s tape, tape off an area surrounding the scratch.
- Put on the ventilator.
- Using 1,200-grit sandpaper or sanding pads and a random-orbit sander, remove the clear coat and paint from the affected area. Sand down to bare metal.
- Remove the painter’s tape.
- Rinse the area with water to see if further sanding is needed.
- Rinse and dry the area thoroughly. Wipe with isopropyl alcohol.
- Tape off and cover all exposed paint surrounding the affected area.
- Apply an even coat of primer to the affected area.
- Wait for the primer to dry (15 to 20 minutes depending on area size).
- Wet a section of 2000-grit sandpaper and sand the affected area until smooth.
- Wipe the surface with isopropyl alcohol.
- Using the code-correct paint, apply an even coat to the affected area.
- Wait for the paint to dry (15-20 minutes).
- Wet a section of 2000-grit sandpaper and sand the affected area until smooth.
- Wipe the surface with a clean rag.
- Apply another coat of paint to match the rest of the car.
- Wait for the paint to dry (15-20 minutes).
- Apply clear coat to the affected area.
- Remove painter’s tape.
- Wait for the clear coat to dry and cure (overnight, or as recommended).
- Once the clear coat is dry, polish and wax as directed.
- You’re done!

Video
If you’d like to follow along with a video while you work, check Autoblog’s guide to removing deep scratches below.
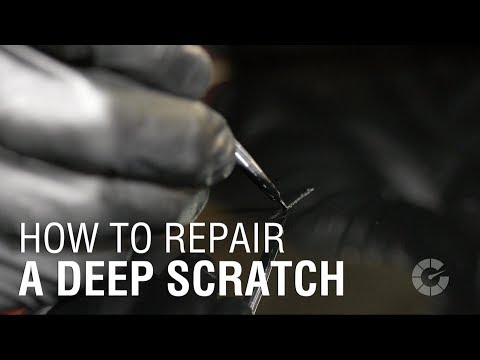
How To Repair a Deep Scratch | Autoblog Details