My First Paint Correction Produced Glossy Results
It took hours, but the clean finish gave my Fiat 500 new life.

We may earn revenue from the products available on this page and participate in affiliate programs. Learn more ›
I must confess that I’ve been treating my paint like shit. Back when I was a full-time rideshare driver, I needed a cost-effective way to keep my car clean inside and out so I didn’t incur the wrath of customers ready to low-score me in search of a free ride. A monthly car wash subscription was a cheap form of insurance that gave me access to a vacuum, and at least made my old Chevy Sonic look shiny between passengers.
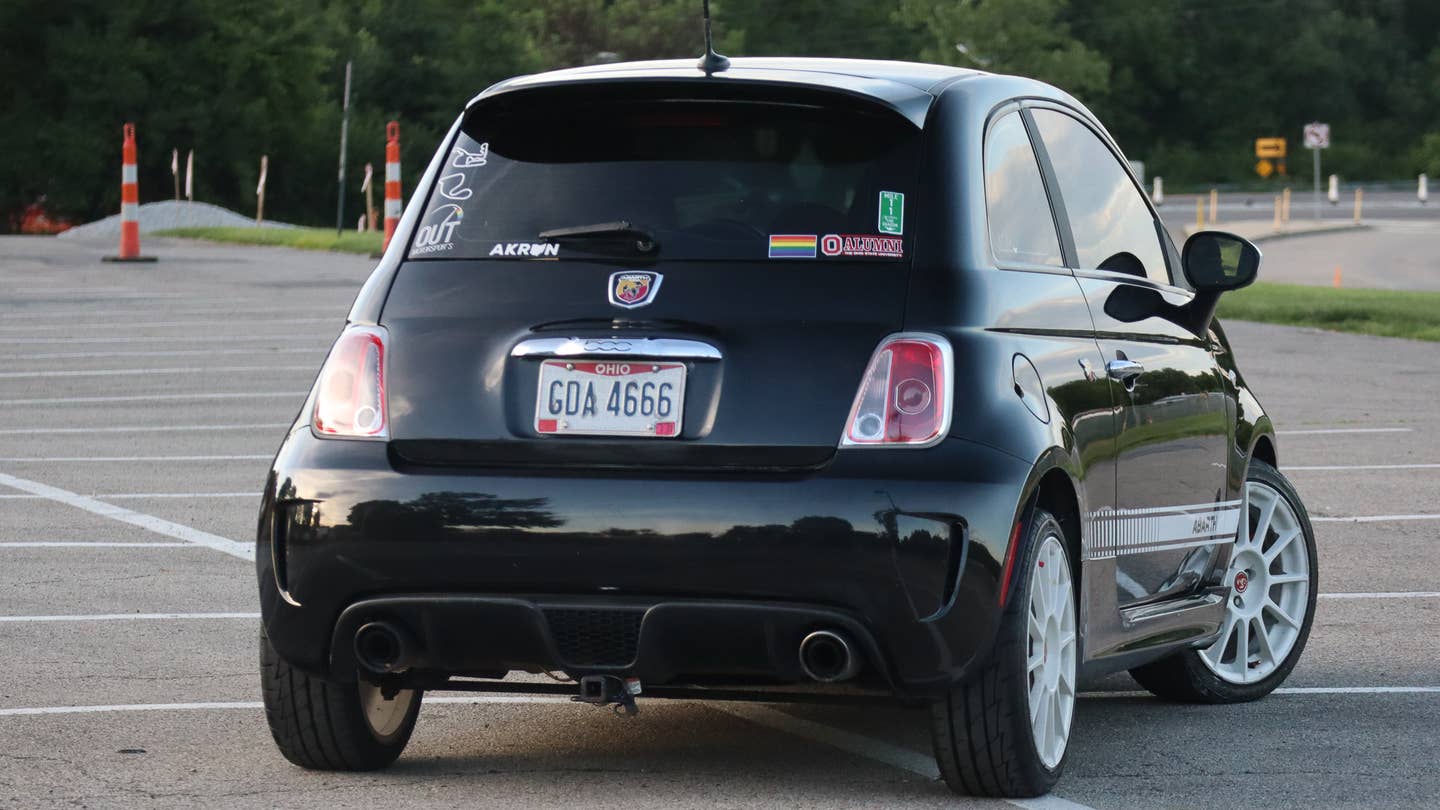
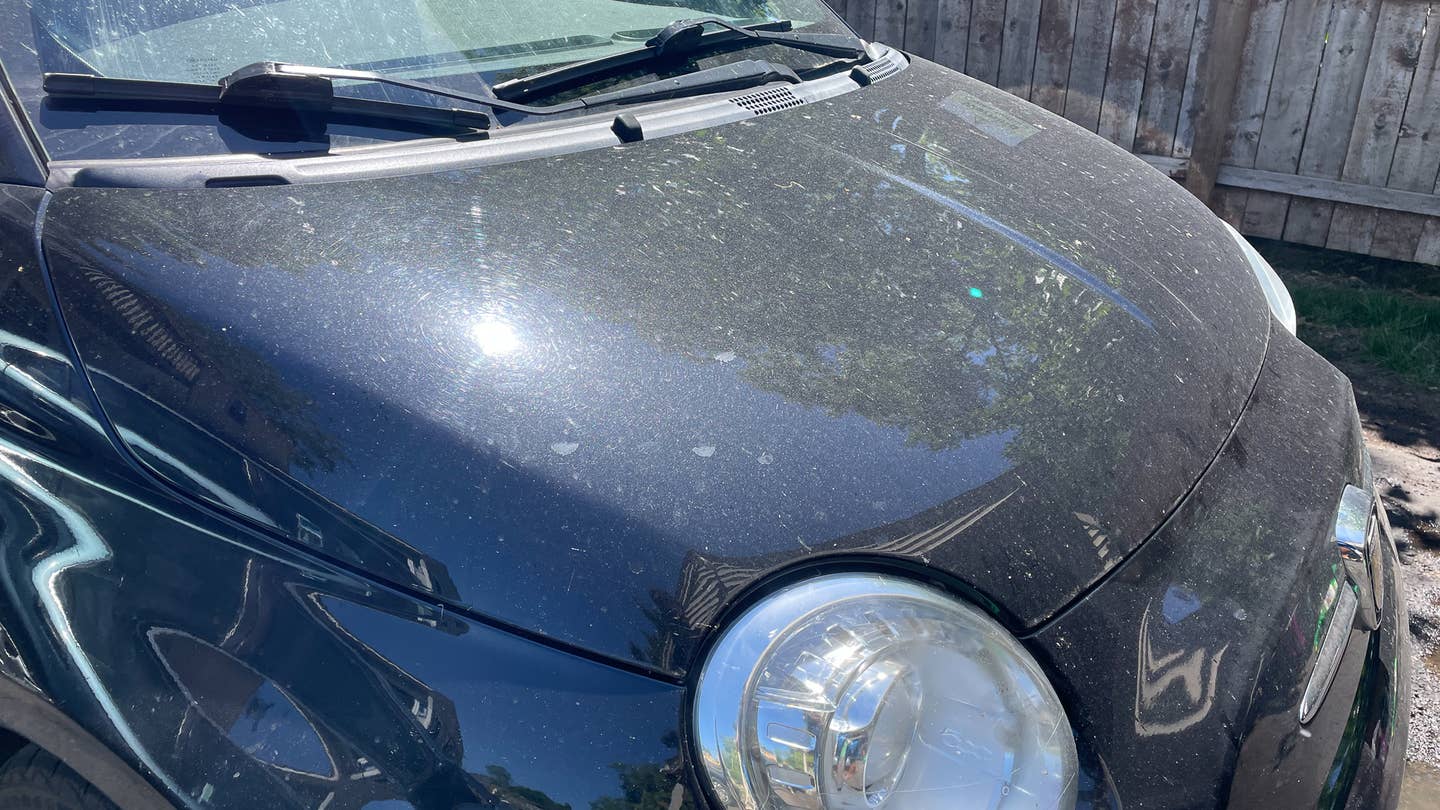
Keyword shiny. Sure, my Sonic looked clean and pretty after each automatic wash to the untrained eye, but up close, the paint was chock full of swirls from the seldom-washed bristles agitating the dirt from my car and hundreds of other cars into my clear coat. “It’s just some swirls, it’s not that bad,” I’d deluded myself into believing. That delusion spread to my Fiat 500 Abarth ownership. I purchased another car wash subscription and subsequently filled my little sporty Fiat with oodles of swirls until I finally got tired of looking at the marred paint.
I’ve done too many cosmetic upgrades and worked on too many random cars for my beloved daily driver to be a mess of spider-webbed paint. I needed to do a paint correction, something I’d never attempted. This is how it went.
What Is a Paint Correction?
Most automotive paint is made up of two layers, not including the primer: the base coat and the clear coat. The base coat generally gives the vehicle its colored appearance, but the paint wouldn’t have much brilliance without a shiny clear(ish) lacquer on top. Single-stage paint blends both of those layers, but for the sake of simplicity, I’ll mostly be talking about two-stage paint.
At its core, paint correction is the act of polishing, or in some cases, wet sanding the vehicle's clear coat, with the goal of getting the clear coat to an even scratch-free level. It’s not as intimidating as it sounds, but there’s definitely a risk of harming or ruining the paint here.
The Basics
Estimated Time Needed: At least 3 hours for a small car with acute scratches and paint damage. Could take a full day for a big car in need of a lot of buffing.
Skill Level: Intermediate
Vehicle System: Exterior and paint
Paint Correction Safety
Paint correction, or general buffing and polishing, can easily be taken overboard without preparation, education, and general knowledge on how paint polishers work. The wrong equipment, like too coarse of a pad or polishing solvent applied by an orbital buffer that’s going too fast or has too much pressure applied, can easily burn through the clear coat. A patch of naked metal or dull paint looks a lot worse than spider webs. There’s no shame in paying a professional to do this job, but just know that good work does not come cheap. If you choose to do a correction yourself, a set of goggles and gloves are good protective equipment to prevent compound, wax, dirt flecks, and other foreign objects from being flung into your eyes.
Everything I Used for My Paint Correction
- Whatever car wash materials you typically use. I am using Mr. Pink from the Chemical guys, applied with a foam cannon, and washed down with a clean microfiber wash mitt.
- Chamois cloth, or towel, to dry the vehicle off.
- An orbital buffer.
- At least one polishing pad. I’m using the medium-fine yellow polisher. Adjust the pad coarseness as needed, as dictated by the vehicle’s paint condition.
- A good quality polishing compound. I’m using Griot’s Garage Correcting Cream, which has a medium grit for mild imperfections. Once again, adjust your polish as necessary, but take care not to damage your vehicle’s finish.
- A quality wax.
- Some microfiber towels (to apply and wipe away wax or any stray polish)
- Clay bar and clay luber (optional)
- Iron decontaminant (optional)
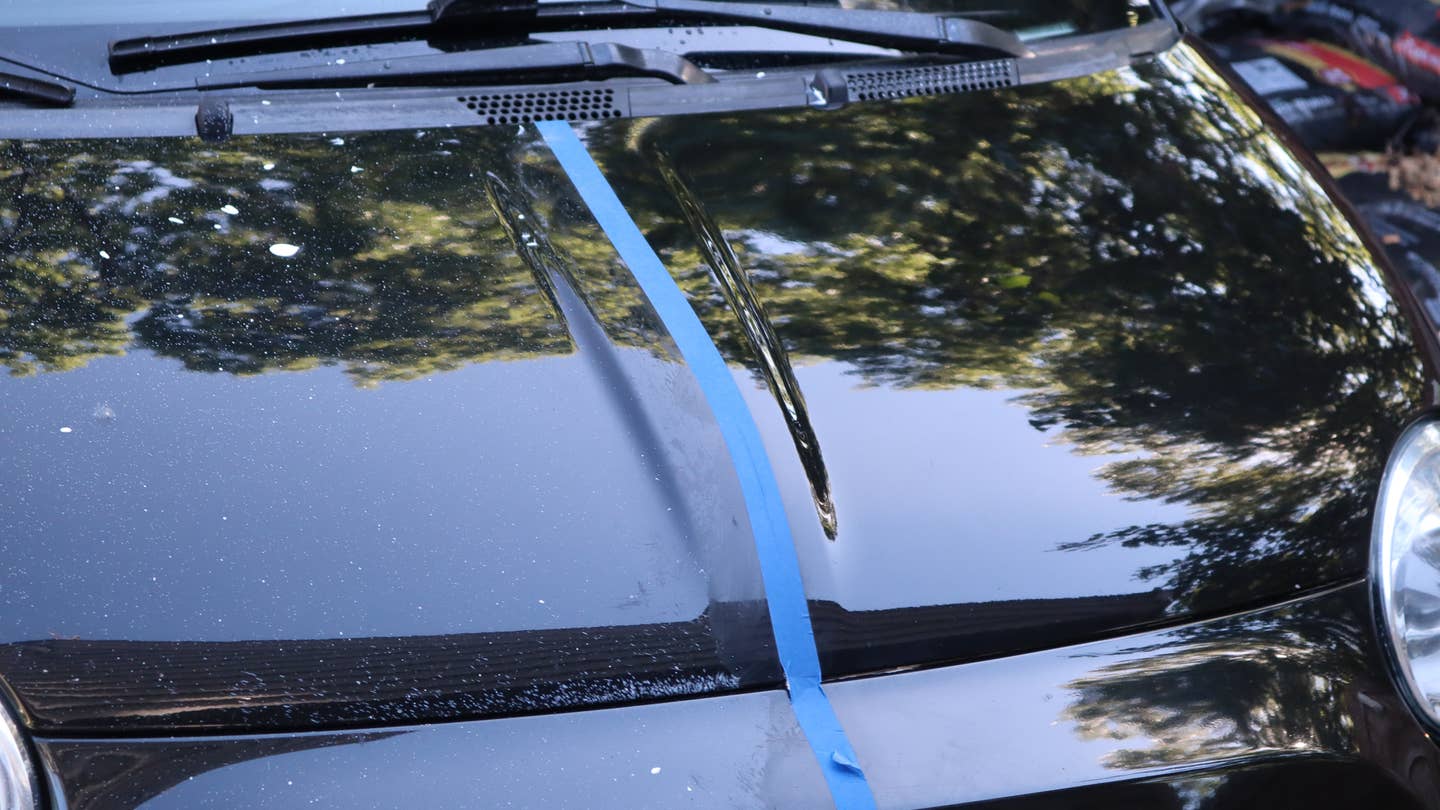
- Painters tape (Optional)
A Note on Paint Correction Systems
There are dozens of options for paint correction systems out there from a variety of different brands. Everybody has their own preferences, but even within brands, you’ll have different choices. You’ll likely come across one-step, two-step, three-step, and four-step systems. The number of steps you need largely depends on how rough the paint is, as each additional step introduces a specific purpose and intensity level of the product. For example, a three-step system might include a cutting compound, a polish, and a wax, or the polish and wax might be combined.
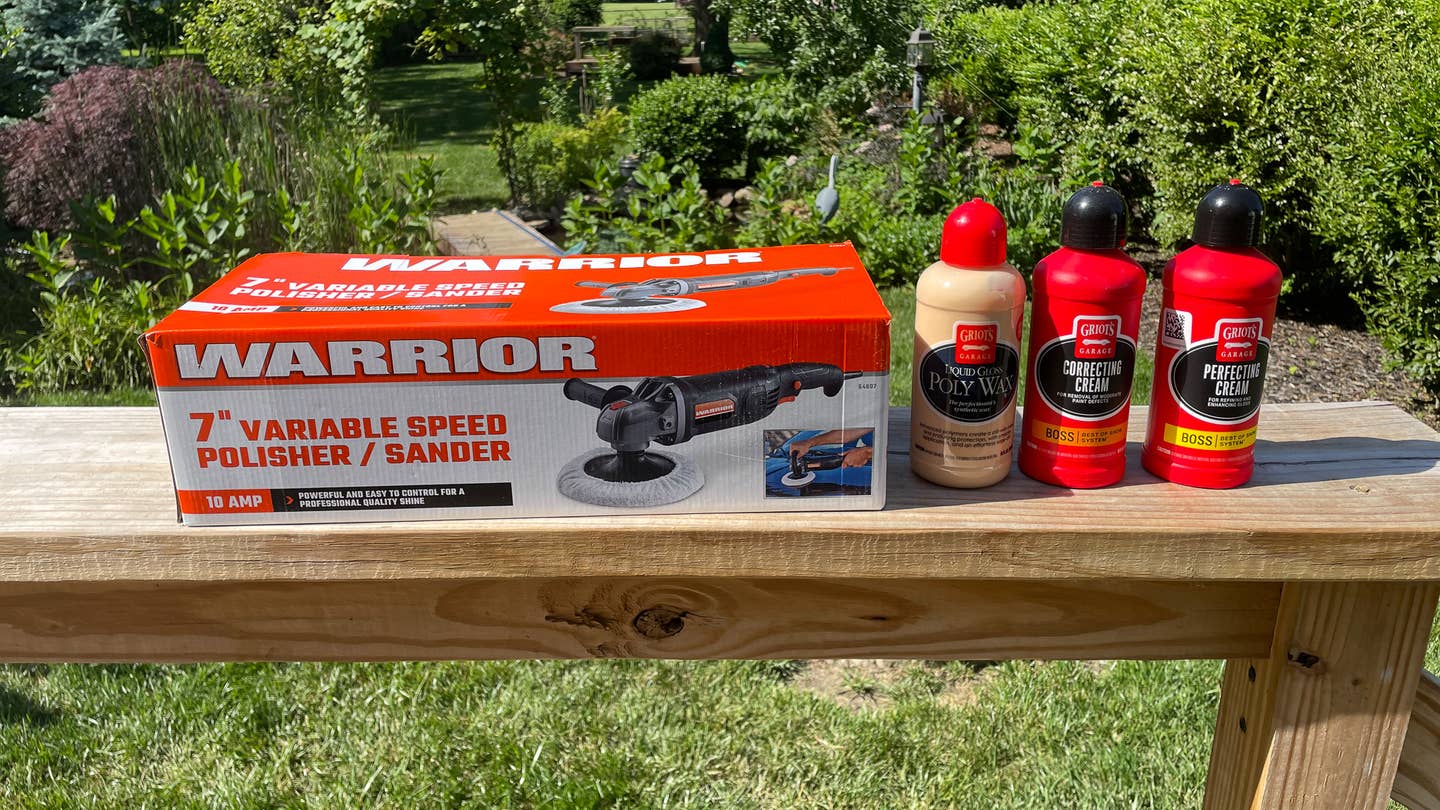
I chose Griot’s Garage products because they have a lot of range. It has polishing compounds that claim to salvage cars that are severely scratched, to very mild compounds for use on nearly new cars with minimal scratching or swirling. With the Griot’s system, I could mix and match pad and compound until I got a setup that was tough enough to take out the scratches, but not so tough that I would risk ruining my paint if I was a bit too overzealous with any step in the process. Also, Griot’s Garage products are sold at my local auto parts stores, so I wouldn’t be in a bind if I used too much and ran out mid paint correction.
Here’s How I Performed a Paint Correction
Remember, the goal of a paint correction is to physically get all of the paint at an even layer. At the very least, you want to lessen or remove the appearance of scratches, swirling, or any other paint defect. Let’s begin.
1. Wash the Car
The first step is to go wash that car (here’s a step-by-step guide if you need it). Be thorough, take your time, and get every nook and cranny. Remember, we want the clearcoat free of as many decontaminants as possible. If all the dirt isn’t removed from the finish, it can get trapped in the pad whilst buffing, causing scoring and making the finish worse.
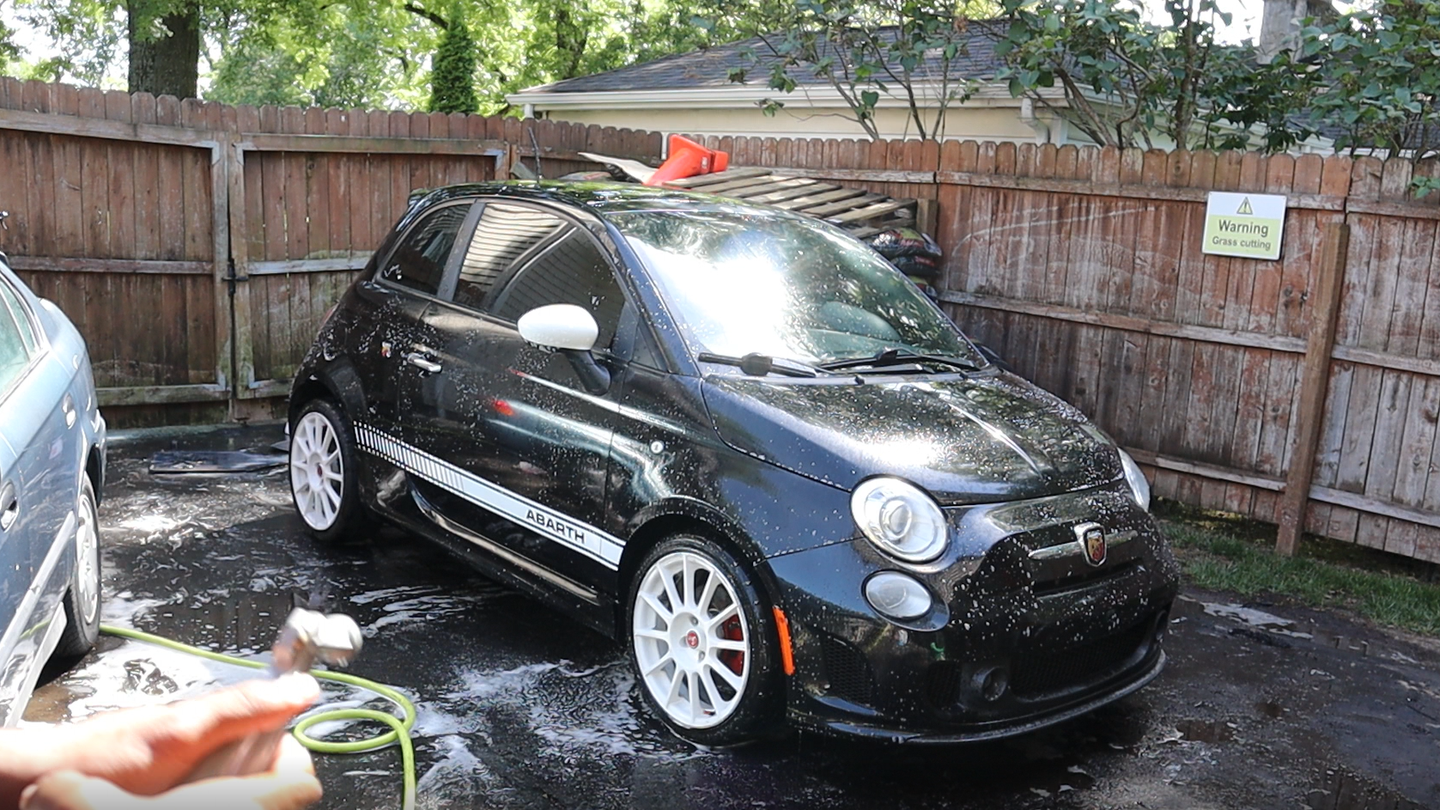
In my case, the Fiat was grody and bug-filled. It took more than two full foam baths to get most of the road grime off the vehicle.
2. Decontaminate the Paint.
Decontaminating the paint is a little bit different than a mere wash of the car. Soap and water can get a lot of stuff, but chances are there are still probably some near-microscopic goodies embedded in the pores of your paint (yes, your paint has pores). The goal here is to make as little work as possible for the polish and pad combination.
To decontaminate the paint, I had a twin-pronged approach to get all that microscopic dirt out of the paint. First, with the paint still a little sudsy (you can also use detailing spray), I got my clay bar out and went to work on key areas (we have a guide for how to clay bar, too). I gave lots of attention to the front fascia, roof, plastic side skirts, and rear bumper, all places where grime was a bit more stubborn than usual.
Clay bars are essentially sticky and gummy sandpaper. I went with a very acute grit with a light blue color and gingerly rubbed in a cross-hatch motion, pulling off all the remainder of bugs and grime that wouldn’t come off from the initial wash. I didn’t want to accidentally damage the clear coat during the clay bar stage, which is very possible if I rubbed too much or too hard.
Then, I sprayed the entire body of the car, wheels and all, with iron decontamination to get all the little particles that I can’t see out of the paint. I let it sit for about five minutes, then thoroughly hosed the vehicle off, and let it air dry.
Now, it’s time to do the actual paint correction.
3. Let’s Get To Buffing!
First, assemble the orbital buffer and install the polishing pad. Next, take the compound and butter the pad. The pad should be somewhat saturated, but not overly so.
Some people use painter's tape to mark off sections, but in general, we need to start slow, in a small area. Start buffing, first up and down, then left and right (in a cross-hatch pattern) at slow speeds. Be sure to overlap your work areas.
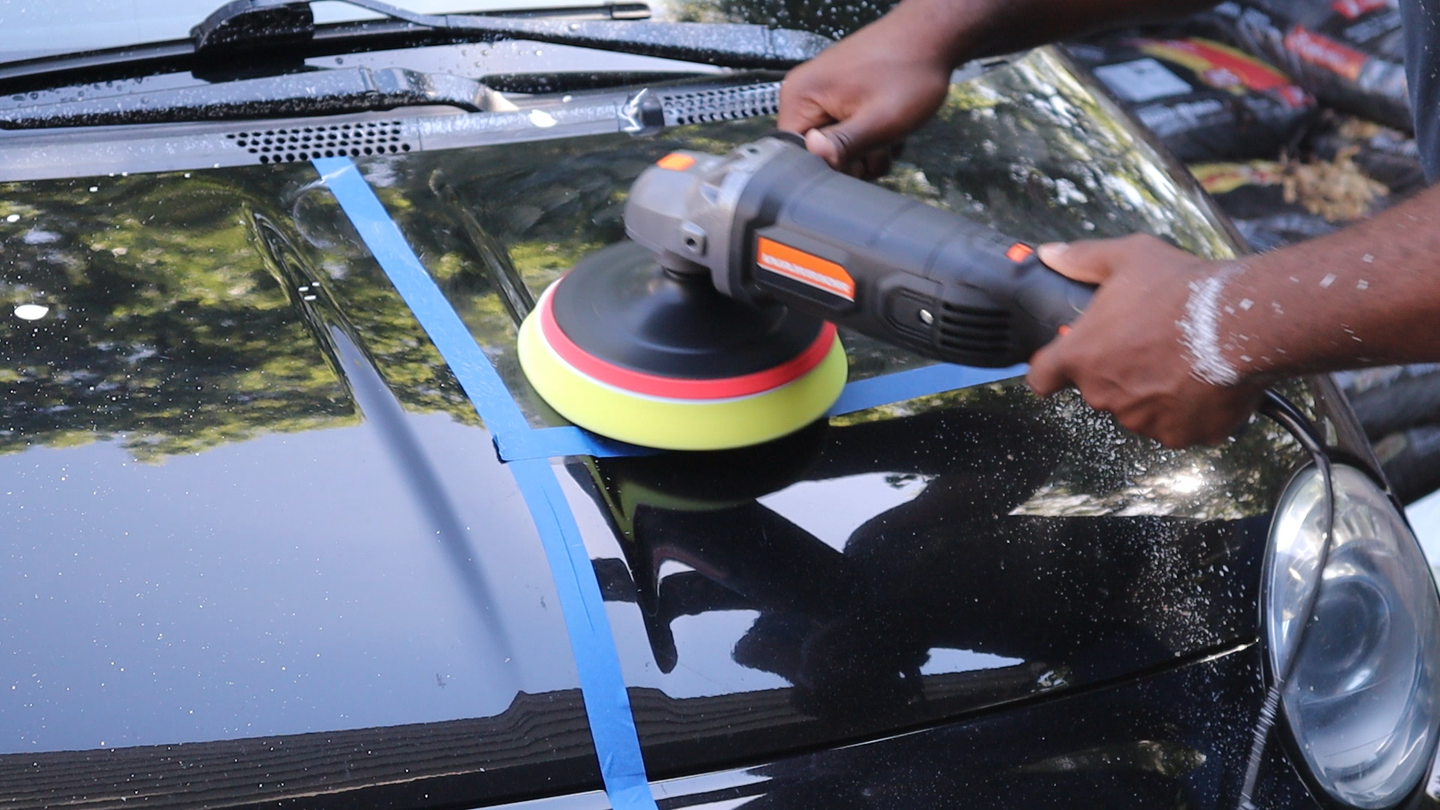
Take your time, don’t press too hard, and let the buffer do the work. Your hands should be guiding the buffer with minimal pressure. Too much pressure and/or speed and the risk of sanding through the clearcoat increases.
Get comfy and stay hydrated, because you’re going to be here awhile. Buffing and polishing my tiny Italian city car took more than three hours. I suppose a professional would have made quicker work, but I’d rather be safe than ruin my paint.
Check the work constantly. Even without waxing, a polish should reveal reduced or completely removed scratches, swirls, and spider webbing.
4. Apply Wax (or any other sealant)
Now that the paint is corrected, and all the swirls are gone, it’s time to protect the newfound immaculate finish with a coat of wax. In this case, I’ve gone for the easy-to-apply Griot’s Garage synthetic Poly Wax.
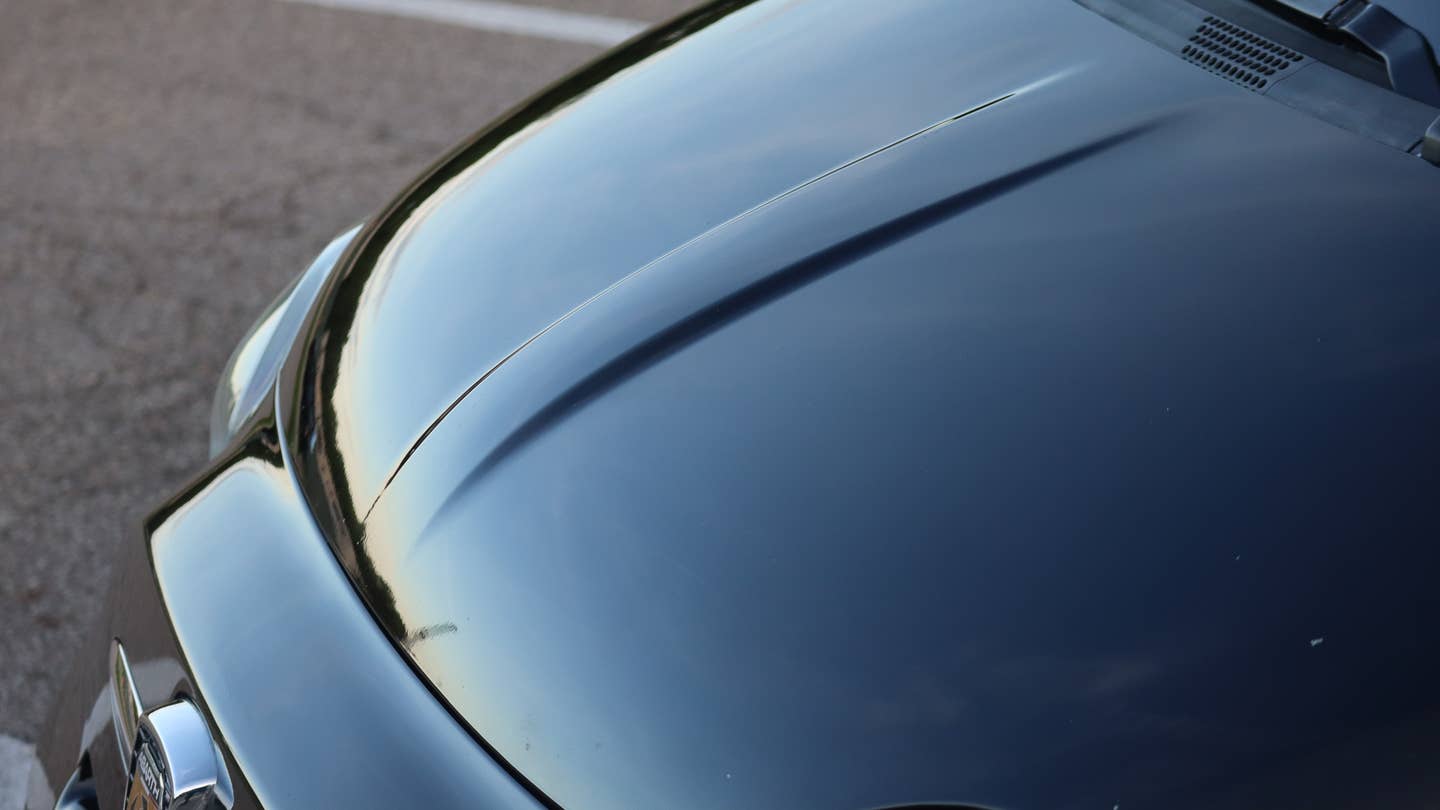
I’m pleased with the result, but some of the swirls are still present. I could have likely stood to use a more aggressive pad and compound, and maybe a paint depth gauge would have been a smart way to figure out exactly what materials would have been safe for my paint. Still, it looks so damn good.
This was my first time attempting a paint correction. Weeks of watching folks like Tik Toker Jessica Tran or Youtuber The Detail Geek gave me confidence that maybe exterior detailing isn’t so damn hard. I was wrong. Detailing is hard, and I understand why detailers charge the money that they do.
Am I going to do this again, though? You betcha.