We may earn revenue from the products available on this page and participate in affiliate programs. Learn more ›
While some love bodywork, the average DIYer is going to see a rust spot as this overwhelming nightmare, slowly eating away at their sanity. Why? Because rust sucks, and unless it’s just surface rust, there’s no telling what’s lurking just out of sight. Sure a bubble in the paint might be a little spot of rust that’s easy to fix. It might also be just a tiny part of extensive damage finally showing its face. And until you ride the grinder past the point of no return, the mystery will live on.
Part of the agony is that the work relies on knowing different methods to remove rust so that you can decide on the appropriate repair as you uncover the issue. To make matters worse, some of the work relies on specialty equipment and skills you might not have. All of this gives that tiny little rust spot the presence of a massive, expensive monster that you don’t know how to even start to tackle.
Relax. It can be a pain in the neck, but getting familiar with some of the different ways to fix rust makes it seem a lot less intimidating. We’re here to give you a crash course on some of our favorite techniques to battle rust. You will need to do some more homework and think creatively, as the best repair will be unique to your situation, but this guide will at least get your head in the right place.

Sheet Metal Repair Safety
You’re dealing with sharp edges, cutting tools, shards of metal flying around, all kinds of dust in the air, and welding. Even if you’re careful, something, at some point, is going to take a bite out of you. That’s just the way it is. So the more you can do to make it harder for damage to be done to yourself, the better. Wear your safety glasses, respirator and gloves. If you’re using a welder, make sure to wear the appropriate helmet and gloves. Trust me, you will get burned otherwise.

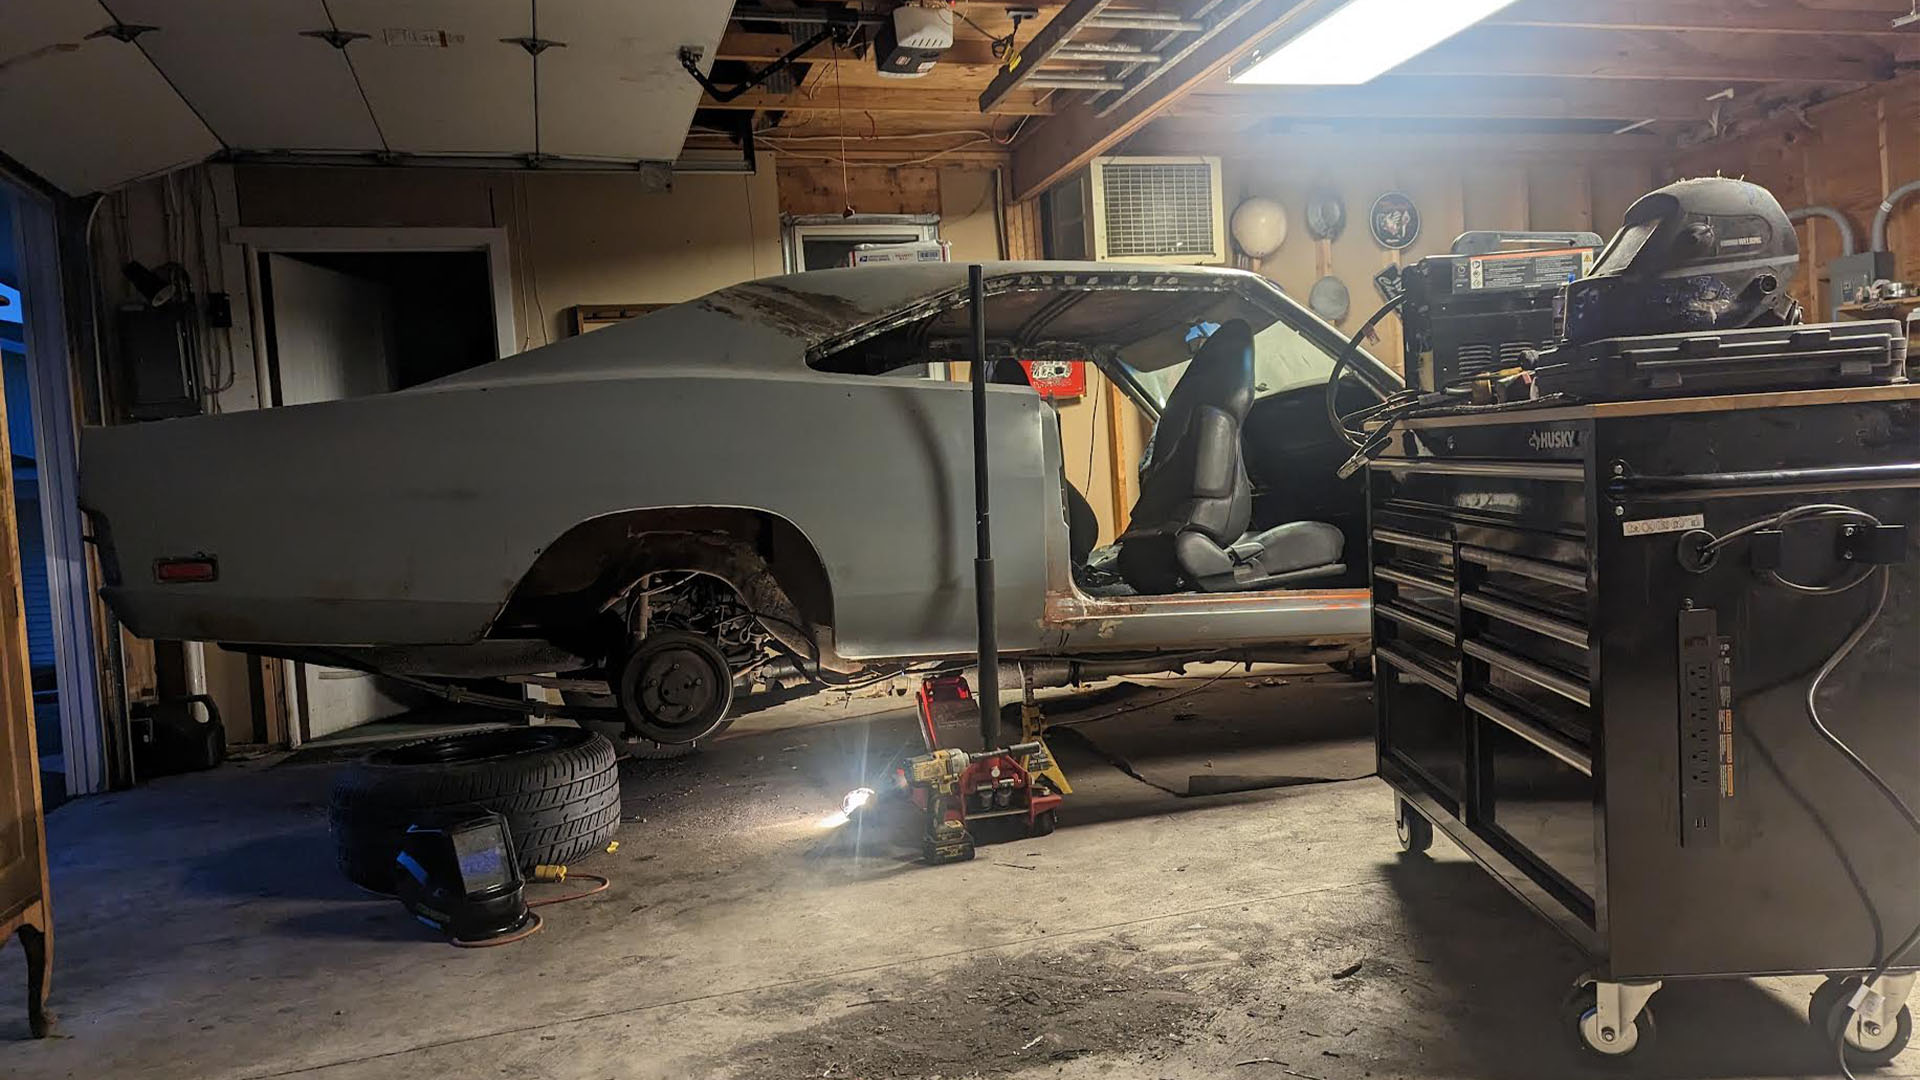
Everything You’ll Need To Remove Rust From Your Car
Here’s the part where most folks take off running. We need a lot of tools on the ready for this type of work. The list is long, and can be expensive if you’re using premium tools. But you won’t necessarily need everything on the list below, or you may need things that aren’t here. If possible, skip ahead and see what work you’re in for so you can buy the appropriate tools. You’ll need a grinder for that, but a little bit of recon just might save you from buying bigger, more expensive tools that you just don’t need.
Tool List
- Grinder
- Flap disc
- Cutoff disc
- Drill
- Drill bits
- Welder
- Propane torch
- Primer, paint and clear coat
- Lead (optional)
- Solder paddle and wax
- Tinning butter
- Body filler
- Glazing compound
- Body hammer set
- Aceton
Parts List
- Patch panel
- Sheet metal

Here’s How to Remove Rust From Your Car
Get to Bare Metal
1. Identify the rust
The first step is to identify where the rust is based on basic visuals. If it extends up behind any trim or other parts of the car, you will want to remove those pieces before proceeding.
2. Get down to bare metal
Take your grinder with a flap disc and get to work. Start by cleaning up the immediately affected area and moving outward as needed. Keep in mind that the rust may extend much further than expected. It’s also good to expose a little more metal to give yourself room to work in the next steps.
3. Inspect rust
Once you’re down to the bare metal, take the time to inspect the rust. We need to get as much information as possible to determine the appropriate steps. Metal that is totally rotted through versus being pitted will largely determine what’s next. Don’t be fooled by small dimples that don’t initially go straight through the metal. Take a screwdriver and poke at any potential weak points, as the tool going straight through with a light poke means we need to do more than hit it with a little putty.

Body Filler Repair
As long as the rust is only pitting and doesn’t go all the way through, you can use body filler alone to get the job done.
1. Clean Area
Take some acetone and clean the area thoroughly with a lint-free towel.
2. Mix epoxy
Mix up a little more epoxy than you think you’ll need. Extra is wasteful, but it beats coming up short and having to wait for everything to fully cure before you can add what’s needed to finish the job.
3. Apply and allow to dry
Simply take the putty knife and apply thin layers to the area. It’s ok if you’re a little above the sheet metal and wider than necessary, but you don’t want too much excess, as you’re only creating more work for yourself.
4. Sand flat
After the epoxy has fully cured, simply sand it until it’s flush with the sheet metal. If there are any imperfections or low spots, simply repeat the application in thin layers until the patch is even.

5. Apply glazing compound
After the initial filler is ready to go, you can use a glazing compound to fill any minor imperfections, like small dimples or pinholes that remain. Simply apply as needed, allow to cure, then sand away.
6. Paint
All that’s left is to apply your primer, paint, and clear coat.

Lead Patch
Leading can be used for addressing small holes up to about 3/8 inches in diameter. This does involve using toxic metals, so you will need to be careful when using it. That said, you can opt to patch the panel with sheet metal or use filler with reinforced backing as an alternative.
1. Counter sink hole
Take a punch and hammer, and work the spot just enough to countersink the edges. You don’t need to go nuts. Just a few light taps should do.
2. Apply tinning butter
Apply a thin layer of tinning butter to the sheet metal. Pro tip: you can use regular solder as an alternative, and the acidic rosin core allows you to skip the butter.

3. Heat and Rub
Take your propane torch and begin heating the area evenly. After the tinning butter melts down, work the lead in circular motions, or dabs, on the affected area.
4. Moderate heat levels so lead sticks to panel
Once the lead begins to soften up, begin to moderate the heat levels to the desired amount. You want the lead to be soft and malleable but not so hot that it runs right off the panel. Try moving the torch away or further back as necessary to keep the lead workable. It will take a bit to get it down, but you will get it with a little practice.
5. Work lead flat with paddle
Coat the paddle with some wax to keep the lead from sticking to it, and work the lead into the affected area while continuing to modulate heat. Once the hole is covered with a slight crown above the sheet metal, all you need to do is let it cool down for a few minutes.

6. Sand flat
Take some coarse sandpaper or a file and start working the lead down. Power tools are your friend here, but don’t forget to protect your lungs if you opt to use them.
7. Apply glazing compound
The lead itself probably won’t be perfect, so you’ll need to go over it with some glazing compound to fill in any minor blemishes. You can go over it with a thin layer of body filler, but glazing compound is usually enough.
8. Sand flat
After the epoxy of your choice cures, use the appropriate abrasives to smooth it over.
9. Paint
Hit it with primer, paint, and clear coat, then buff to match.

Replacing Sheet Metal
In the case that you’re dealing with serious rot issues, you’re going to need to break out the big guns. Patching sheet metal is the most involved method, but it’s not impossible, and you shouldn’t let it intimidate you.
That said, there is only so much we can cover here and different techniques will be used for different patch types. My advice is to research the common techniques used for the exact type of panel you’re working on as there are bits of information specific to your panel that you may need to be mindful of.
1. Determine the affected area, and begin sourcing/shaping panel
Before you start cutting up metal or buy a patch panel, take the time to assess the damage. If you just need a small patch that doesn’t feature crucial body lines, there’s no sense in investing in a costly pre-fabbed patch panel. Instead, you can shape up a section of sheet metal from the hardware store to get by, just make sure that the patch you’re making is the same thickness of the car’s panel and is big enough to replace all of the rust.

2. Shape your patch
You want to start shaping patches before you start cutting up the car. You can always make another patch if you screw up now. You patch panel owners aren’t out of the clear either. Sometimes those pieces need to be touched up, and you want to handle that now to make sure it will fit where you need it to.
If you’re using a flat piece of sheet metal, you will need to do more than simply cut a piece out. You may need to work the panel with a hammer and dolly set to give it the right contour. If that’s the case, you can shape your patch and set it against the existing panel to make sure the curves are just right.
3. Lay patch over repair area and mark it
Once you have your patch roughly to the right shape, lay it over the original sheet metal and trace it with a marker.
4. Cut away old metal
Next is to cut away the rusty metal you’re replacing. Don’t follow the mark you left exactly, though. Leave just a little so that the hole is too small to accept your patch for small patches, and cut longer than you need to for lap joints
5. Slowly massage edges until the parts fit together
Lay your new patch over the hole to get an idea of where material needs to be removed. Slowly grind excess metal away and check the fit regularly until the patch fits into place. Shaping the panel this way reduces the risk of removing too much material. You want a nice tight fit for butt welding patches, but will need to leave a slight gap for panel clamps if you intend to use them. Now is also a good time to drill for any spot welds if you need them for pinch welds or lap joints.
6. Rig the patch in place
Now that your panel is to size, you need to set it into place. Panel clamps, or magnets are great options for this.
7. Tack weld and check your work
Once your panel is rigged up, tack it into place and check your work. This is the last chance you’ll have to go back and make any adjustments before it’s permanently welded in place.

8. Finish welding panel
If everything checks out, remove your clamps and start welding. Since we’re dealing with sheet metal, you really want to take your time and move the welds around. Focusing too much heat in one place for too long will warp the panel, creating more work for yourself in the long run.
9. Grind down your welds
After the welds are complete, take your flap disc and grind them down. Again, be mindful of the heat so as not to warp the panel.
10. Inspect
Inspect your work and make sure the panel isn’t severely warped. Body filler will smooth light warpage out, but any severe pulls should be corrected with a hammer and dolly.
11. Fill, sand, and paint
Simply put the filler to work and repeat the same steps covered in the body-filler section.
Video
There are a million different ways to repair sheet metal and we’ve only covered a few basic tips here. You need to do some more homework to decide what works best for you. That’s why I wanted to include a video that highlights a method we didn’t cover here. This technique can be used in place of the lead filler method we covered, and is likely a more desirable option for many DIYers.

DIY Repair Rust Holes with Basic Tools and NO Welding!
More From The Drive
- Here’s why your oil cap has a milky substance on it
- This is how you buff your car’s paint
- Yes, diesel exhaust fluid is a real thing
- Let’s take a look at the 2023 Volvo V60
- Well, there’s a 678-Mile Saturn for sale