We may earn revenue from the products available on this page and participate in affiliate programs. Learn more ›
Not knowing how to troubleshoot electrical issues is a death sentence for any DIYer’s bank account. Your only other option is a wild goose chase by throwing money at your car until the problem’s fixed. And if you’re really unlucky, your ‘fix’ is only a band-aid that’ll give up soon and send you right back to the depths of insanity. I’ve learned that lesson the hard way many times over, and I can tell you from experience that picking up a multimeter and a test light and learning how to use them will save you hundreds of dollars in the long run.
More often than not, a few quick tests of electrical connections is all it takes to pinpoint the problem. At the very least, it can tell you if you’re dealing with a wiring issue or faulty electrical components. It can also be used to find electrical shorts, the source of voltage drops, and much more.
As much data as you can gather by testing electrical connections, you only need a few tests to get by. Today, we’re going to talk about four basic tests you can conduct on any 12-volt connection to determine if the wiring is functional. There are more tests you can perform to find other information about electrical components, but today we’re focused on wiring.
Those of you working with hybrids or EVs are encouraged to seek professional help as those systems are packed with more juice than typical ICE applications, and the risks are much higher because of it.
Electrical Troubleshooting Safety
Testing electrical connections isn’t the most terrifying practice, but there are still risks involved. Particularly because some of these tests are conducted with the battery connected and power sent to the circuit you’re testing. If you’re not careful, you can cause electrical shorts, leading to blown fuses, electrical shock, and potential fires.
Take your time and be careful not to short power to ground while you work. If the test you’re conducting doesn’t require power to the circuit, be sure to disconnect the battery to protect yourself and the car. It’s also never a bad idea to throw on some gloves and eye protection while you work.

Everything You’ll Need To Test Electrical Connections
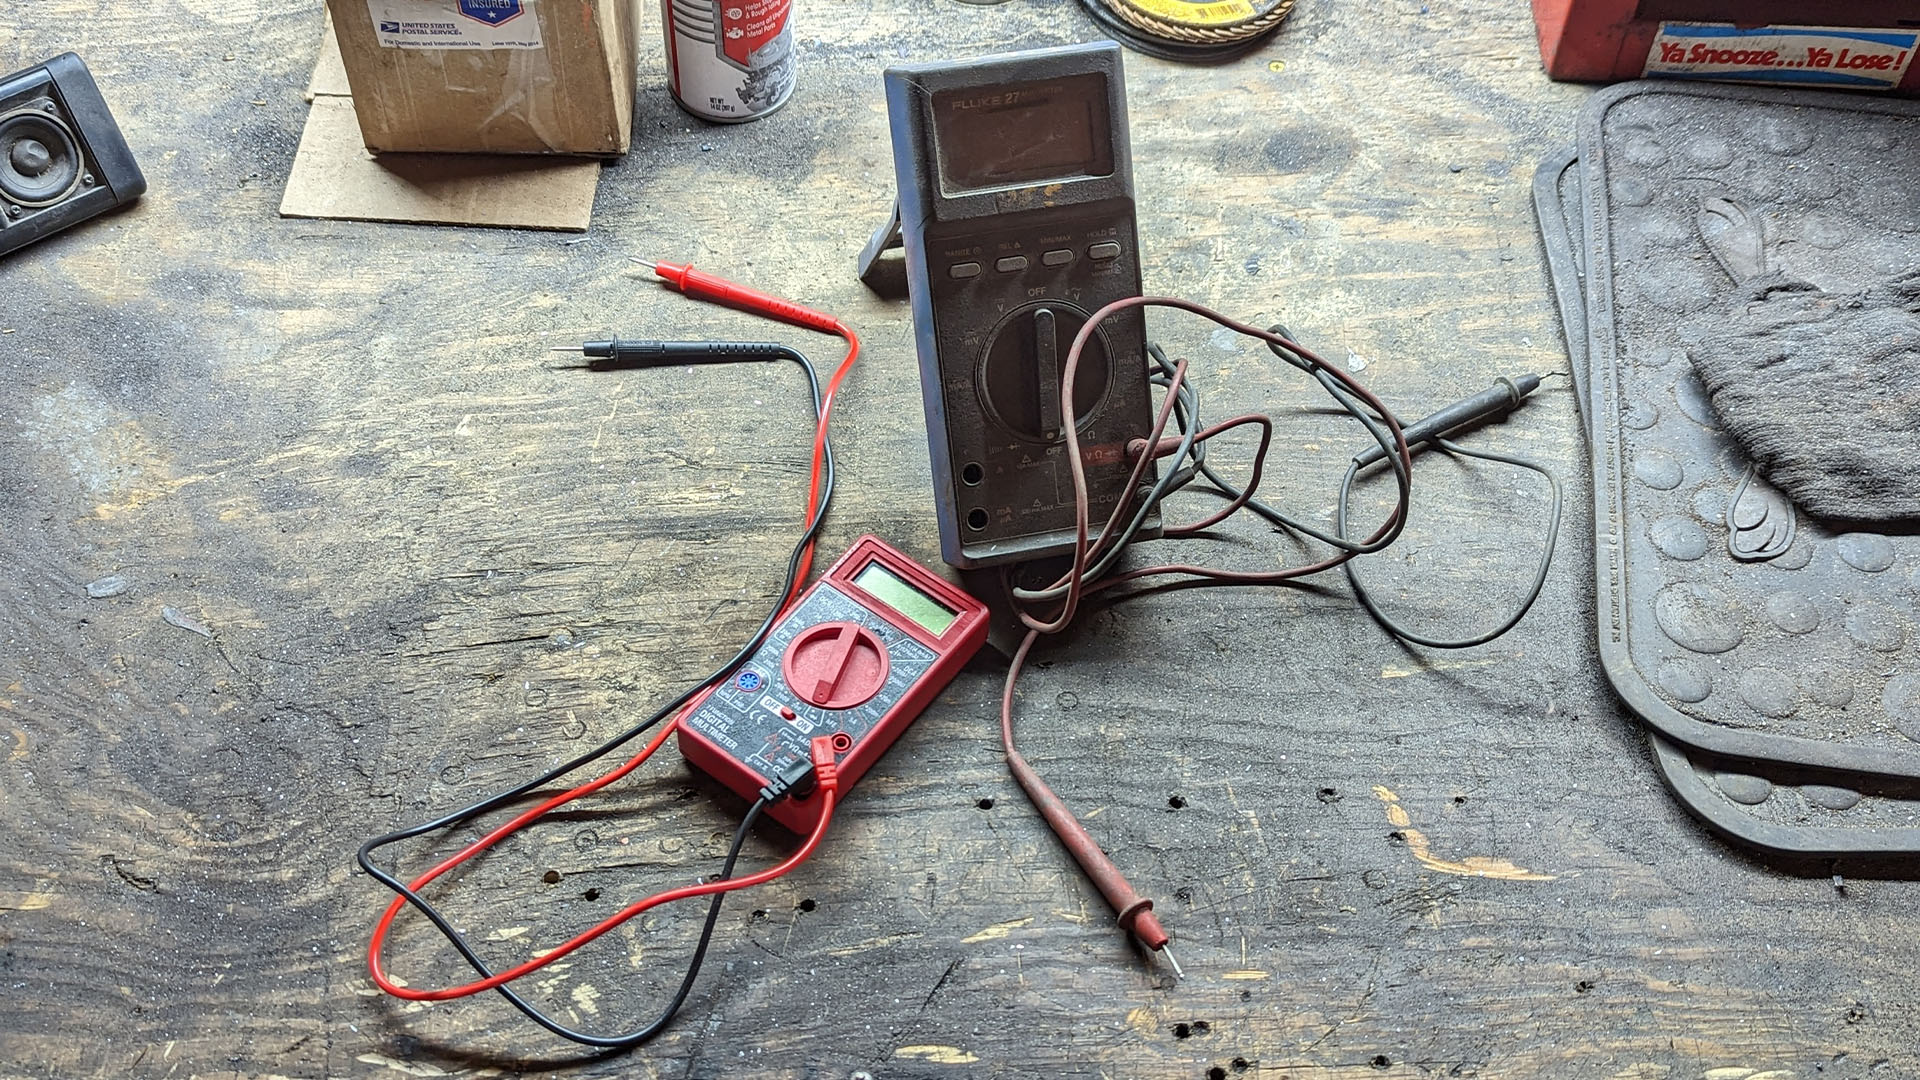
As stated in the introduction, you’re going to need some specialty tools to get the job done. A multimeter and test light are about the extent of it, along with a wiring diagram for some useful information. Wiring schematics prove useful in determining the routing of a circuit you’re testing, which will ultimately save you the drama of chasing wires through complicated, obscured harnesses.
As for the multimeter and test light, you don’t need to fanciest tools designed for electrical engineer masterminds. A high-end multimeter is never a bad investment, but a cheap model will do just fine for DIY purposes. I definitely encourage investing in a better test light, though. Cheap, simple test lights are great but are rather limited in comparison to models that can test power and ground, and even voltage, without becoming a significant expense. Either way, the guides below will teach you how to test with whatever you’ve got.
Tool List
- Multimeter
- Test Light
- Wiring Diagram
Here’s How To Test Electrical Connections

The Test Light Method
1. Hook Up Your Leads
The test light method is traditionally used to test if power is present. Simple test lights only need a clean ground to connect to, while some multi-functional models may also need a power hookup if you intend to test for ground.
Keep in mind that this test is conducted with power sent to the circuit you’re testing and you will want to work with care.
2. Probe Your Connections
Once your leads are hooked up, all that’s left is to probe your connections. Simple test lights will light up if power is present, which is great for making sure that power is sent to where it’s supposed to. Those that can test both power and ground prove useful for further troubleshooting and can even indicate a short is present if a connection that is supposed to receive power is grounded.
You can get a read on voltage now if your test light is equipped with a voltage meter. Keep in mind that the voltage in any given circuit won’t necessarily match the battery’s voltage. In many cases, it may actually be lower. If you get a reading of fewer than 12 volts, you should do a little homework and check it against the power requirements specified for that circuit to determine if it is within spec.

Multimeter Power Test
1. Set the Multimeter
A multimeter can be used to gather the same information found with a test light and then some. To test for power, start by selecting the appropriate setting on your multimeter. Some models only have a single setting for DC voltage, while others test in ranges, so you need to select the range appropriate for the 12-volt system. Again, you’re working with live power, so be mindful of it.
2. Connect Positive Lead to Connection
With probe leads and larger connections, simply insert the probe into the connector that’s supposed to receive power. If you’re working pin connectors, that won’t be possible. Instead, you can attempt to probe from the backside of the connection or insert a piece of wire into the pin to make for easier contact with the probe.
3. Connect to Ground
Once power is hooked up, all that’s left is to connect to a solid ground source. Any kind of hardware or sheet metal is fine. Once you find that, simply touch it with the probe.
4. Verify Power
With the leads hooked up, you’re ready to take note of the reading. Again, if the power is any less than specified for that circuit, you can infer that troubles are present somewhere between the harness and the battery.

Multimeter Continuity Test
1. Set the Multimeter
What if you don’t have the option to test for power? The circuit in question may not have power available to it due to the present issue, or it may be a ground that doesn’t see power at all. That’s where the next two options come in handy. The first we’ll cover is the continuity test because of its unique function. Some multimeters feature a tone-based test that uses an alarm to indicate continuous flow. This is really handy in tight spaces as you only need to listen for the tone if you cannot see the multimeter. If yours does not have this feature you can use the next test instead.
To start, disconnect the car battery and set your multimeter to the appropriate setting.
2. Probe One End
Probe the beginning end of the circuit however necessary. It doesn’t matter which lead you use, as this test is to determine if a continuous path from one end of the circuit to the other is present.
3. Complete the Circuit and Listen
Simply probe to the other end of the circuit and listen. Again, the multimeter’s alarm signals a complete circuit.

Multimeter Resistance Test Disconnect battery
1. Set the Multimeter
Your multimeter might not have a continuity test function. Alternatively, you can test for resistance. To do so, set your multimeter to the appropriate setting. Most multimeters use the Omega symbol for quick reference. Of course, go ahead and disconnect the car battery before moving on.
2. Test Leads
Before testing the circuit, connect the leads together. There will always be some resistance present due to the leads, and your multimeter will give a reading of how much. Take note of this number, as it must be factored into the resistance reading gathered when testing the circuit in question.
3. Probe One End
As with a continuity test, it does not matter which lead you use. Simply probe one end of the circuit with whatever lead you grab first.
4. Complete and Read
Probe the other end of the circuit or wire with the other lead, and look at your multimeter. If the circuit is incomplete, your multimeter will display an unlimited ohms reading. This tells you that there’s a break in the wire or a poor connection. If you do get a reading, it should closely match the test number we gathered early. If the number is dramatically higher, it may indicate that there’s a partial break in the circuit or there’s a poor connection and that wire may need to be replaced.
Video
There’s a lot of information being thrown at you, and it’s all going to remain confusing until you get a little more comfortable with it. That’s why I’m dropping a video covering the basics of multimeters here. It’s not an exact match to the theme of this article, but the information covered is certainly complementary and will help you become more familiar with the territory.

How to Use a Multimeter to Diagnose Car and Truck Electrical Problems
More From The Drive
- Peter Nelson gives the latest update on his $925 Audi S4 project car
- Aaron Cole has the scoop on the body-swapped Checker cab you need
- Lewin Day tells us what AI means for auto designers
- Andrew Collins’ four-legged friends give us their take on the 2023 Genesis G70
- Caleb Jacobs shows us what the perfect 1998 Ranger looks like