We may earn revenue from the products available on this page and participate in affiliate programs. Learn more ›
You just put your new crate engine together and your adrenaline is pumping. Pump the throttle, turn the key, and… the thing runs like a total dog. It idles fine, but as soon as you step on the throttle, it slogs along like a sloth that just ate an entire cheesecake or starts pinging as though it’s about to come apart. Yup, you’ve got timing issues.
Though your problems aren’t that severe, not having your ignition timing in order leaves a lot of performance off the table. A few tweaks to the distributor can totally transform the nature of your engine. And if you read “distributor” and asked yourself, “Isn’t that some old muscle car thing?” this guide may not be right for you, cause today, we’re poking around old-school engines, baby.

Consider me The Drive’s timing wizard, a grand magician who’re on the case to help you get that spark back in your life…er, engine. You know what we mean, let’s jump to it!
Ignition Timing Basics
Estimated Time Needed: 1-2 Hours
Skill Level: Intermediate
Vehicle System: Ignition

What Is Ignition Timing?
It helps to understand precisely what you’re tinkering with before you go making changes. After all, you can do some severe damage to your engine if you don’t have the timing in line. So, what is ignition timing?
If you’re familiar with the four-stroke engine cycle, you know that ignition comes from spark plugs. The plug fires once the piston reaches the top dead center, or TDC, during the compression stroke in order for the combustion to send the piston back to the bottom of the chamber.
In the real world, the spark needs to happen a little sooner. The reason is that the fuel and air mixture don’t burn immediately. So, you want to send the spark before the piston reaches TDC to ensure that the entire mixture is ignited at just the right time to send the piston down with the force of a complete burn. That’s why an engine usually has an initial timing of something around 10 degrees advance.
What’s 10 degrees advance, you ask? You have two primary settings to toy with, initial timing and total timing. Initial timing, or the 10 degrees we mentioned earlier, is your timing setting at idle. Total timing, which may be something like 34 degrees of advance, is what the timing changes to when the engine is up to speed.
The reason the timing needs to change is due to the increased speed of the engine. Despite the increase of piston speed, that fuel mixture takes the same amount of time to burn. In order for the mixture to generate force at the right moment, the spark needs to happen sooner.
If you just adjust initial timing and ignore total timing, you’re likely to run into issues. The reason is that the mechanical advance is going to bring in x-amount of advance. In other words, if your engine is designed to run with 10 degrees advanced initial timing and a total timing of 34 degrees, your distributor is going to bring in 24 degrees of advance no matter what.
That might not be a big deal if you were to run a stock engine on older gas. Well, guess what, you changed your heads, cam, and added headers, all of which might like different things from your ignition timing, and even if you didn’t, today’s fuel likes a little more timing anyway. So once you bump your initial timing up to 14-16 degrees of advance, your total advance runs out to 38-40 degrees of advance, and that’s why your engine is pinging. You’re going to need to mess with ignition timing no matter what and that entails a little more than twisting the dizzy. Don’t worry. We’ve got you covered.
Mechanical vs. Vacuum Advance
But before you go and pop your hood, hold your horses. There’s still more to know before we get rolling. Timing advance on older engines is handled in one of two ways. The first being mechanical, which is managed by springs, weights, and limiters. The other is vacuum, which relies on the vacuum provided by the engine.
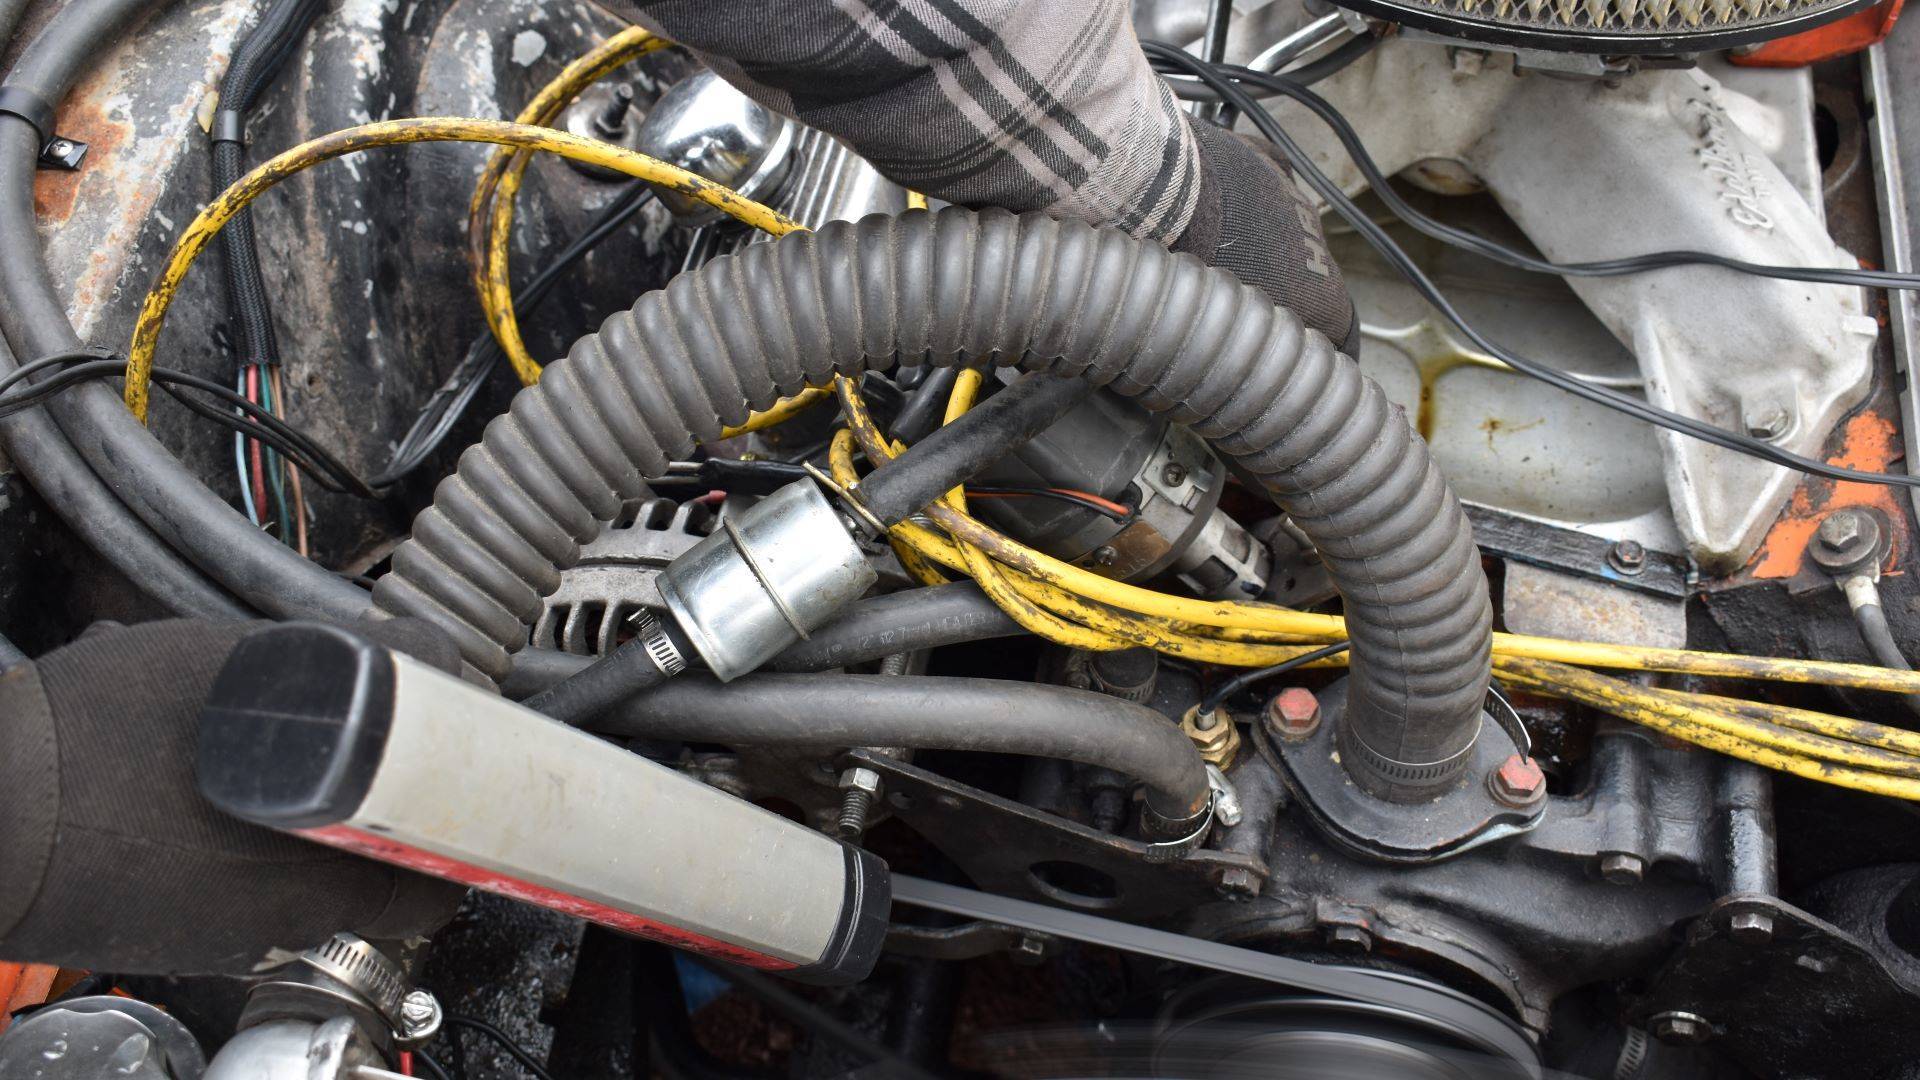
And many engines, like the 440 in my Charger, feature both. The vacuum advance is primarily in place to provide additional timing to increase fuel economy by providing a complete burn at light-throttle cruising speeds.
The thing about engine vacuum, however, is that it becomes non-existent when you stab the throttle, which is where mechanical advance comes into play. To better understand how this all works, we need to take a look at the anatomy of your distributor.
Inside the Distributor
First, you have a shaft that goes straight down to the camshaft, which turns the distributor to create your initial timing. Only, the shaft isn’t one solid piece, it’s actually divided to allow the position of the rotor to move to create your total timing.
The mechanical advance controls the position of the rotor and, as the speed of the engine increases, a set of advance weights begin to move outward, which adds the additional timing advance. How far those weights travel due to the stops relates to how much timing is added. The springs that they’re connected to control how fast that timing comes in or the RPM in which total advance is reached.

Vacuum advance comes into play after acceleration when you hit cruising speeds. The canister outside the distributor is also connected to the same shaft that the mechanical advance controls. As RPMs steady, and vacuum builds, the diaphragm within the canister is pulled forward, which adds even more timing. The additional timing it provides creates a cleaner, complete burn at cruising speeds.
Believe it or not, the vacuum advance adds a ton of timing. Sometimes as much as an additional 25 degrees. If you don’t address the vacuum advance, you’re likely to experience detonation while cruising.
That’s exactly why a lot of folks decide to ditch the vacuum advance when they make adjustments to their initial and mechanical advance—heck, you ever see a drag car with vacuum advance? That said, if you’re working with a street-driven vehicle, you should keep the vacuum advance and adjust it so that you can achieve optimal performance at cruising speeds.
What Do You Need to Know?
You like homework, right? Good, because there’s some in order before you jump into adjusting your timing.
Here’s the thing, different automakers handle timing advances in different ways. While most engines from the olden days feature mechanical and vacuum advance, some use only use one or the other. You need to know what you have to work with.

Not only that, but different distributors use different components to control mechanical advance. If you’re running an HEI or MSD-type distributor, you’re in luck. The mechanical advance is handled by weights that are attached to springs and bushings to limit timing and are located directly under the rotor. Swapping springs and bushings are extremely easy with this configuration. You still have to do the homework to decide what springs and bushings you need, but the work is a breeze.
The rest of us, well, we’re fending for ourselves. We still have weights and springs to work with, but accessing them and providing limits to the advance weights gets a little crazy.
Take Mopar distributors, for example. We still have springs and advance weights to work with but to access them. We need to disconnect the distributor. Not only that but limiting total advance isn’t controlled by bushings. Instead, the weights feature rods that are inserted into a plate that stops the weights from advancing.
How do you limit the total advance in a setup like this? You have two options, the traditional method includes welding those slots to limit the amount of room that the weights have to travel. The other process is by picking up a limiting plate to install over the top of the weights.

In my experience, that limiting plate is the way to go. It takes out the guesswork and elbow grease of welding and grinding, as the plate features multiple slots that tell you exactly how much timing is being added. The company that makes them is called FBO Systems, which makes all kinds of trick ignition products for classic Mopars, and this limiting plate is a must-have for any Chrysler nut—I’m not being paid to say I love this product.

You’ll also want to get an idea of how much initial advance and total advance you need. Without a dyno, this can be a trick. An excellent way to get into the ballpark is to jump on some forums and see what others with similar setups are running. Keep in mind that your total timing usually won’t change, just the initial timing and the RPM in which total timing is reached.
Timing Safety
Shooting your timing and making adjustments places you under the hood with a running engine. That means there’s always the chance to gain a few scars if you’re not careful. That said, you’ll want to use common sense and these safety tips to keep your tips.
- Protect the soft stuff. Throw on some safety glasses and gloves. That engine is running, and your only human. Layers of protection never hurt anyone.
- Steer clear of that fan. Your fingers and the wires of your timing light will draw toward that fan like moths to a flame. Be aware of your position at all times to prevent any accidents.
- Yup. It’s hot. You aren’t likely to accidentally grab a header while shooting timing, but you can always fall into a daze. Just play it safe and keep your wits about you to prevent burning yourself.
Everything You’ll Need To Time Your Ignition
Aside from the information overload we’ve already dumped on your lap, you’ll need some tools to get the job done. Yes, there are some specialty tools and parts on the list, but they aren’t all that expensive. Besides, any expenses are totally justified by the satisfaction of making some big changes to your engine’s dynamics.
Tool List
- Timing Light
- Hand Wrench
- Allen Wrench Set
Part List
Organizing your tools and gear so everything is easily reachable will save precious minutes waiting. You’ll also need a flat workspace, such as a garage floor, driveway, or street parking. Check your local laws to make sure you’re not violating any codes when using the street because we aren’t getting your ride out of the clink.
Here’s How To Shoot and Adjust Timing
Let’s do this!
Adjusting Mechanical Advance
1. Install timing tape/mark your balancer. The choice depends on your preferred method. In this case, we put timing tape to use.
2. Warm the engine up. Get the engine up to operating temperature. If there are any issues preventing an idle, including your initial timing being way out of whack, you should address them now.
3. Hook up your timing gun. If you’re not running a wireless gun, simply hook the battery leads up and hook the pickup to the number one cylinder plug wire.
4. Loosen the distributor clamp. You’ll need to be twisting the distributor as you work, so the clamp needs to be released.
5. Disconnect the vacuum advance. Simply disconnect your vacuum advance line and plug the connection.

6. Point and shoot. Position yourself so you have a clear line of sight to the harmonic balancer and your timing tab. Pull the trigger and pay attention to the number you see. In our case, we’re looking for 20-degrees of advance for our initial timing.

7. Set your initial timing. Setting the initial timing is easy. Simply rotate the distributor as you continue to watch what number lines up with the timing tab on your engine.
8. Bring the RPMs up and record total timing. With the initial timing set, lock down the distributor and have a friend bring the engine RPM up. When the numbers stop increasing, you know what your total timing is. Record that number and have your friend verify the RPM in which that number was reached.
9. Kill the engine and make adjustments. Now for the fun part. Decide what springs you need to use in order to bring in total timing at the RPM that you want, and what bushings or other methods of limiting total advance you need, then adjust the distributor accordingly.
10. Start the engine and verify the results. Simply shoot the initial timing and total timing to verify your results after you’ve made the adjustments.
11. Take a Test drive. All that’s left is to take it for a test drive to ensure the engine is running as you want it to. If not, repeat the process and try different adjustments.

Adjusting Vacuum Advance
In the case that you’re running lean while cruising and not while accelerating, you know you have too much vacuum advance. Here’s how to adjust it.
1. Break out the Allen key. Allen keys with t-handles are the best tool for the job. They offer better control and are much more comfortable to use.
2. Disconnect vacuum line from canister. You don’t have to make this adjustment with the engine running, so there’s no need to worry about plugging the line after removal.
3. Insert the key until you feel the keyway. This can be sketchy as it’s easy to go too far and cause damage and you have to feel around in there. It helps to use a bigger allen key to get an idea of where the keyway is, then gradually move down in sizes until you’ve found the right key.
4. Rotate counter-clockwise to reduce timing. Most vacuum advance systems work by rotating counter clockwise to reduce timing and clockwise to increase it. You may want to verify with your own research, though.
5. Test and repeat. Take the car for a test drive. If you still hear pinging, simply repeat the process until it disappears.
How Do You Monitor Your Adjustments?
So, once you know what adjustments you’re making and how to make them, all that’s left is to read them. It’s one thing to set the adjustments where you want them and assume they’re in order. It’s another to actually shoot the timing and know for sure.
All you need for this is a timing light and either a timing tab with some paint or a timing tab and some timing tape. Either way, your timing light works by connecting to the battery and the number one cylinder’s spark plug. Once they’re hooked up, you just point the timing light on the harmonic balancer and take your reading.
At the very least, your harmonic balancer has a timing mark on it. That timing mark lines up with the timing tab to tell you when the spark plugs are firing. It helps to paint that timing mark with some white paint so that you can see it better as the engine is timing. As the engine speed increases, you want to watch that timing mark in relation to the tab to determine where your ignition timing is.
A lot of those older timing tabs, like those on my 440, only read out to ten degrees of advance. If you’re in a similar situation, you’ll need to get some timing tape on the harmonic balancer to proceed. If you’re using this method, you’re watching for what number appears next to the zero mark on your timing tab. That number tells you how many degrees of advance your engine is running.
Pro Tips to Adjust and Shoot Timing
- Cam timing is a different animal. Advancing and retarding cam timing sounds similar and can have a seemingly similar impact on throttle response as ignition timing. But the reality is that they’re two different processes.
- Mark your balancer. Timing tape comes off. It’s good practice to mark the location of the total timing number you desire with a notch and some white paint. That way, you can still double-check timing without timing tape.
- Listen to your engine. Don’t just go by what others recommend. Take their advice, and try their tips. If they work, that’s great. However, there’s no universal formula, and you may still need to make some tweaks to the timing to please your engine.
- Make sure your balancer isn’t worn. If your harmonic balancer is old and the rubber is worn, it’ll throw off your timing reading. Be sure to inspect the balancer to ensure it’s not out of whack before proceeding.
- Faster isn’t always better. Bringing total timing in faster will boost your throttle response. At first, that seems great. But more power sooner can be harder to control on the street, which is why you shouldn’t just throw in the lightest springs. Try different springs or combinations until you find what you’re most comfortable with on the street
FAQs About Ignition Timing
You’ve got questions, The Drive has answers!
Q: What happens if engine timing is off?
A: It depends on how far off and to what end. If timing is too far off, the engine simply won’t run. If it runs, but with too much advance, overheating, detonation, and backfiring through the carb are all issues you may experience. If the timing isn’t advanced enough, it will run very rough and backfire through the exhaust.
Q: How long does it take to fix timing on a car?
A: If you’re just setting it back to factory spec, it should only take a few minutes. However, if you’re making adjustments to the distributors, you’re likely to spend at least an hour or two making adjustments.
Q: Does advancing timing make more power?
A: It can. It ultimately depends on the current settings of the engine and whether or not more ignition timing is necessary to provide a clean burn. Keep in mind that too much advance can actually kill power and even hurt the engine.
Q: How do you check timing without a timing light?
A: You can’t. You can only determine what your initial timing is based on how the distributor is lined up with the number one cylinder based on the position of the timing mark on your harmonic balancer. Even if you use this and using the bushings and springs you believe will get you in line, you’re ultimately guessing without using a timing light.
Q: How does retarding the timing affect the engine?
A: retarding the timing can either mean taking advance out of the engine which may be useful for dealing with detonation. If you were to retard the timing in relation to TDC, your engine likely won’t run as the ignition is happening after the piston proceeds downward during the combustion stroke.
Here’s a Helpful Video
Yeah, our brain hurts, too. There’s a lot to take in. The good news is, we’ve got a video that really helps to clarify things and simplify your thought process!
How To Set Timing Ignition Timing With A Distributor
Let’s Talk: Comment Below To Talk With The Guides & Gear Editors!
We’re here to be expert guides in everything How To related. Use us, compliment us, yell at us. Comment below, and let’s talk! You can also shout at us on Twitter or Instagram, here are our profiles. Got a question? Got a pro tip? Send us a note: guidesandgear@thedrive.com.