
We may earn revenue from the products available on this page and participate in affiliate programs. Learn more ›
Everybody who has worked on a car knows the pain and suffering of stripping or damaging threads. It can and will happen to anybody on a wrenching journey, and it often feels like a firm dead-end for the casual DIYer. I’m here to tell you that this is not your signal to go to a shop and to show you that tapping and repairing threads isn’t so bad.
There are a couple of ways to fix a damaged thread. The best methods are by using a tap and die set to chase threads or by use of a thread insert that replaces the original thread. Usually, it happens in that order anyways. Threads that are damaged beyond repair become pretty obvious after just a few attempts at chasing them.

First things first, you will need a tap and die set. Harbor Freight has a cheap set that works fairly well for automotive applications where the metals are soft and forgiving. In other words, most of our project shitboxes will have aluminum, steel, and cast iron; definitely not exotic materials like magnesium. Though the 2004 Acura TSX does use a magnesium gearbox casing and that is a great project car. Still, most automotive grade metals are not hard enough to defeat a basic tap and die set.
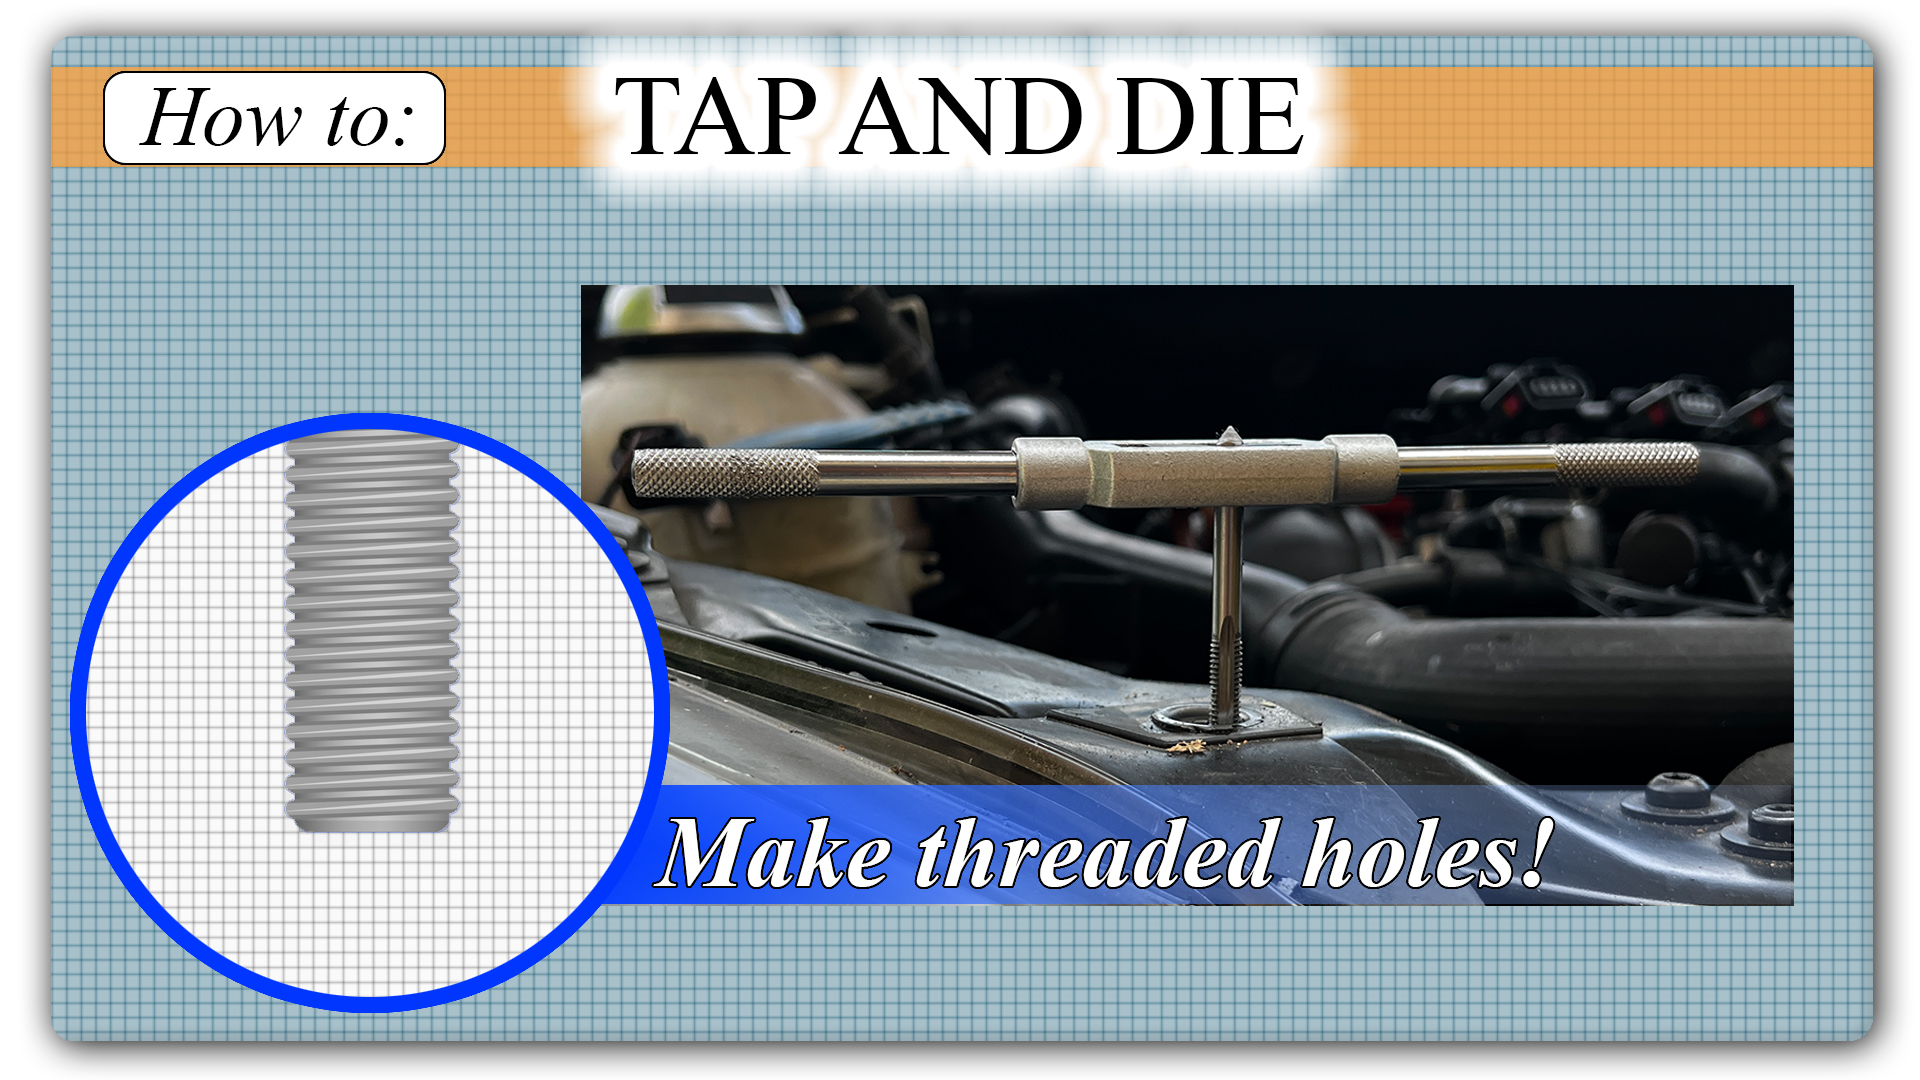
Once you have your tap and die set, you have to find out the size and thread pitch of the damaged threads. Size being the diameter of the threaded portion of the bolt and thread pitch being the spacing or density of the threads. The easiest way to determine this is by taking a bolt that would fasten into the damaged threads and comparing it to the tap, which is the tool that looks like a bolt. You can also use one of the dies to thread onto the bolt to verify its specifications. The dies are the little discs with threads on the inside.

You can also visually compare the tap to the bolt to see if they match. If the threads can sit within each other, you should be clear to use that tap. The next part is unfortunately the hard part.
There are a few techniques to tapping a thread. Some of the time, chasing the thread works great and it’s simple. All you do is thread the tap into the damaged bolt hole to straighten the threads. If it holds the specific torque rating, job done. If it doesn’t, then there are two options: tapping a larger hole for a bigger bolt or using a thread insert.

Tapping a larger hole is impractical and usually impossible in most car situations, but in the rare event that it is feasible you can easily tap a thread one size larger than standard without drilling it out first. However, if you’re already going as far as tapping a larger hole, a much better alternative is a thread insert.
Most of you will know a thread insert as a Helicoil, but they all work in the same general way. Most auto parts stores will have a thread insert kit in stock and I used the Autozone brand kit. It should come with its own tap, the tool to wind the thread insert into the new hole, and the thread inserts themselves. The process is simple but it takes some care.
The single most important part of tapping the thread for the insert is to tap the hole as straight as possible. I made the mistake of not getting some perfectly straight and the bolts didn’t sit flat. For my specific fix, it didn’t matter too much, but it is ideal to distribute the load of the bolt evenly. Tapping the hole crooked can cause bolts to loosen over time.

Once you get the tap started as straight as possible, it wouldn’t hurt to have some cutting oil, but it isn’t required for this operation. Make sure to thread the tap in a half turn at a time and back it off a quarter turn. This allows the tap to extract the metal debris. Do this until the tap bottoms out and remove the tap. Now, use the thread insert tool to install the insert. The thread insert will thread in like a normal bolt and you can use the tool to fully seat it. Be aware that once the insert is threaded in, it will not back out by design.

Install the insert until it sits a thread or two below the top of the hole. Then you can turn the insert tool 90 degrees to break the tang off of it with a solid tap. Clean the thread with some compressed air and check for debris. Once it looks clear, it should be ready for use. In my experience, thread inserts in aluminum can take a lot more torque than original threads. You should still always torque to spec.
If the bolt is in a difficult spot, this process can exponentially more difficult. If that’s the case, I recommend removing the part and working on a bench. If its permanently stuck to the car or hard to remove, just make as much room for yourself as possible. Otherwise, happy wrenching.