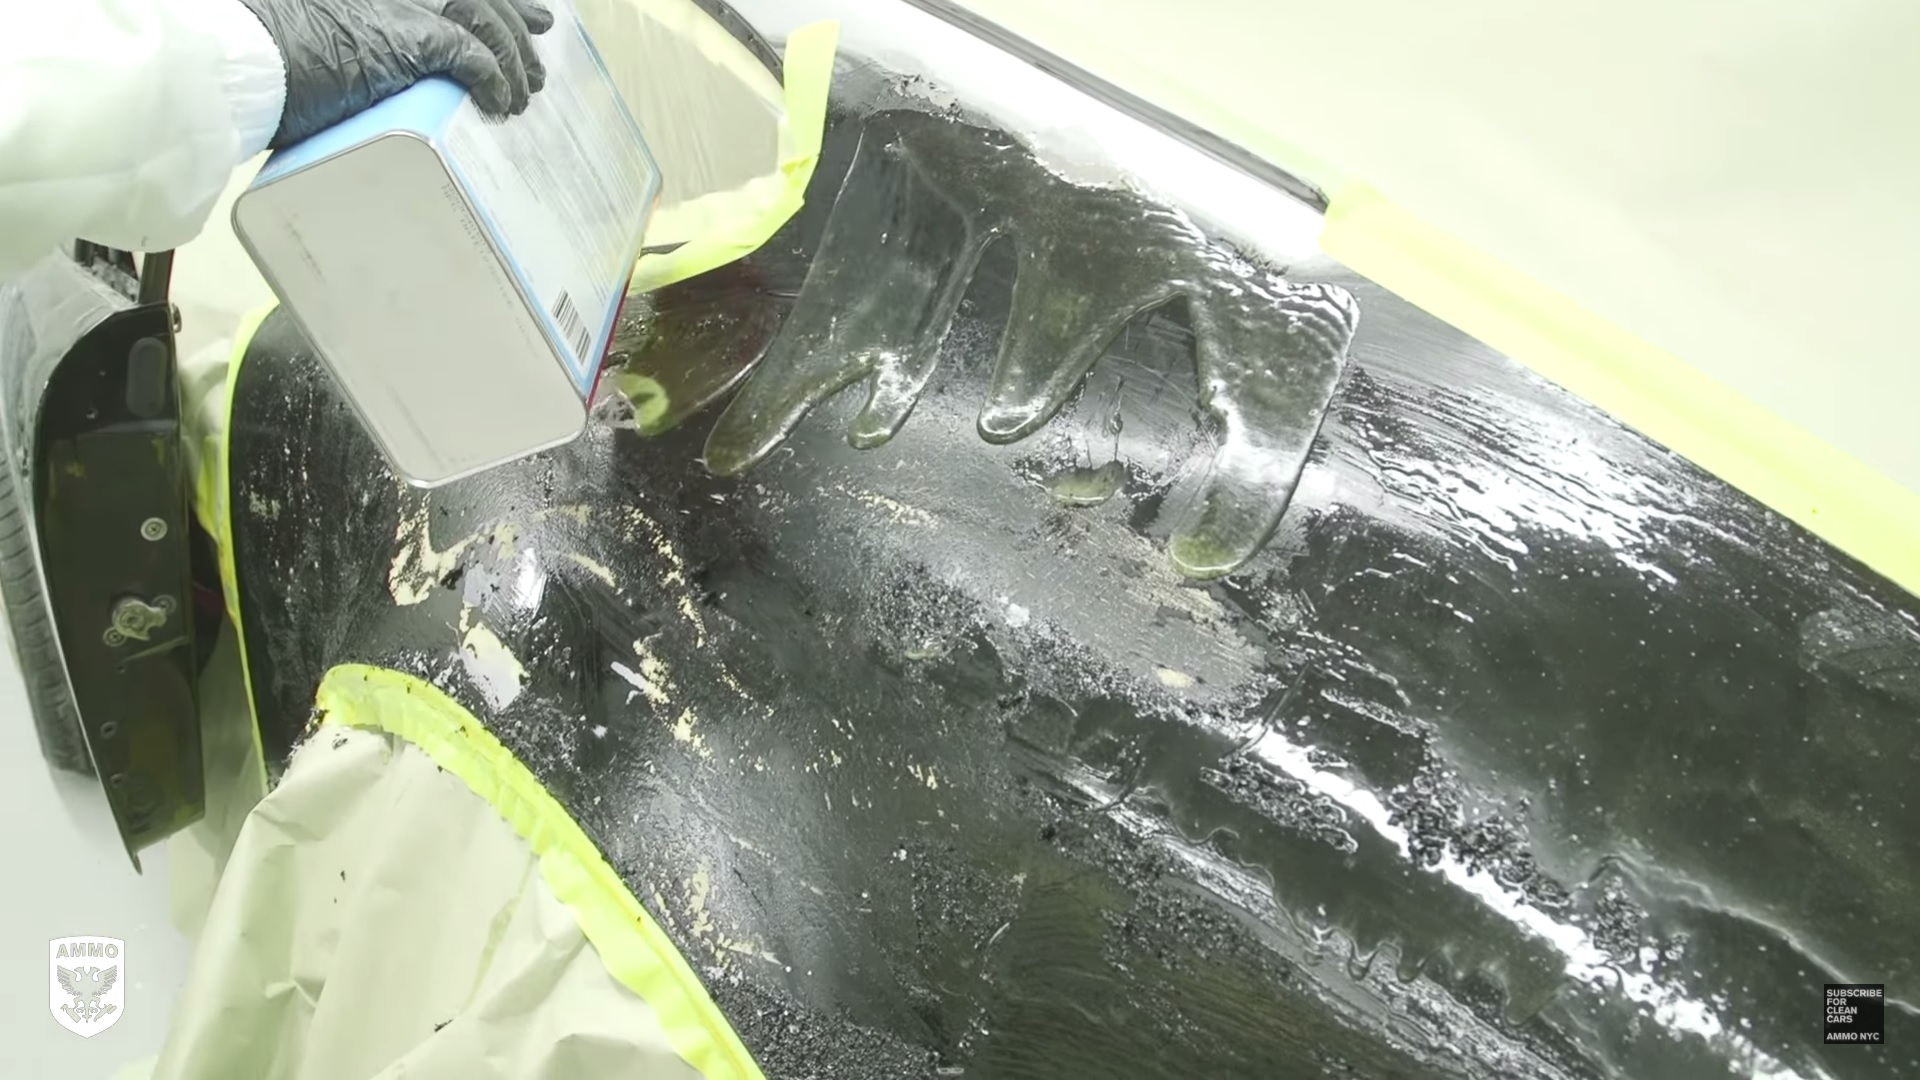
The paint removal process for this now famous Porsche restoration took just over three weeks to complete. The car did not have much in the way of defects or damage to the sheet metal, and now that the roof has been replaced and the cowl rust repaired, the rest of the car is ready to be brought down to bare metal. The process begins with a wild and painful to watch chemical stripping process, demonstrated in this video on the hood and the rear quarter panel. Once the chemical stripper has done its work, sanding discs attack what remains and get the metal down to smooth and bare, beginning with 40 grit and working down to a 180 grit.
After the sanding is complete, small pieces of oxidation can be spotted more easily, and these are ground away quickly with a wire brush wheel. With those gone, the small beginning stages of oxidation are taken care of before they become a real problem. Once that’s done, the real work can begin. A bit of filler is added, though minimal, to build up some of the smaller dents, and then a couple different layers of primer are added, one to give the metal a waterproof layer, and one to help fill in the sanding lines.
This video is 14 minutes long, and I was absolutely riveted the entire time. It’s worth watching if you’re a Porsche enthusiast (or even if you’re not), as you might learn a thing or two. Did you know, for example, that you weren’t supposed to use the hood badge as the place to push down on your front trunk lid? I’ve been doing that for years, and I’m sure force of habit will have me continuing to do it for years to come. I guess I’ll just deal with the minor hardly-visible dents in my hood.
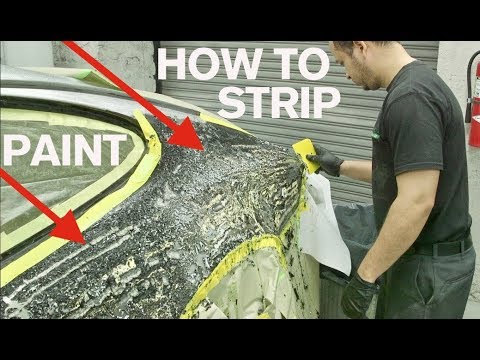
How to Strip Paint: WARNING this is hard to watch!