
We may earn revenue from the products available on this page and participate in affiliate programs. Learn more ›
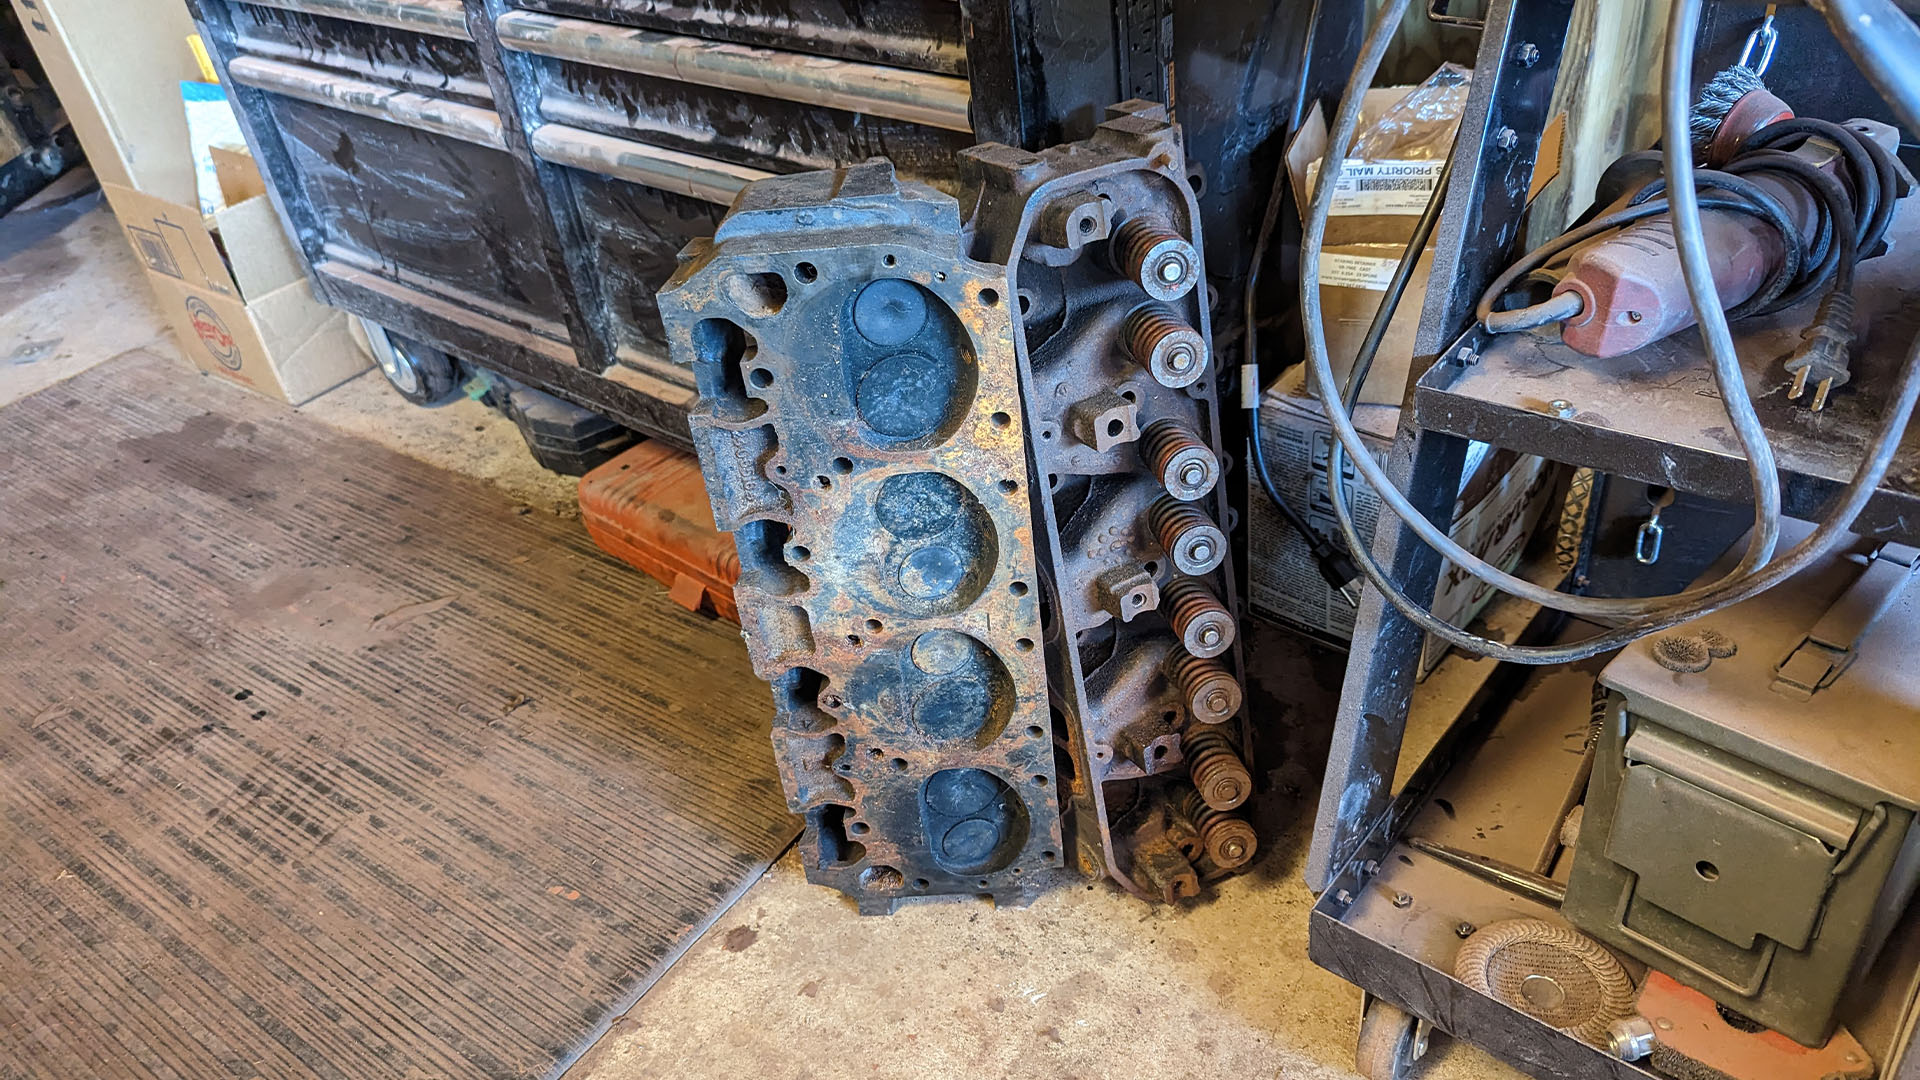
Blown head gaskets are often signs of bigger problems, as a warped cylinder head is often what causes the gasket to fail in the first place. That’s why it’s best to just remove the head and have it machined or replaced when you find a major leak. That said, a head gasket sealer just might buy you some time until you can afford to do that.
The best option isn’t always the only option. Sometimes, you’re up against an awful design in which head gasket leaks are prone in inconsequential areas. In others, the issue might be relatively minor, and you’re just looking to get the most out of your beater and don’t necessarily want to sink a bunch of money into it. In these situations, head gasket sealers are perfectly acceptable.
We’re here to talk through how to use head gasket sealers. While it’s an extremely simple process, it’s worth shining a little light on so you know what to expect when you need to put that busted head gasket back in the fight.
Head Gasket Sealer Safety
Using head gasket sealer isn’t the riskiest job you can take on. As long as you’re not drinking it or using it as an aftershave, you’re going to be fine. The only other thing to be careful of is the cooling system itself. The radiator is pressurized when your car is up to operating temperature. Removing the cap then will lead to a geyser of nightmares if you don’t let it cool off first. Of course, be mindful of finger placement and protect the soft stuff with protective gloves and safety glasses, as you should whenever working on cars.

Everything You’ll Need To Add Head Gasket Sealer
As much as head gasket sealers simplify the ordeal, it can still be a rather involved job. At the very least, you will need some extra coolant to replace what’s been lost on account of the leak or in case you accidentally drain too much out during installation. On the extreme end of that, you will need an entire coolant flush if it is necessitated by old or dirty coolant.
You can also expect to do an oil change in some instances. Leaky head gaskets sometimes lead to coolant mixing with the oil, which can lead to serious damage to the rotating assembly. You’ll need to replace the polluted oil to avoid other, more costly repairs.
That said, you’ll need to use your best judgment before attempting this. If the leak is minor, and you’re only losing a little bit of coolant, it’s worth giving head gasket sealers a shot. If, however, the radiator is bubbling over on startup, you have thick chocolate milk where the oil should be or have any other indications that you’re dealing with a major leak, just go ahead and move right to replacing the head gasket altogether and inspecting for further damage. Running the car, even with sealer in the system, will likely make things worse.
Supply List
Here’s How To Add Head Gasket Sealer

1. Flush System
You want to start by flushing the system if the coolant is old or dirty to give any sealer a chance to work. Be sure to get all the coolant out by removing the thermostat and running the engine with the heat on to push coolant out of all the hidden passages in the system. When replacing the coolant, be sure to leave the level just low enough to leave room for the sealer.
2. Adjust Coolant Levels
If a flush isn’t necessary and the radiator is full, you need to start by making room for the sealer. Crack the drain plug and lower the level until you have enough room. If you use a clean drain pan, you can recycle the lost coolant to top off after the sealer is added.

3. Add Sealer and coolant
Simply add sealer to your coolant. Be sure to refer to the instructions as how much you add depends on the exact sealer you’re using and the size of your engine. Some products may also want you to have the engine running during this stage. Also, be sure the system is full by adding coolant if the coolant levels are low after adding the sealer.
4. Take a Drive
The next step is to take the vehicle for a short twenty-minute drive and let the sealer do its job. You should stay relatively close just in case the issue is worse than you initially thought and you need a tow home.
5. Check for Leaks
After the drive, you want to check to see if the sealer has worked or not. Start by looking at the signs that told you there was a leak in the first place. If the sealer hasn’t fixed the problem and the leaks persist, you will need to proceed to replace the gasket.
Some head gasket leaks are external, while others are internal and you’ll need to be thorough to make sure you don’t miss anything. Water in the oil, overheating, bubbling coolant, engine misfires, and external leaks are all signs of head gasket leaks to look out for.
Video
This process is almost foolproof, but you still want to be sure to pay attention to the instructions. The video below is Blue Devil’s walkthrough of how to use its head gasket sealer. Even if it’s not the product you are using, it’s worth watching as it covers the basics as well as showcases some examples of product-specific steps you can encounter during the process.
