
We may earn revenue from the products available on this page and participate in affiliate programs. Learn more ›
A warranty is a nice safety net, but they shouldn’t be your only means of keeping ratchets in service. Taking care of your socket wrenches goes a long way in making sure they stick around for many years to come. But there’s more you can do than simply not sliding a pipe over the end and going to war with hardware way above its pay grade.
Ratchets get dirty. All the gunk and sludge they come in contact with will make its way inside over time. That dirt gums up the works, impacts positive engagement of the internal mechanisms, and finds all kinds of ways to make your life miserable. You might even go through the trouble to replace a ratchet under warranty when all that was necessary was a simple cleaning. And even if the warranty is convenient, a ten-minute cleanup will always be the more efficient solution.
Don’t beat yourself up over neglecting to clean your ratchets. Something like this should be common sense for handy types, but we’re all guilty of sending ratchets to the graveyard because we didn’t keep up with routine cleanings. In fact, I’m only writing this because I realized mine are way overdue for a bath. They have all kinds of crust built up inside, and dealing with it makes for the perfect opportunity to show how it’s done.
Everything You’ll Need
Cleaning your ratchets is pretty simple. You probably already have everything you need to handle it.
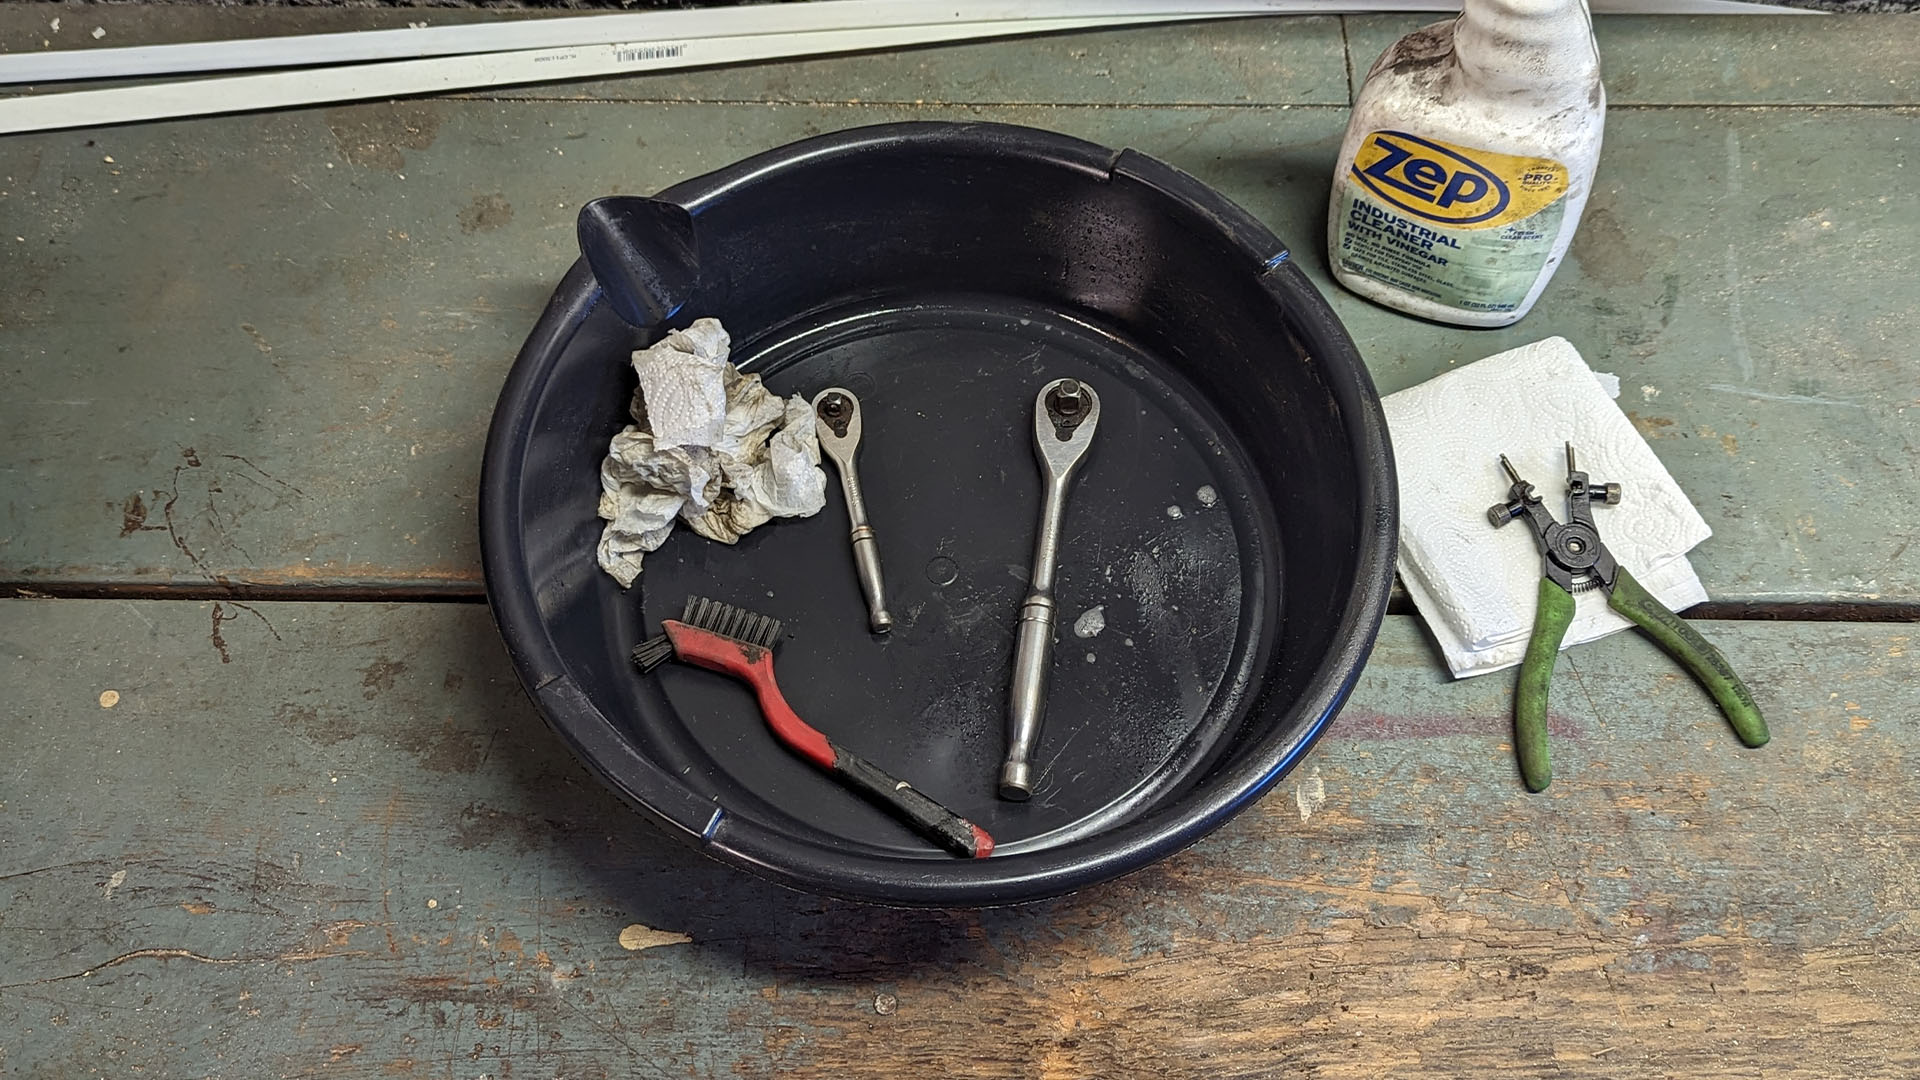
A good degreaser, a soft bristle wire brush, paper towels, an oil catch pan to contain the chemicals, and some nitrile gloves are universal to any ratchet cleaning process. You may also need some picks to get into tight spaces where a brush simply won’t cut it.
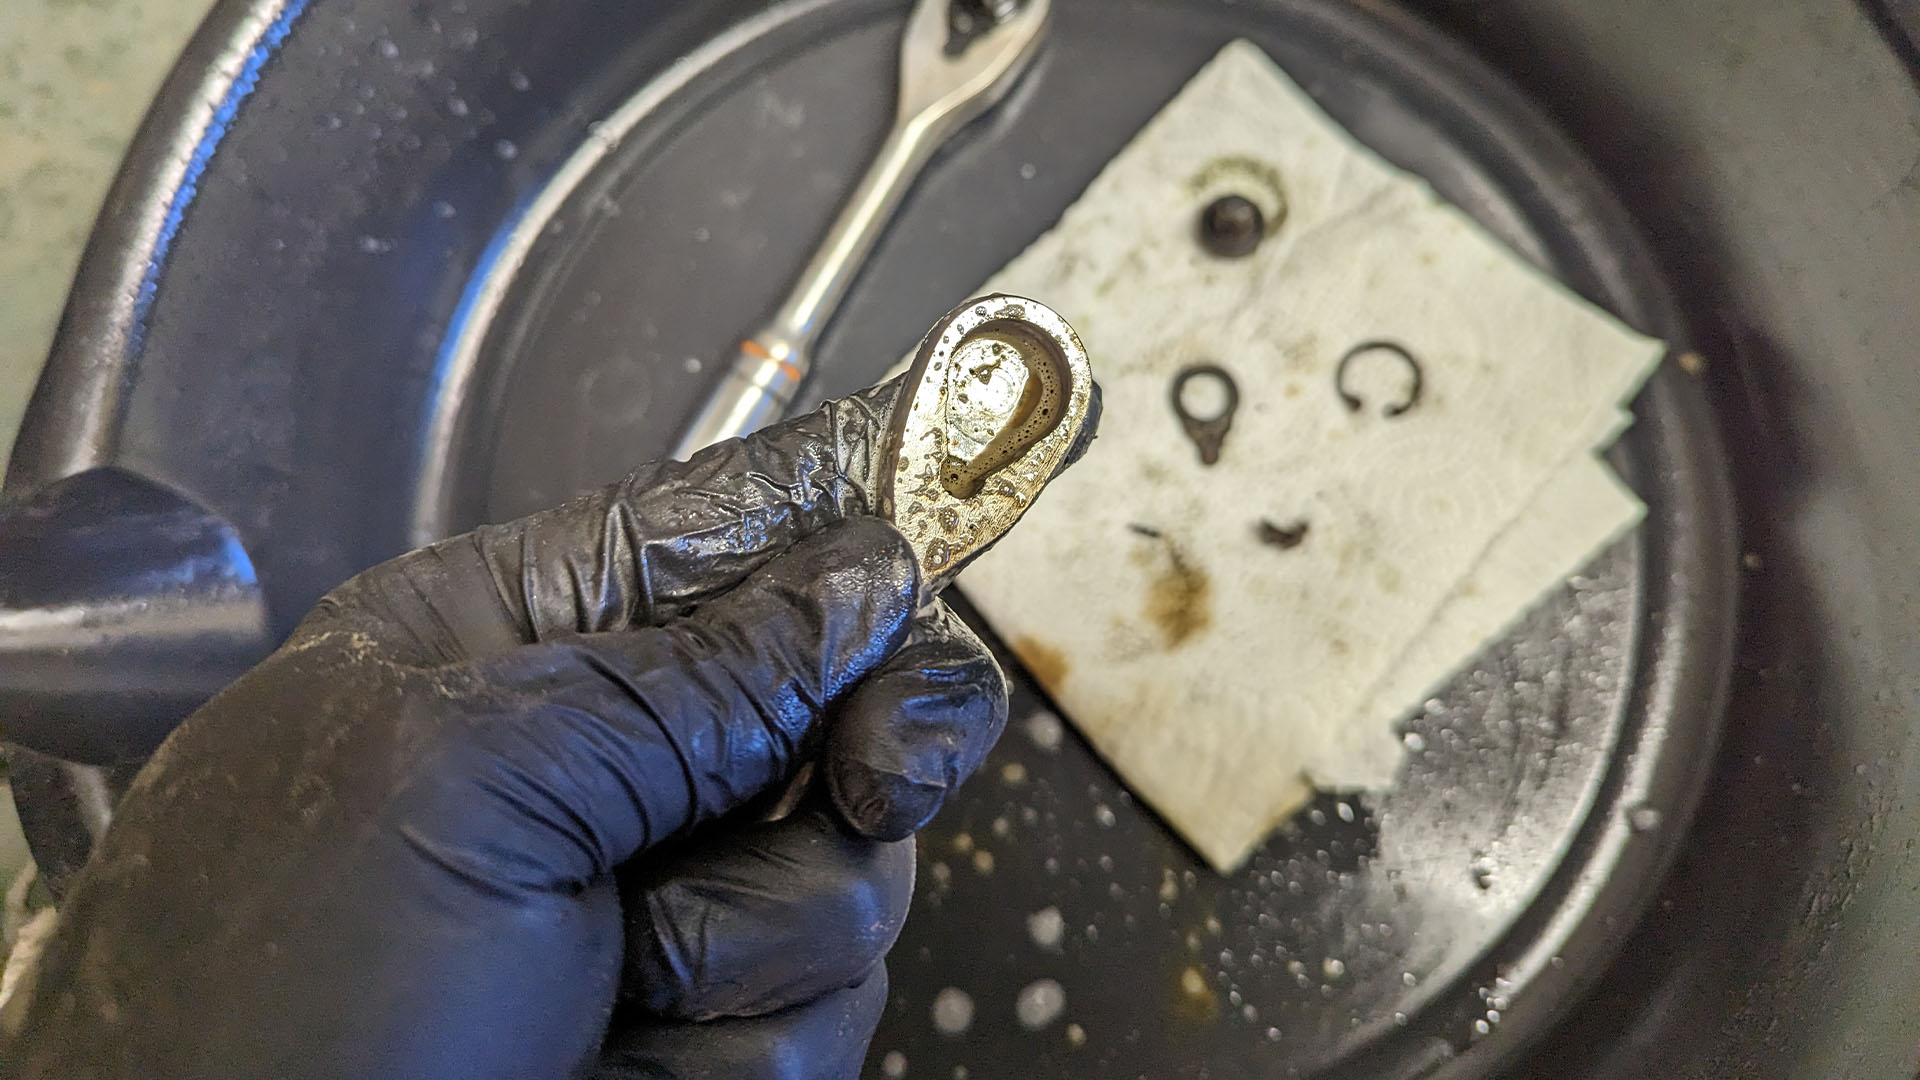
As for tools to disassemble the ratchet, the model you’re cleaning dictates what you need. My GearWrench 90-tooth ratchets feature a snap ring to keep the dust cover on, but many use small screws instead. A magnetic pickup tool is good for getting small or stubborn parts out while reducing the risk of losing them.
The only other thing to be mindful of is the lube you use for the internals. Many ratchet manufacturers suggest a specific lubricant, typically Super Lube Multi-Purpose Synthetic Grease, and that’s what you’ll want to stick to. However, you can toy with it and come up with something you prefer for your specific situation.
I am using Lucas Assembly Lube for these ratchets because it’s lighter and won’t gum up the smaller teeth of the internal mechanisms but will stick to the surface better than a lower-viscosity lubricant would. Conversely, something thicker would be better for ratchets with fewer but bigger teeth. You don’t need to overthink what you use as a DIYer, but researching which lube to use will produce the best results.
The Tool List
- Nitrile Gloves
- Degreaser
- Soft Bristle Brush
- Lubricant
- Paper Towels
- Tools to Disassemble Ratchet
Here’s How You Clean and Lubricate Your Ratchets
1. Clean Up the Housing
Give the ratchet a quick once-over before you crack it open. You don’t need to make the housing surgically clean, just clean enough so that you can work in a neat, organized fashion. There are some really small parts involved, and a cleaner environment makes it easier to keep track of everything.
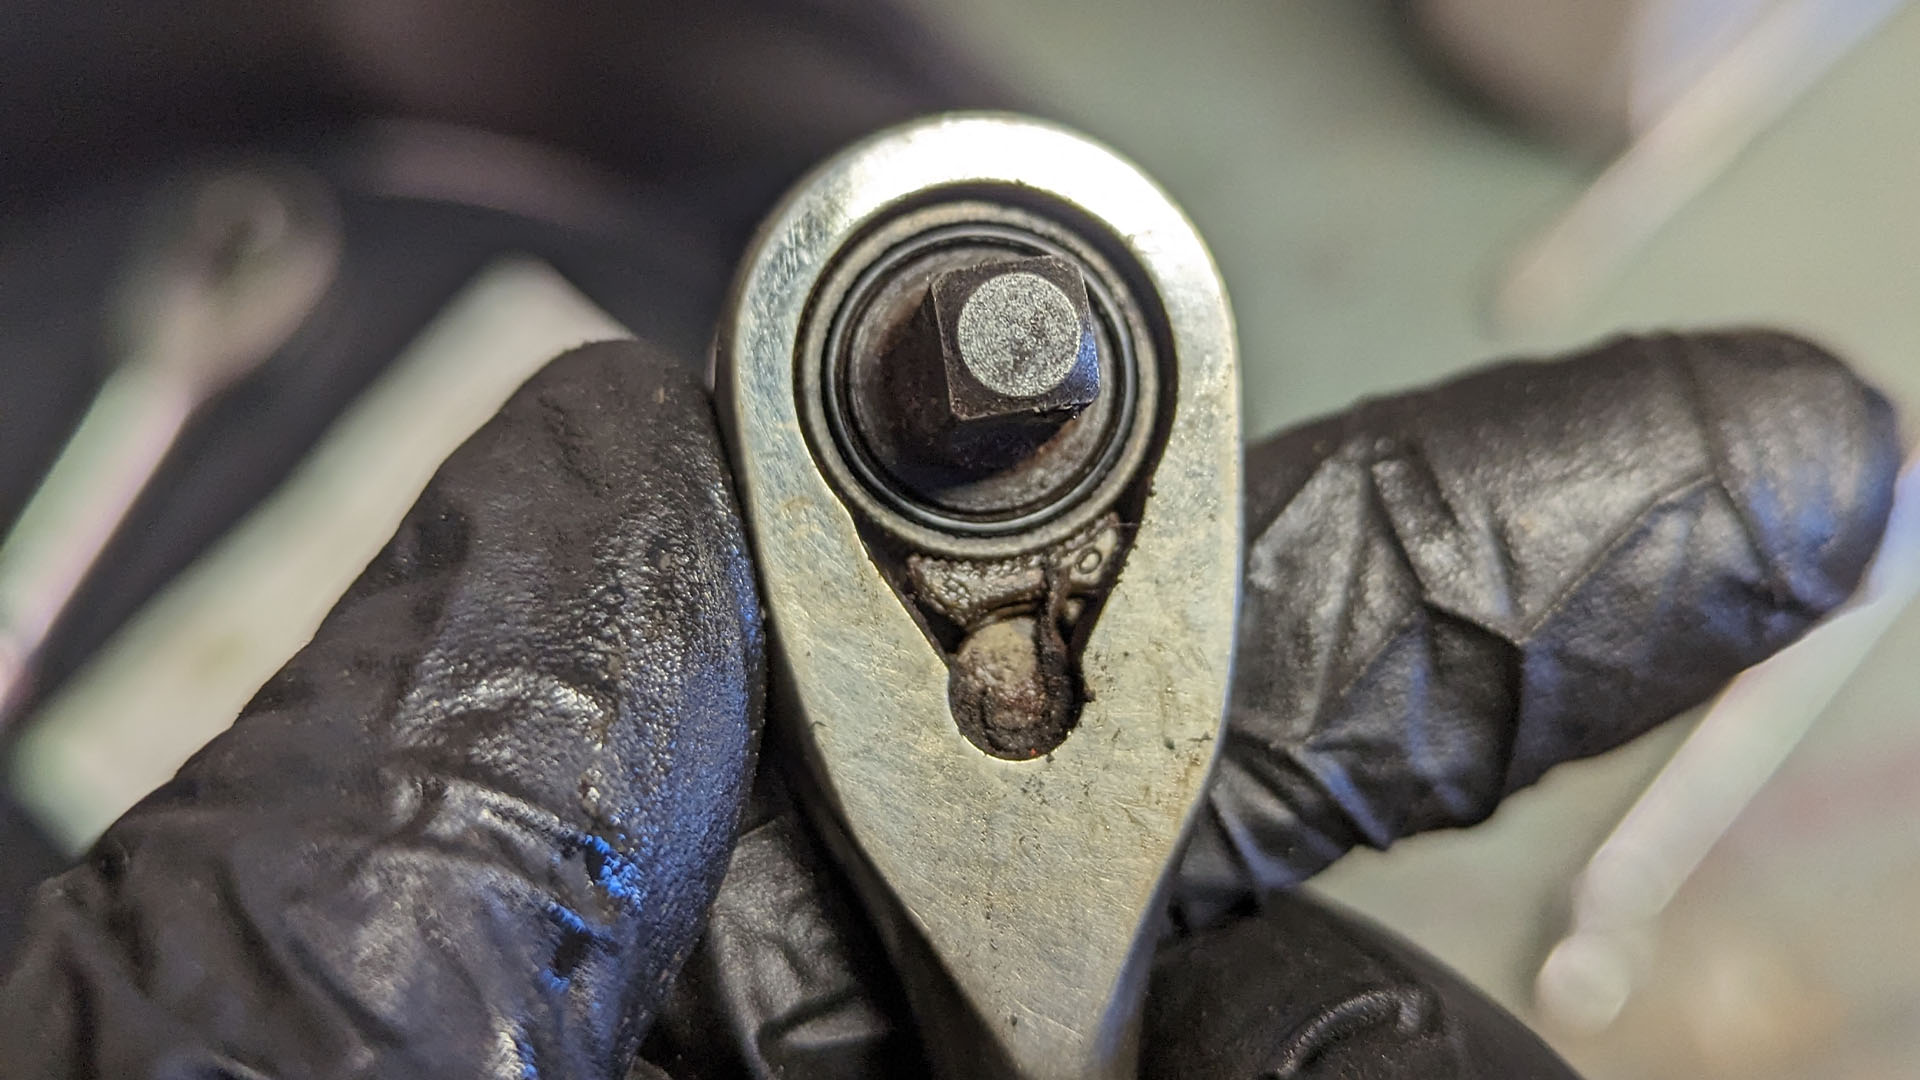
2. Crack it Open
Time to access the internals. Removing the cover that protects the internals is done in different ways. Some have screws to hold it in place, while others use a snap ring. In most cases, it also works to keep everything in place. You want to be careful when removing it so the guts don’t just come flying out and scatter. Ratchets use all kinds of different mechanisms, and keeping track of things is essential for your success. Using a magnetic pickup tool or a pick to lift the cover out of place is the best way around that issue.

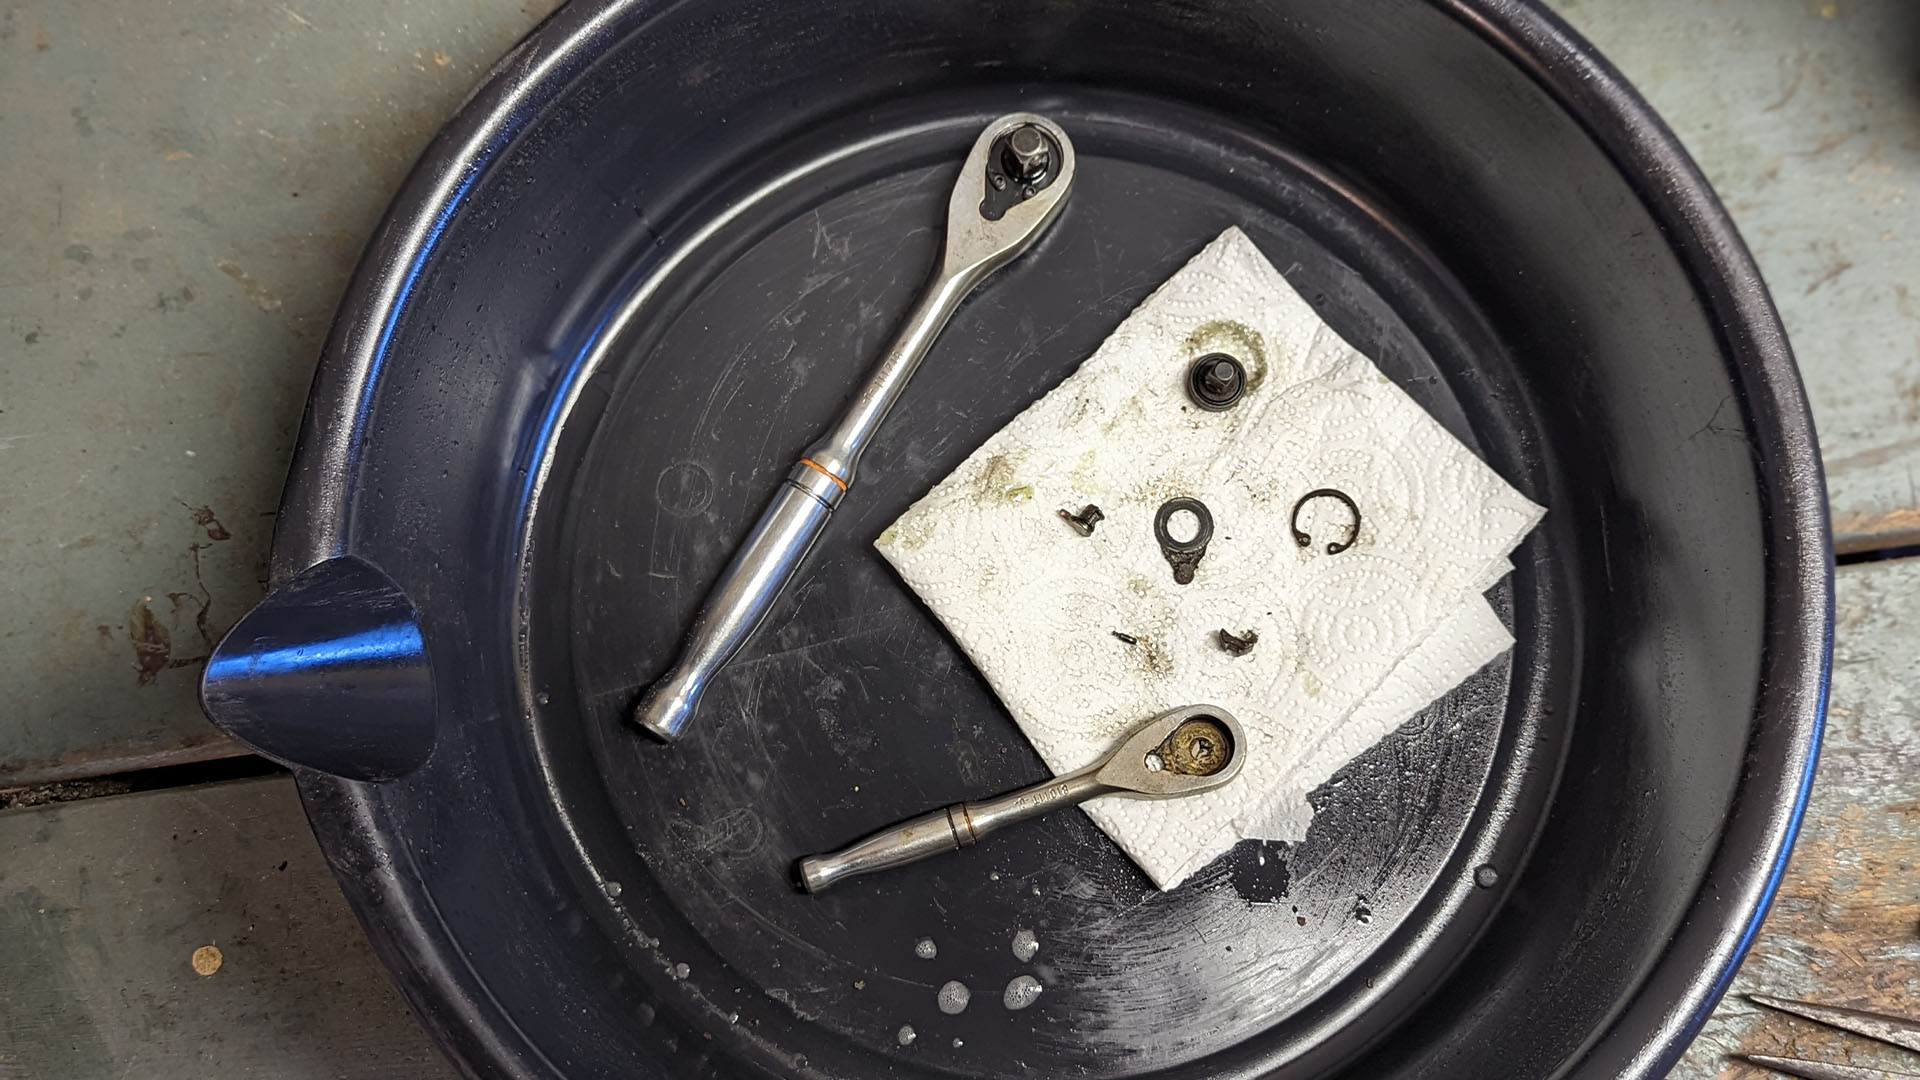
3. Disassemble
Remove the internal pieces one by one and lay them out in the order you remove them. Doing so makes it easier to keep track of everything and simplifies assembly.
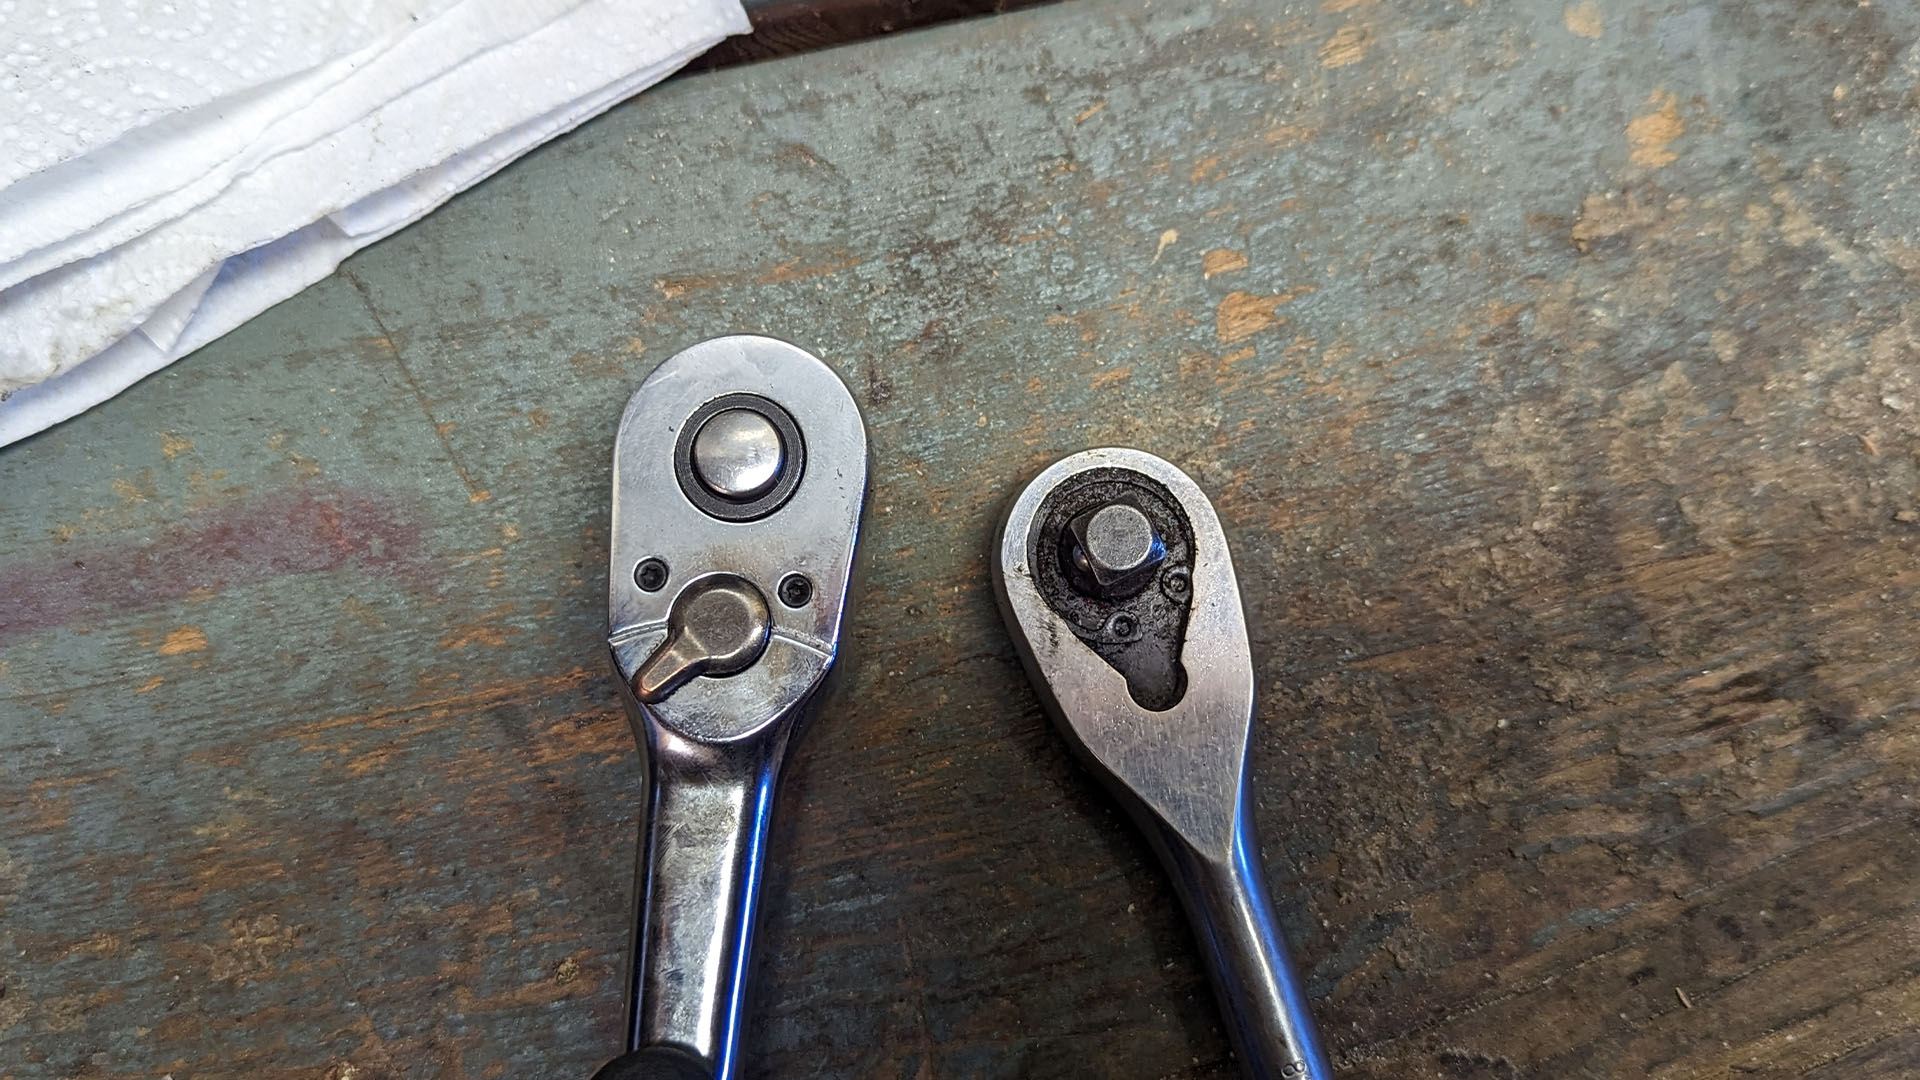
4. Thoroughly Clean
Take the time and give everything a good cleaning. You want to remove all of the old lube and the dirt it’s holding onto. A soft bristle brush and degreaser are usually enough for most of it, but don’t be afraid to get into the crevices with a pick to get hidden dirt out. Make sure you go over everything as dirt can hide in the many small crevices, and it only takes a little bit to hinder performance and cause excess wear.
5. Add a Dash of Lube
Once everything is nice and clean, you want to add a light layer of lube. How much you should use really depends on the mechanism and the lube itself. A thicker lube can quickly gum up a system with many small teeth, which is, again, why you want to be thoughtful of what you’re using. That said, a few small dabs carefully spread throughout the system are usually more than enough, with the anvil and pawls being primary targets.

6. Reassemble
All that’s left is to reassemble and return to service. How often you clean really depends on the specifics of your environment, but you should be good to go for at least a few months to a year. Though, doing it more frequently isn’t a bad idea if you work in a particularly dirty or demanding environment.
Video
As simple as this job is, there are a few variables to be aware of. Along with the specifics of your ratchet’s disassembly process, lubrication is an area where special consideration is to be taken. That’s why I’ve included this specific video. The host does a great job of breaking down which lubricants to use on ratchets and why they’re good for specific situations. It also shows what you can expect to find inside different ratchets, along with how to apply lubrication properly.

Ratchet Lubrication Basics/Overview