We may earn revenue from the products available on this page and participate in affiliate programs. Learn more ›
An engine hoist isn’t a tool you’ll use every day, but it’s absolutely irreplaceable when your project car commands one. I mean, you can opt to try and lift the thing yourself but trust me, that’s no way to get any real work done. And it’s a surefire way of injuring yourself or ending up on the never-ending Ridiculousness.
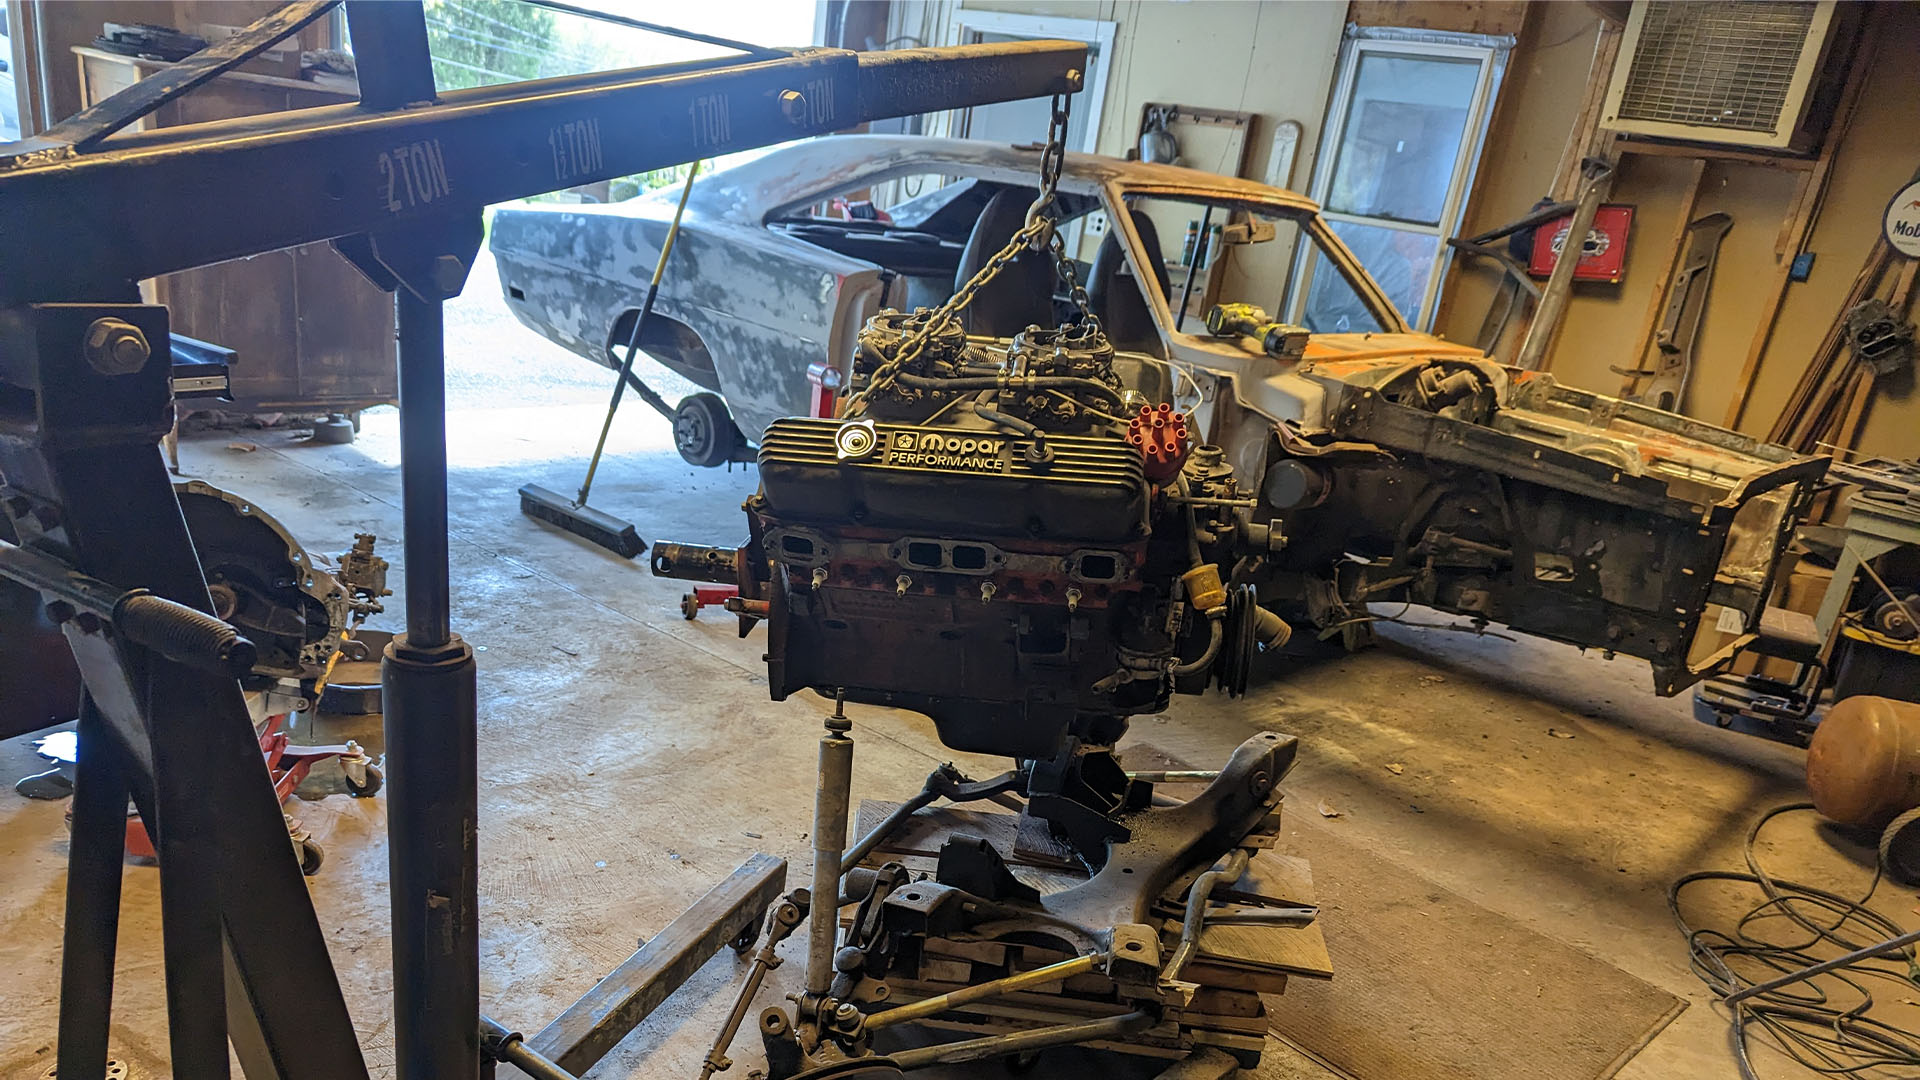
Part of what makes a hoist so handy is how simple it is. In essence, it’s little more than a bottle jack on wheels with a crane attached. If you can assemble it out of the box, you’ll figure out the basics of how to operate it almost instantly.
That’s not to say operating an engine hoist is foolproof. You will basically be working with a quarter-ton pendulum over a really expensive piece of machinery. Unless you want an even bigger bill and more repairs to contend with, you’d better put the muscle between your ears to work before you go tugging on things.
Don’t worry, as I’m here to give you the quick rundown you need to get rolling.

Engine Removal Safety
Using an engine hoist can get dicey. You need to be careful not to cause any damage to yourself, your car, or anyone around you.
Always be mindful and respectful of the weight you’re dealing with. Engines weigh several hundred pounds, and it doesn’t take much for them to turn into a wrecking ball when they’re up in the air.
You never want to jerk things around when you’re lifting the engine. You also don’t want to get beneath the engine or the crane during the lift. These are functionally the same as any other hydraulic jack, and you want to practice the same level of caution as you would with a floor jack when lifting your car.
There will be lots of sharp edges and particles of dirt and debris that like to play by their own rules. Cover up the soft stuff with some protective gloves and glasses to keep the little things from making big problems.
Everything You’ll Need To Use an Engine Hoist
Obviously, we’re going to need the hoist to lift the engine. That’s not all, though. You will need a stand to keep your old engine on, along with some other odds and ends.
An engine lift chain is almost always good to have around as it frees you up to select hoist points where an engine lift plate might fall short. However, the engine lift plate is the right pick for older engines with carburetors and throttle body fuel injection systems.
Engine load levelers are another excellent option if you need to be precise with the engine extraction. This tool helps keep an engine level while you lift, which can keep it from tilting or bumping into things, making a bigger mess for you down the line. It’s not necessary in all cases, but certainly handy for delicate projects.
Lastly, a set of pry bars and mechanic’s tool set are must-haves. You will need to disconnect everything keeping the engine in place, and hand tools are necessary to do it. Pry bars will help encourage those extra stubborn parts to cooperate.
Tool List
- Engine Hoist
- Engine Lift Chain
- Engine Lift Plate
- Load Balancer
- Engine Stand
- Mechanic’s Tool Set
- Pry Bars

Here’s How to Use an Engine Hoist
Let’s get after it.
1. Determine Your Plan
Before you go wrestling things around, take some time to make a game plan. Figure out where you’re going to lift the engine from and everything that needs to be disconnected before you pull it from the engine bay.
Now is also the time to determine if you will roll the car out from underneath the engine or pull it away with the hoist. Figure out the path you need to take to get the engine where it’s going, and give yourself room to work later. You don’t want to rearrange the shop when you have an engine dangling.
2. Unhook Everything Except the Mounting Points
Once you have a plan of attack, you need to disconnect everything attached to the engine aside from the transmission and mounts. The hoist can easily rip hoses, wires, and other small parts, and disconnecting them now can save you a lot of money. You also want to remove the radiator and the driveshaft if the transmission is being pulled too.

3. Set Up the Hoist
Engine cranes have an adjustable reach that you can move as necessary. You’ll see that the slots are marked to indicate the maximum weight capacity for the setting. As you adjust for the reach you need to hook up to your engine, you’ll want to be sure that the slot selected can handle the total weight of the engine along with the accessories and transmission if they are going with it.
After the crane adjustment is selected, hook up your plate or chains to the lifting points securely and slide the hoist in place. Then connect the hook to the mount and make sure the release valve is closed.
4. Ditch the Slack and Mounts
Pump the hoist to remove slack and slightly lift the engine. You only need to lift the engine just enough to take tension off the motor mounts to make it easier to unbolt them. You can do this earlier, but this is my preferred method. If you opt to follow this, do so with caution. Now is also the time to disconnect the transmission crossmember or bell housing bolts if you don’t plan to pull it with the engine.

5. Lift Slightly and Check Connections
Lift the engine a few inches, then take a look around. Make sure nothing is still connected. If you’re leaving the transmission in place, you will need to make sure the two are separated by pulling the engine forward before lifting.
6. Liberate the Engine
Now that we know everything is disconnected, you’re ready to lift the engine completely out of place. Be sure to get it up high enough so that it clears the car for the coming steps.
7. Clear Engine of Car
You need to get the car out from beneath the engine. It’s sometimes easier to pull the car out from underneath. If you must move the hoist instead, be careful and take your time. That engine can easily start swinging around and create a big headache.

8. Bring the Engine to the Stand
Hit the release valve and get the weight as low as possible once you’re free of the car. This makes it much easier and safer to roll the hoist to the stand. Though the safer choice would be to leave the hoist in place and take the stand to it, so the only work it has to do is adjust the height while you hook up.
10. Mount and Quit
Securely bolt the engine to the stand, then release the tension completely. Once you’re done, simply fold the hoist up and put it away until you’re ready to use it again.

Video
There’s a lot to unpack, and the part about actually using the hoist easily gets lost in all the steps. That’s why I wanted to throw in a video that shows how it all comes together. I know. You just want to get to it, but doing the research now will help you cruise right through the work later.

How to Use an Engine Hoist to Pull Out an Engine on a 2003 Chevrolet Impala – Using a Chain – DIY