We may earn revenue from the products available on this page and participate in affiliate programs. Learn more ›
If you’re really lucky, or careful for that matter, the rust on your project car will be limited to panels you can easily unbolt and replace. If, however, you decide it’s a good idea to attack a project pulled from a field, rust removal is a little more involved. You’re going to need power tools with teeth to get the job done.
But spot welds are among the many obstacles you’ll encounter when diving into serious rust repair. There are specialty sanders that’ll make quick work of them, but that’s not in the cards for many, especially when most of your money is being sucked up by sheet metal. Thankfully, that drill you’ve got lying around is up to the task when paired with the right accessories and a little bit of know-how.
Let’s talk about to get rid of them.
Spot Weld Removal Safety
As I’m writing this, I have a piece of metal in my eye that I caught while performing extensive amounts of sheet metal repairs to my own car. Even with safety glasses on, it made its way up under the PPE and right into the soft stuff.
I’m telling you this because you really can’t take safety seriously enough when working with sheet metal. Weird things happen, so layer up with some eye protection and hand protection. It’s also not a bad idea to toss in some noise-canceling earbuds and respiratory protection to keep the dust out of all the crevices.
Everything You’ll Need to Remove Spot Welds
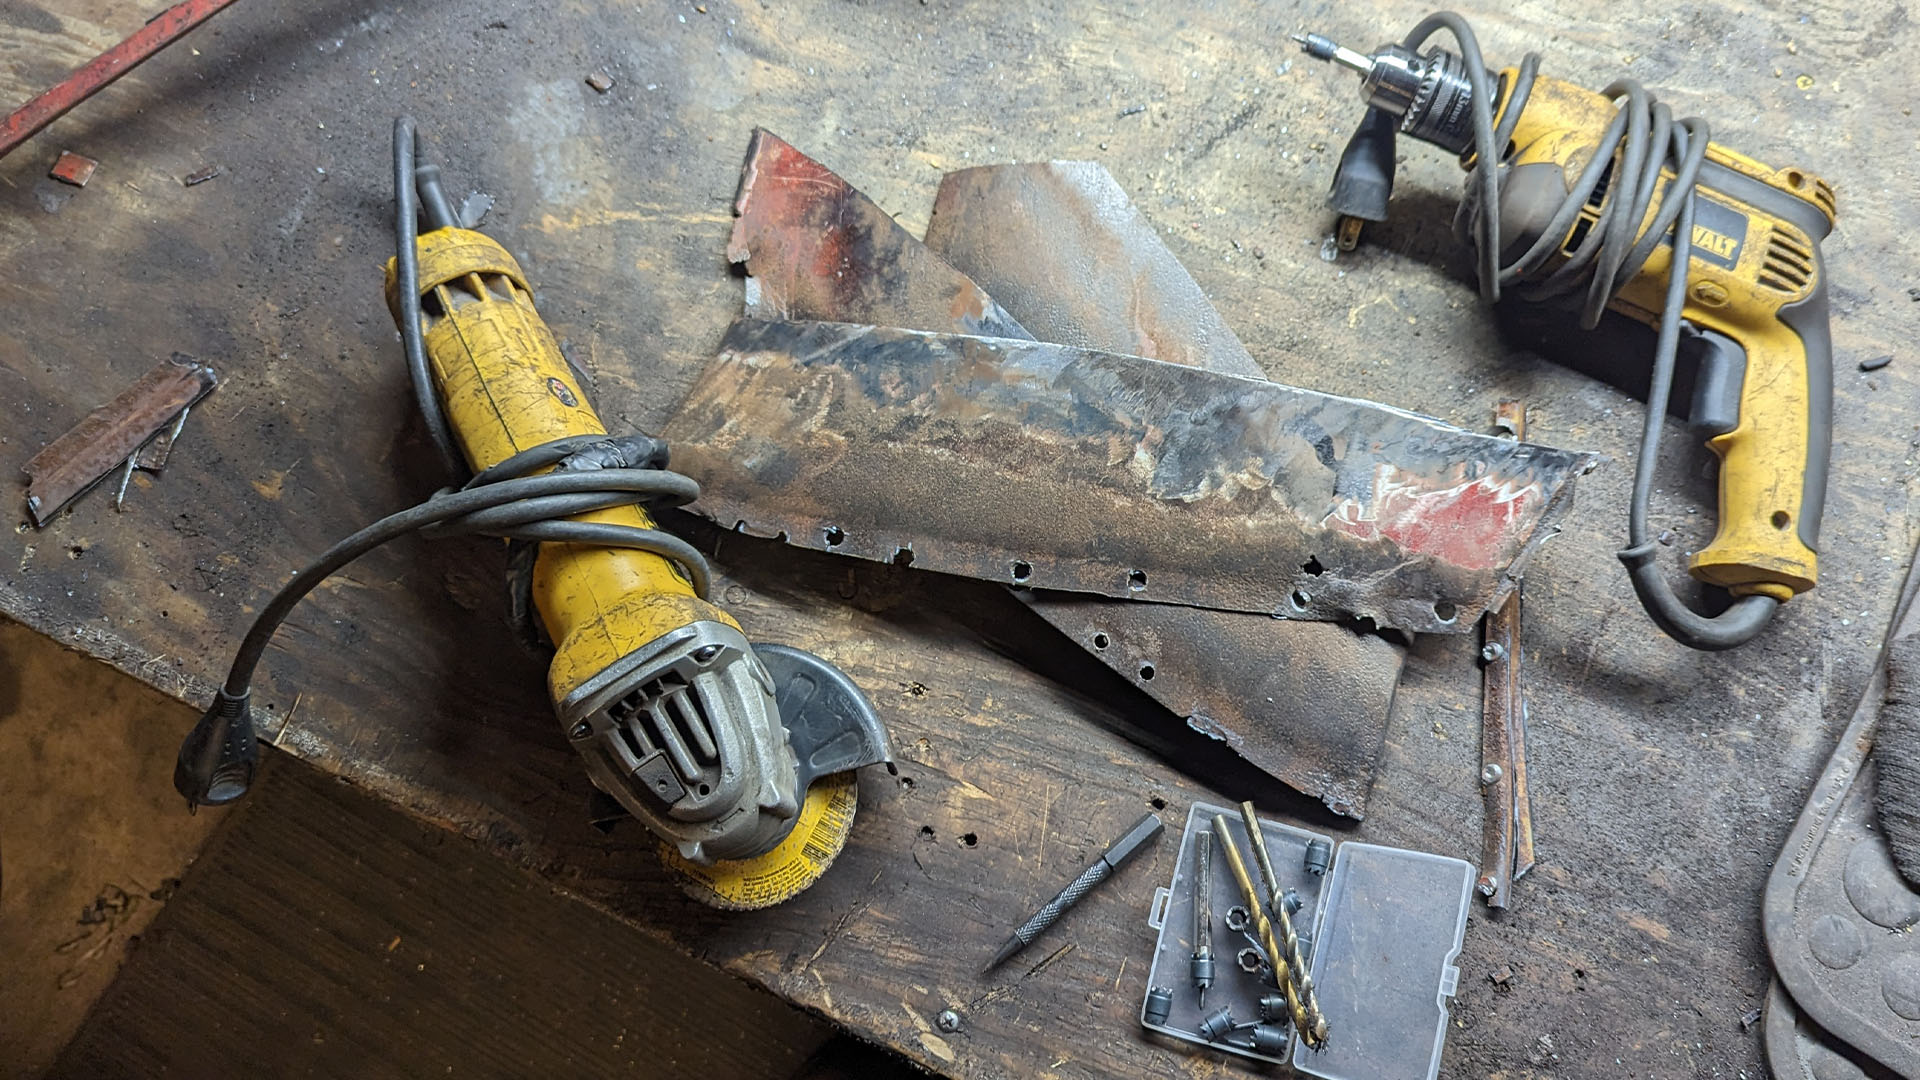
While we don’t need fancy high-dollar tools, we do need a few odds and ends to get moving. Relax. You probably have the majority of what’s necessary already, and anything you don’t can be sourced for way less than you might think.
Tool List

How To Remove Spot Welds
Drill Bit Method
The drill bit method is the least resource-dependant as you only need a drill and some drill bits, and a center punch for the removal of the spot welds. As far as what drill bits to use, grab something small to start, like a 1/8-inch bit, but a 5/16-inch bit will be used for the majority of the removal. You can change bits based on the size of the spot weld, but these should work in most situations. Don’t pick up those high-dollar bits, though. We’re about to disrespect them.
1. Locate the Spot Welds
Pinpointing the spot welds is your first step. You can often do so by closely inspecting the joint. They’ll appear as small dimples that run along the section where two pieces of sheet metal overlap. If rust or paint obscures this area, going over it with a grinding disc reveals them as the low spots remain discolored, indicating the spot-weld’s location.

2. Center Punch the Weld
Some folks will skip right to the drilling, but I like to start with a center punch. I prefer to work my way up to the larger bit. That way, I can count on it producing cleaner results, which is always helpful when reusing old sheet metal.
3. Bust Out the Little Bit
After hitting the panel with a center punch, enlarge the impression with the smaller of the two drill bits. You’re not trying to drill through the panel, just leaving a dimple to keep the bigger drill bit on track.

4. Work It Out
Take your larger drill bit and start drilling the impression. Only, rather than pushing straight through, roll the drill bit on the tip while running the drill. The basic technique is to use the cutting edges to strip away the spot weld. If you don’t feel comfortable removing it entirely, just thin the metal out, then come back with a hammer and chisel. The metal will be thin and easily separated. Some small bits will be left behind. Just take your grinder and give it a quick pass, and you’ll have clean, reusable sheet metal.

Spot Weld Cutter Method
The second method involves a spot weld cutter, which really speeds things up. However, you’re still going to want that center punch and grinder nearby.
1. Center Punch
Again, clean up the area and locate your welds. Once you’ve done that, put the center punch to work. These spot weld cutters feature a centering pin but will need help to stay on track. That said, enlarging the impression with a small drill bit may prove invaluable.

2. Cut
Place the centering pin in the depression, and apply pressure with moderate speed from the drill. Going too fast creates a number of issues. These spot weld cutters have large, coarse teeth that can unexpectedly bite and throw you off course. There’s also the risk of overheating the bit or going too far by cutting straight through both panels, leaving you with a big hole to deal with.
Take your time. Let the teeth work slowly. If you’re on center, the metal might pop away once the weld is removed, indicating it’s time to stop. However, you can try to pry it away with a chisel if you’re close and don’t want to take chances.

3. Clean
Spot weld cutters will leave behind the spot weld itself. If you’re using the piece that it’s stuck to, it’s once again time to bust out the grinder. These little spot welds can be stubborn, so patience is your friend when dealing with them. Work them away gradually with a grinding disc, being careful not to damage the piece you’re working so hard to save.
Video
Yeah, text is all right, but it’s helpful to have a visual display for this one. That’s why I made sure to find a video that’ll give the right visuals. This particular clip covers more methods than discussed but does include the two we’re concerned with. You don’t have to watch the others, but learning more about spot welds and the various ways of dealing with them will only help you in the long run.
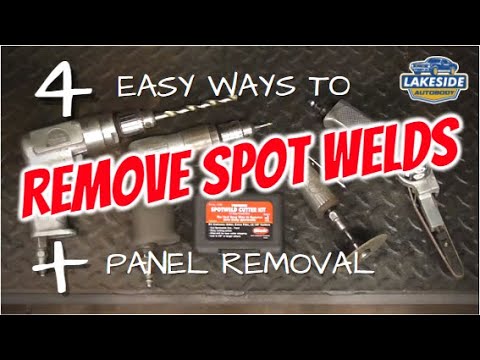
4 Easy Ways to Remove Spot Welds & Welded on Auto Body Panels
More From The Drive
- James Gilboy shares his thoughts on the 2023 Chevy Colorado
- Jerry Perez tells you all about the incoming 800-hp Honda CR-V
- Peter Nelson gives the latest update on his $925 Audi S4 project car
- Aaron Cole has the scoop on the body-swapped Checker cab you need
- Lewin Day tells us what AI means for auto designers