We may earn revenue from the products available on this page and participate in affiliate programs. Learn more ›
One of the most essential bits of information I ever picked up about cars came from a close friend and mentor. He told me, “they’re all pieces of junk, and they all break.” While that’s a rather bleak way of putting things, his years of professional experience wrenching on everything from passenger cars to quarter-mile monsters meant it was gospel.
This is especially true of carburetors. They’re archaic, crude, smell bad, and I love them. So do you, maybe. But if you’re running a carburetor, you’re going to have to tinker with it at some point or another. That doesn’t mean you need to be a carburetor wizard. You just need to know the basics of maintaining and fixing it after it breaks.
One of the more involved processes of carburetor maintenance is cleaning. As primitive as they’re made out to be, a lot is going on inside one. All the passages, ports, cavities, and crevices have one thing in common, though—they love to collect gunk. So today, you have The Drive‘s mega minds to show you the ropes of cleaning your carburetor.
Carburetor Cleaning Basics
Estimated Time Needed: 1-2 hours
Skill Level: Intermediate
Vehicle System: Fuel
Safety
Cleaning carburetors isn’t exactly the most dangerous routine, but you’re sure to make some OSHA officials squirm in the process. That said, you definitely want to be sure to wear your protective gloves and safety glasses. We’re not just saying that simply to avoid any potential lawsuits either. Carb cleaners are potent chemicals, and they’ll do more than clean your skin and eyeballs—trust me, they will find those eyeballs.
You also really want to make sure you work in a well-ventilated area. Keeping the doors and windows shut will almost certainly leave you feeling a little woozy. And if you’re jonesin’ for a smoke, do your best to keep the open flame AWAY from the gasoline and chemicals you’re dealing with. You’re not the Human Torch, you will get burned.
Everything You Need for Cleaning Carburetors
Does cleaning a carburetor really cost $50-$100? No. But that’s only a technicality. The reality is that you’ll probably spend $25-$50 on cleaners, depending on how much of and what kind you need. We say you’ll end up investing $100 because, at the very least, you should pick up a rebuild kit as well.
Cleaning your carburetor and rebuilding it go hand in hand. Going through and making sure all of the internals are in working order only helps you get more out of the work you’re doing anyway. Besides, all of those parts are coming out and you’re bound to tear a few gaskets along the way. You’re not adding any more time to the process by replacing them.
So, what will you need? While a can of carb cleaner will work wonders, it’s but one tool for the job. You’ll want to use a chemical dip to get into those extra deep nooks and crannies. Shop towels, a brass brush, and some wire will also come in handy. Get yourself a cheap oil catch pan, and you’re in business.
Carburetors are complex, but you won’t need much more than a few basic hand tools for tearing them down and putting them back together. A set of screwdrivers, wrenches, and needle-nose pliers should all be present. Depending on the carburetor you’re working with, some specialty tools for removing jets, power valves, and so on may be desirable. It’s essential to do the homework ahead of time to determine whether or not they are necessary for the model you’ve got.
Tool List
Product List
How to Clean a Carburetor
Here’s what’s what.
1. Remove the Carb from the Manifold
Sure, you can clean parts of the carburetor with it on the manifold, but you can’t quite get everything. Besides, you’ll likely drop something down into it while you’re working and suddenly, you have a major headache on your hands. Make sure to stuff a clean rag into the manifold to prevent any debris or foreign objects from falling into the open cavity.

2. Drain the Fuel
It’s a good idea to get all of the fuel out of the carburetor before disassembling it. Some opt to tip the carburetor upside down and let the fuel flow out into a catch can. You can also cycle the throttle a few times to speed things up.

3. Tear Down the Carb
The teardown process varies from each carburetor model, which makes it difficult for us to give you an exact procedure to follow. We can tell you to keep track of everything, though. Make sure to examine each part you remove and take notes of where they go. Jets, metering rods, power valves, discharge nozzles, and so on should go back to the exact locations you removed them from.

4. Deal With the Big Bits
You’ll want to take the time to remove any heavy deposits from the carburetor parts before you start dropping them in the chemical bath. Your brass brush combined with some carb cleaner is all it takes for these bits. The chemical bath can work through these buildups, but you’re only adding more time to soaking each part and shortening that product’s life by not dealing with them ahead of time.

5. Time for a Bath
After the bulk of the gunk is removed, you can go ahead and start lowering each in for a bath. Each part should soak for about 20 minutes to half an hour. You can work in batches to speed things up.
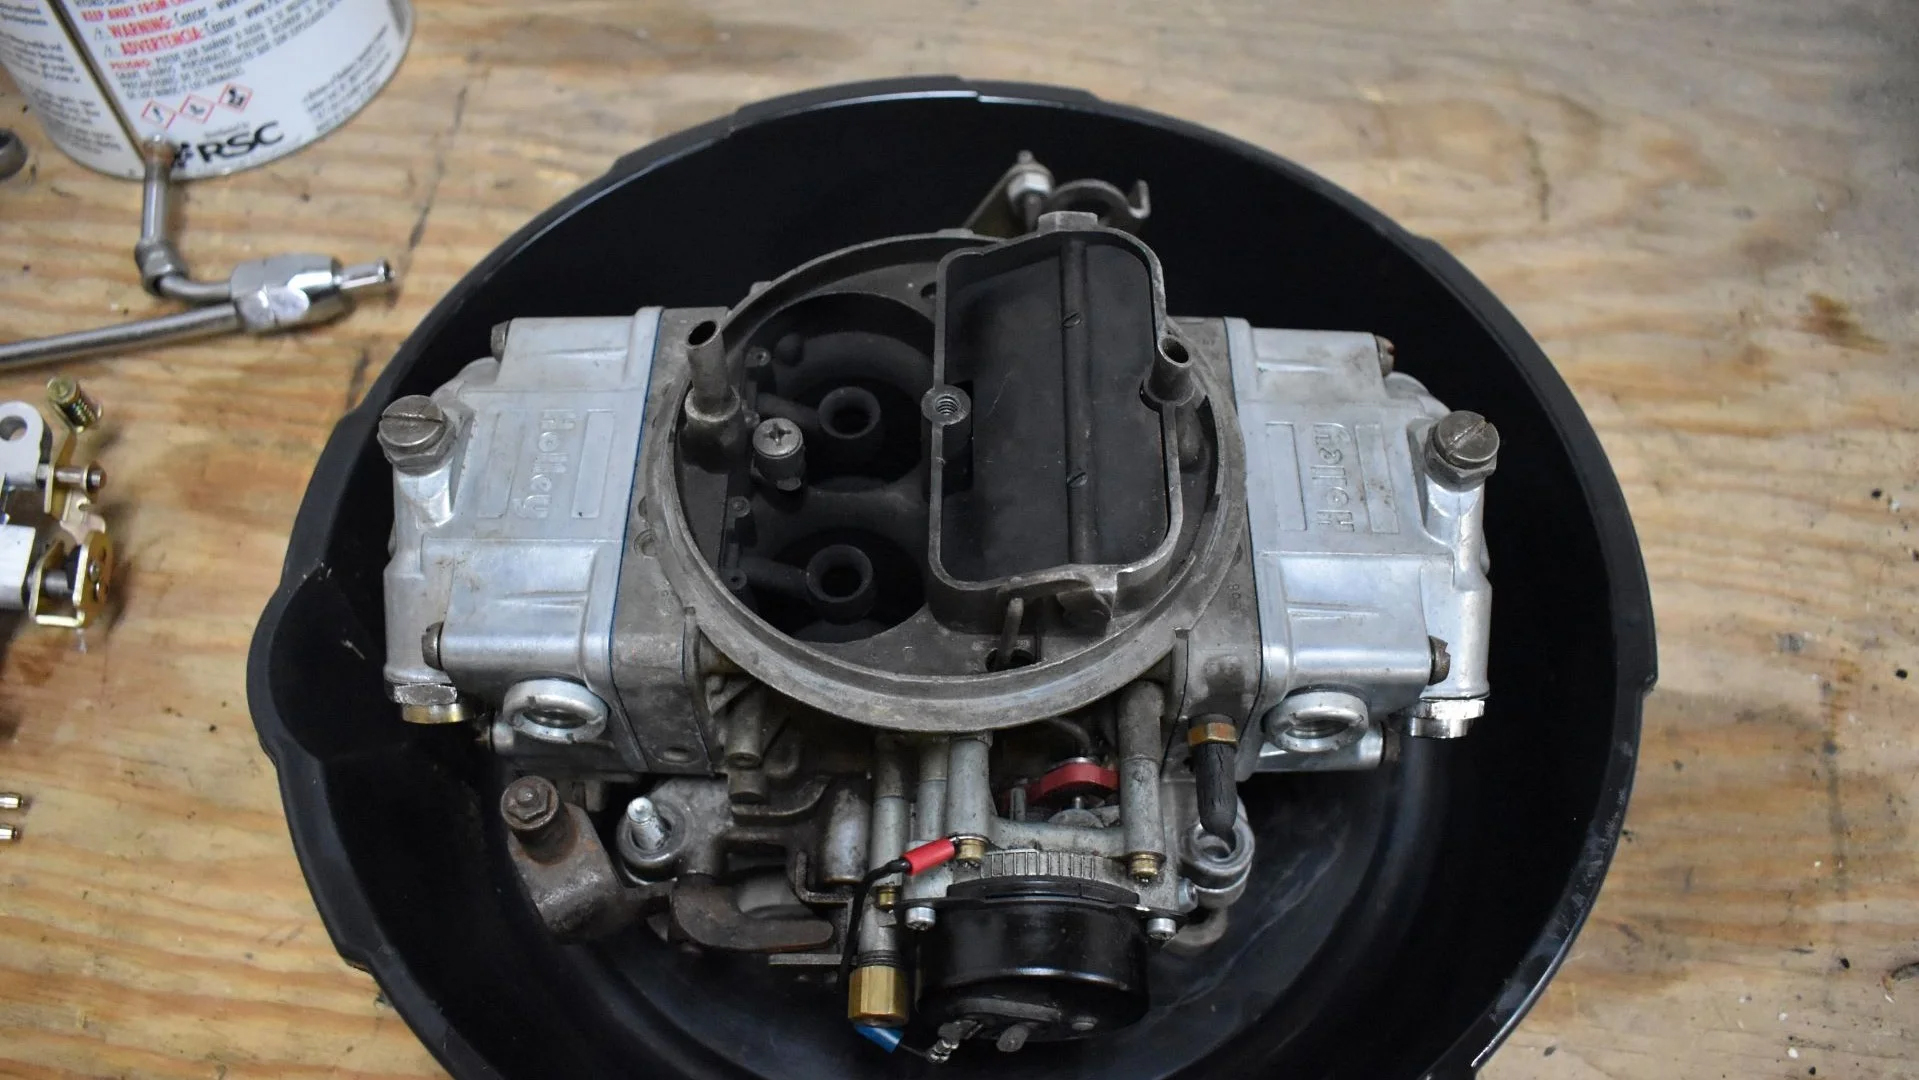
If your parts are too big for the container your bath comes in, you can opt to turn your drain pan into a bath. Just make sure you open even more doors and windows. You can’t expect the best results with this method as the parts still may not submerge in their entirety—which is the exact issue I ran into when trying to soak the main body of my Holley 4150.

6. Spray and Scrub
The chemical bath works wonders, but it can only do so much. After parts are removed from the solvent, you’ll want to apply some elbow grease. A clean brass brush and some carburetor cleaner is the recipe for covering those larger areas that still have some buildup.
7. Fire in the Hole(s)
Now for the fun part. Carburetors are filled with all kinds of passages that are just as filthy as the spots you can see. You’ll need to get in there. You can use carb cleaner for this part as well. I like to blow carb cleaner through the passages and watch to make sure it’s coming out where it’s supposed to. If it doesn’t, there’s a blockage that you’ll need to clear with the help of a thin wire. Just make sure your eyes are clear of the line of fire while spraying carb cleaner in any passages as its entry may come as an unpleasant surprise.

8. Clear the Jets
The jets in your carburetor are prone to acquiring buildup. Luckily, there’s no guesswork involved. All you have to do is hold up the jet to make sure you can see through it. Dealing with gunk is made easy with a thin wire or drill bit that matches the hole exactly. Never use a drill to remove blockages, as you can damage or enlarge the orifice.

9. Reassemble the Carb
Once everything is clean, you’re ready to move on to assembling the carburetor. What’s the point in throwing dirty old parts in that whistle-clean carb, though? Rebuilding it protects your efforts and ensures that carb is factory-fresh and ready for anything!

Video Tutorial on Cleaning Carburetors
Sometimes, putting things in text tends to overcomplicate some things. While we try our best, we understand that we aren’t there to physically guide you along. We can hook you up with a video tutorial, though. This bit covers motorcycle carbs, but the basic principles apply to virtually any other carb out there!

How To Clean A Motorcycle Carburetor | MC GARAGE
FAQs
Entering the world of carburetors is bound to inspire questions. Don’t worry. We’ve got answers!
Q: What is the best way to clean a carburetor without taking it apart?
A: The short answer is you can’t. There are additives you can try running through the fuel system, but the fact is that you can’t depend on these to deal with any stubborn deposits or buildups that are typically found in a carburetor. Your best bet is to take it apart and make sure everything is clean with dedicated solvents and chemicals.
Q: How do I know if my carburetor needs cleaning?
A: Many signs can tell you it’s time to clean a carburetor. Flooding or fuel bellowing out of the fuel bowl vents, rich running conditions, lean running conditions, or the engine not running can all mean the carburetor is due for a scrub. Your best bet is to look for issues like this that you can’t solve by standard means of adjusting the carburetor’s settings.
Q: How do you rebuild a carburetor?
A: Rebuilding a carburetor can be as simple as replacing the seals and gaskets to overhauling all of the major components. That’s exactly why you might as well perform a rebuild while you’re cleaning. The process of which varies by the model of the carburetor. We’re covering the rebuild of a Holley 4150 Double Pumper to give you a glimpse at the process.
Read More on Carburetors
- Carburetors Aren’t Rocket Science, Here’s How To Adjust One
- Everything You Ever Wanted to Know About Tuning Your Holley Carburetor
- Understanding Carburetors: Vacuum Secondaries vs. Mechanical Secondaries