
We may earn revenue from the products available on this page and participate in affiliate programs. Learn more ›
Second to the modest flathead screwdriver in terms of simple yet effective tools, a breaker bar is a crucial part of any home wrencher’s toolbox. It’s designed to increase power by simply providing more leverage—and therefore more torque—for undoing either hardware with a high torque value, or hardware that’s particularly stuck.
It’s quite neat that simple physics can go so far in helping us stave off headaches and sore muscles while working on cars. But for those new to the DIY wrenching game, you might not know what one is, how it works, or when to apply it. In order to bridge your knowledge gap, we’ve put together this handy-dandy guide on what a breaker bar is, what makes them so useful, and why you need one in your toolbox.
Breaker Bar Basics
A breaker bar’s purpose is to simply break nuts and bolts loose. By adding 16, 24, or more inches over a conventional wrench, the added torque makes for stronger and more effective loosening.
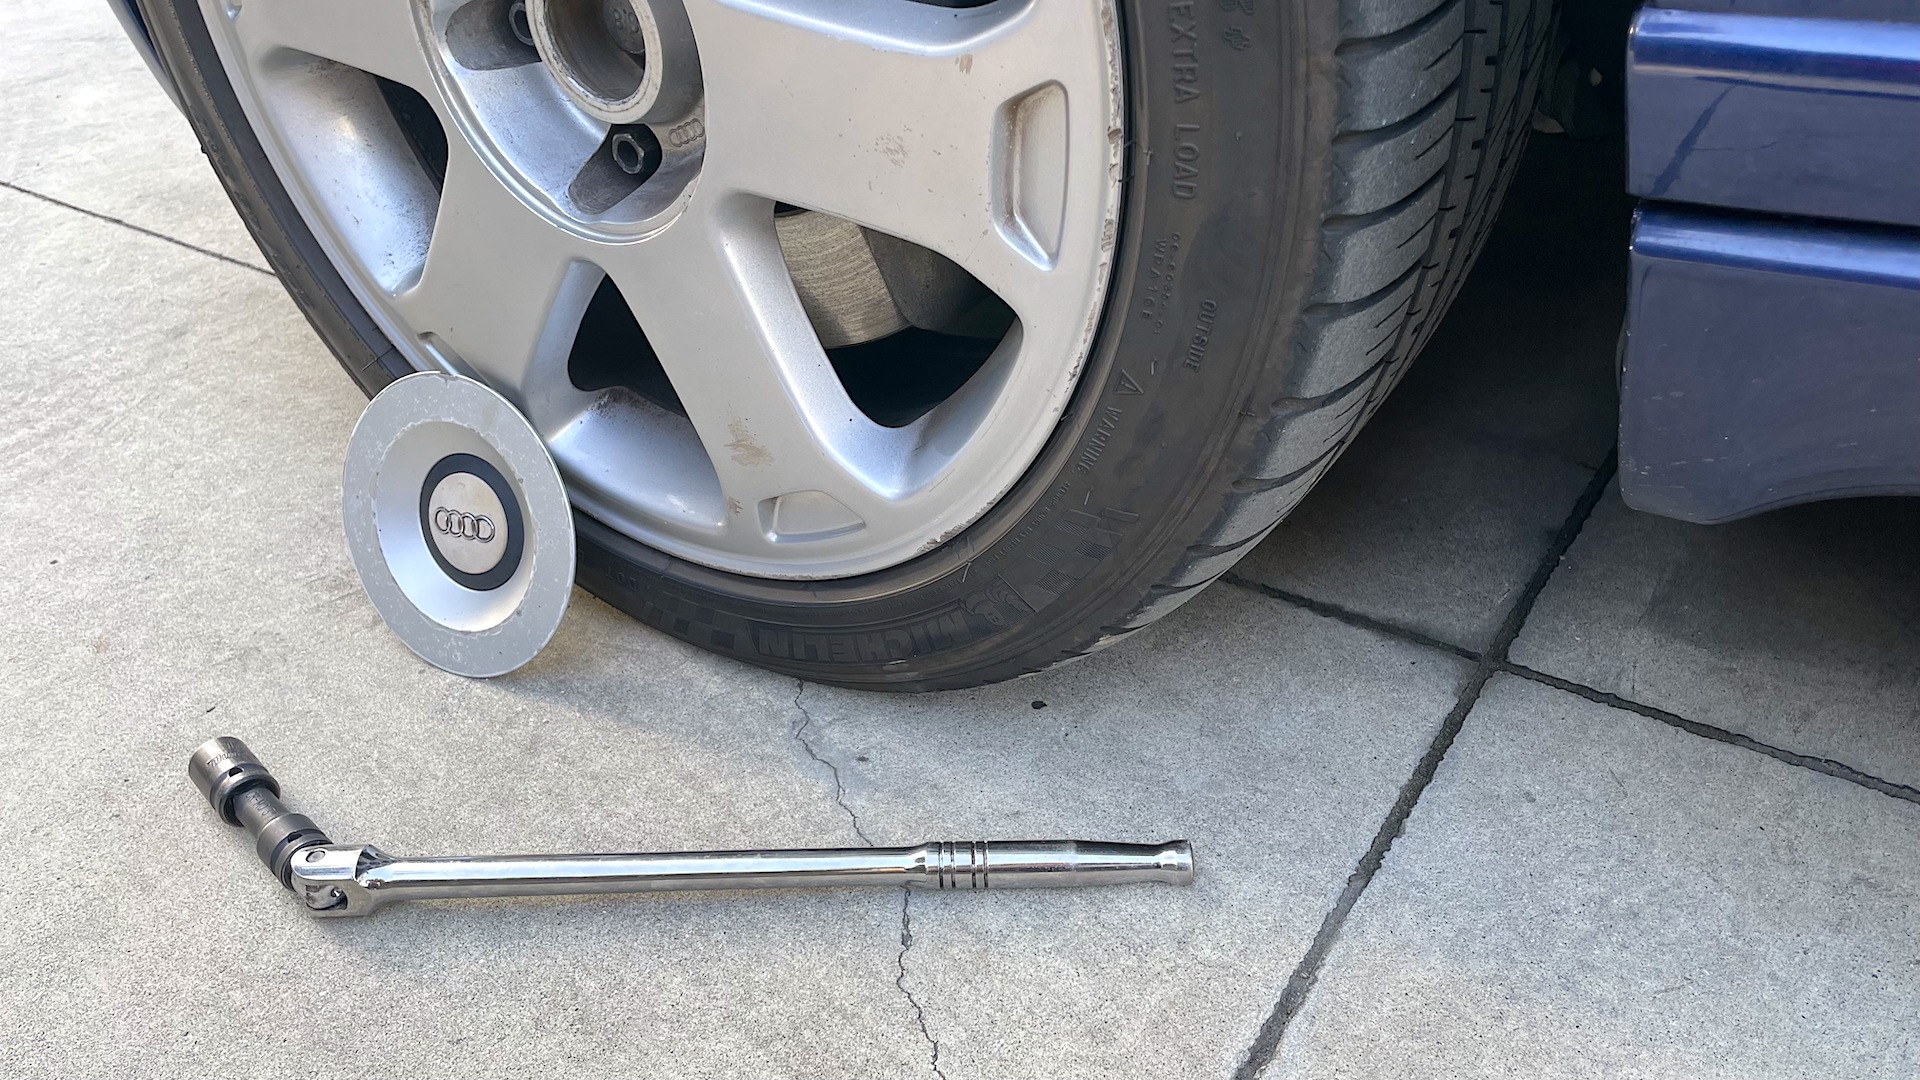
Sturdy ratcheting breaker bars exist, but typically it takes the form of a fixed chromium-vanadium steel bar that attaches to a socket. Sometimes they include a 180-degree swivel for easier loosening, too, meaning loosen the bolt and then flip the bar around to continue loosening.
Don’t tighten nuts and bolts down with a breaker bar, however. This is because the amount of torque they add might be too much, so using a conventional wrench until the nut or bolt or nut is lightly snug and then following up with a torque wrench is ideal. It’s also important to be mindful of any necessary torque sequence, such as if it’s an aluminum/stretch bolt.

How to Use a Breaker Bar
Using a breaker bar is generally very easy and straightforward, as all you need to do is attach a socket, put it on a nut or bolt, and start loosening. But there are still some things that are good to keep in mind while using them.
Make Sure Its On There
This might seem like a no-brainer, but you want to make sure that the socket is firmly and securely attached to the nut or bolt. If it’s not, when you start to loosen it, the socket could slip and round off the head, which will then make continued efforts harder, or even require some creative extraction.
Use penetrating oil/lubricant
Delivering a massive amount of torque to a rusty bolt that hasn’t moved in decades could spell disaster, meaning it could break it and then require a lengthy extraction process. Spraying penetrating lubricant on the bolt and letting it seep into the threads reduces this risk.
Utilize Smooth Motions
This is especially true when dealing with rusty, stuck hardware. Smooth motions help ensure smooth torque transfer, thus reducing the risk of breaking anything. Fast, rough motions generally aren’t useful. Especially if you’re dealing with something like a wheel nut attached to a stud—it could break the stud completely off.

A Few Breaker Bars We Like
Here are a few breaker bars from reputable companies, however, you can use an old pipe as a breaker bar, too. At least you can if you have one lying around your garage.
- EPAuto 1/2-Inch Drive by 24″ Length Breaker Bar
- DURATECH 3-Piece Breaker Bar Set, 1/4”, 3/8” & 1/2”
- NEIKO Drive Premium Breaker Bar
- Performance Tool W32126 1/2-Inch Drive
- TEKTON 1/2 Inch Drive x 24 Inch Breaker Bar
A Quick and Easy Replacement for a Breaker Bar
Speaking of using an old pipe, this brings up a good point: If you need some torque multiplication in a pinch, adding a length of pipe or jack handle to a ratchet helps a lot. Though, be careful as these could slip and either harm you or the car. Ask us how we know.