We may earn revenue from the products available on this page and participate in affiliate programs. Learn more ›
Impact wrenches are pretty simple tools, and most of us use them every time we step foot in the garage. Often on a daily basis. But they aren’t so simple that you can hand them to a total novice without a quick explainer as to how things work.
That’s especially true considering the amount of power these things can now dish out thanks to new tech, and one can easily do more harm than good to a project if they don’t know some of the basics. If you’re that novice and you’re working on your own with nobody to give you the rundown, you’re in the right place.
All of you veterans reading along, be sure to share any advice you’ve got in the comments below on impact wrenches or power tools in general. There’s a lot to learn fast getting into the world of DIY auto mechanics, and any bits of advice are surely appreciated.
Everything You’ll Need To Use an Impact Wrench
I don’t know what you’re starting off with or what you even have access to. Also, since impact guns require specialty sockets and accessories to get the job done, it’s important to go over the below checklist of gear you’ll need before getting started.
No, chrome sockets aren’t the same as impact sockets. Folks might use them interchangeably, but impact sockets have thicker walls and are constructed from chrome molybdenum, making them better equipped to handle the massive forces at play.
Tool List
- Impact wrench (electric or pneumatic)
- Impact wrench battery and charge (electric)
- Air hose (pneumatic)
- Air fittings (pneumatic)
- Thread sealer (pneumatic)
- Air tool oil (pneumatic)
- Air compressor (pneumatic)
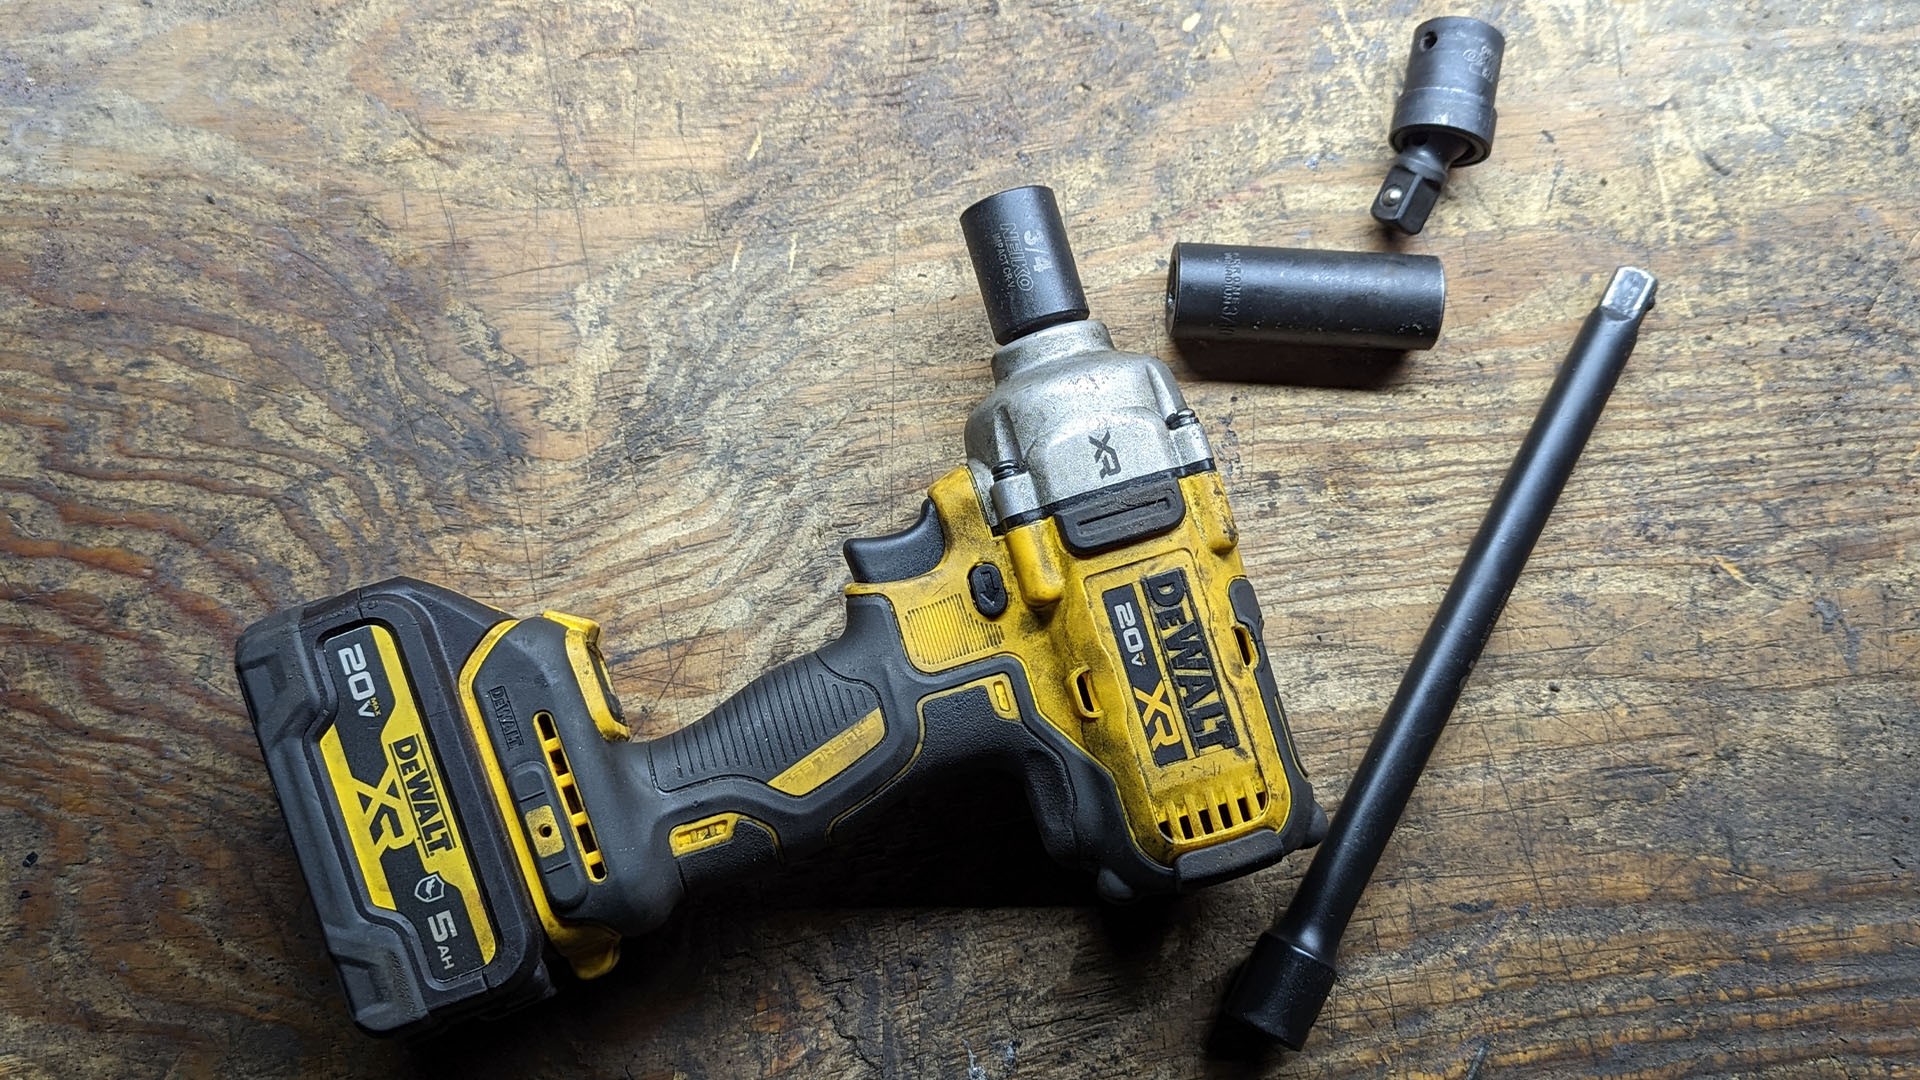
- Impact sockets
- Impact rated extensions
- Impact rated universal joint
- Torque sticks
What Not To Do
This.
Here’s Actually How To Use an Impact Wrench
1. Familiarize Yourself with The Workpiece
Not taking the time to make sure I’m about to use a tool correctly for the project has bitten me on the you-know-what way too many times not to stress its importance. Before you get going, take the time to study what you’re working on. Verify thread direction, consider the approach angle, and apply some penetrating oil if you think it’s necessary. In short, think about what you’re about to do. Impact guns aren’t the nuclear option but they can cause irreversible damage if you’re not careful, and it’s always wise to take your time to do things the right way.

2. Set Up Your Impact Wrench
Take a second to familiarize yourself with the tool too. Get a feel for where everything is and how each function factors into your working process. Once you get the basic layout down, it’s time to get rolling. Set the selector switch to the appropriate direction, and select the proper power level if applicable. If you’re unsure which power level is right for the project, start with the lowest or automatic setting. You can always move to the next level up if it’s not enough. Now is also the time to add a couple of drops of air tool oil to your pneumatic impact and verify your air compressor’s settings if that’s what you’re using.
3. Bust Out The Torque Stick (fastening only)
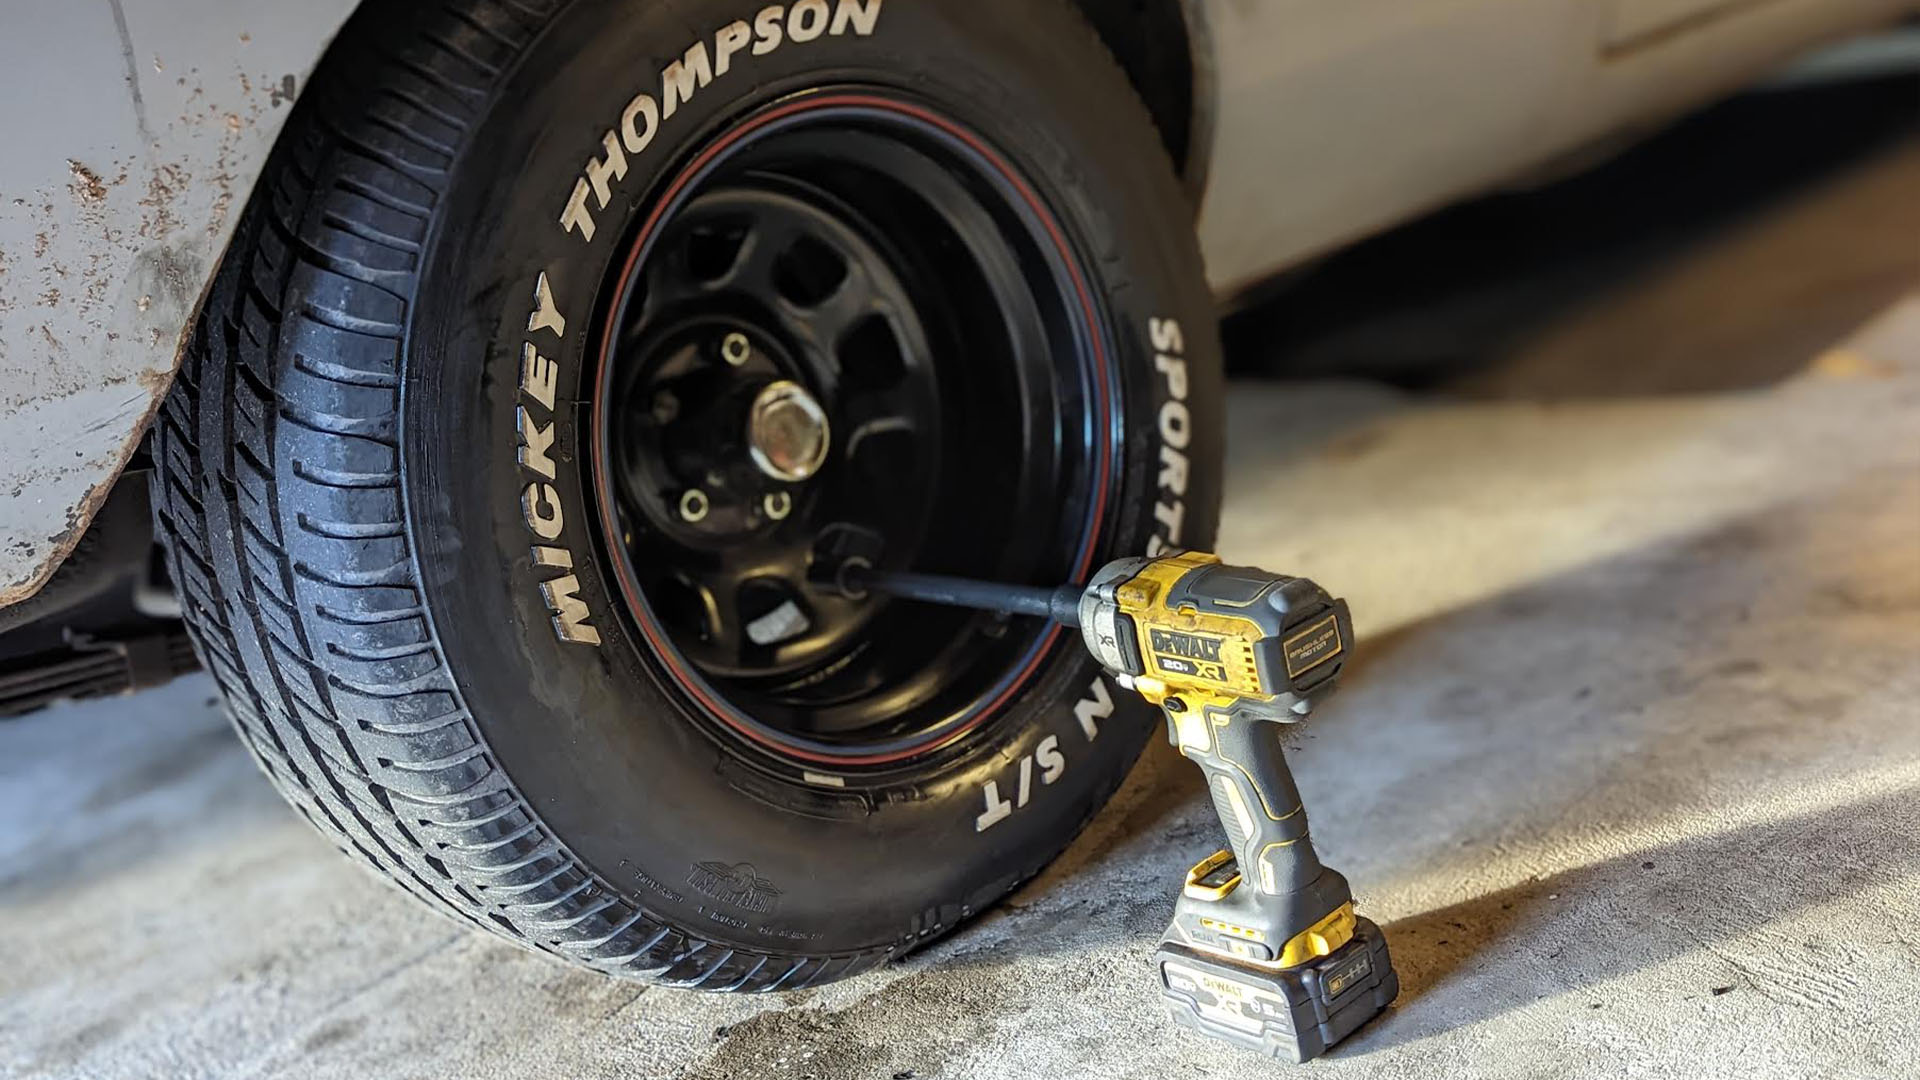
It’s not recommended that you use impact guns for fastening in many situations. They can easily lay down a ton more power than you need and strip threads. You’re going to use it for lug nuts and other large fasteners found on the chassis, though. One way to prevent damaging the threads is using a torque stick. These pop in place before the socket and prevent the tool from applying more torque than is specified. They don’t replace a torque wrench, but they are a great line of defense between you and stripped threads.
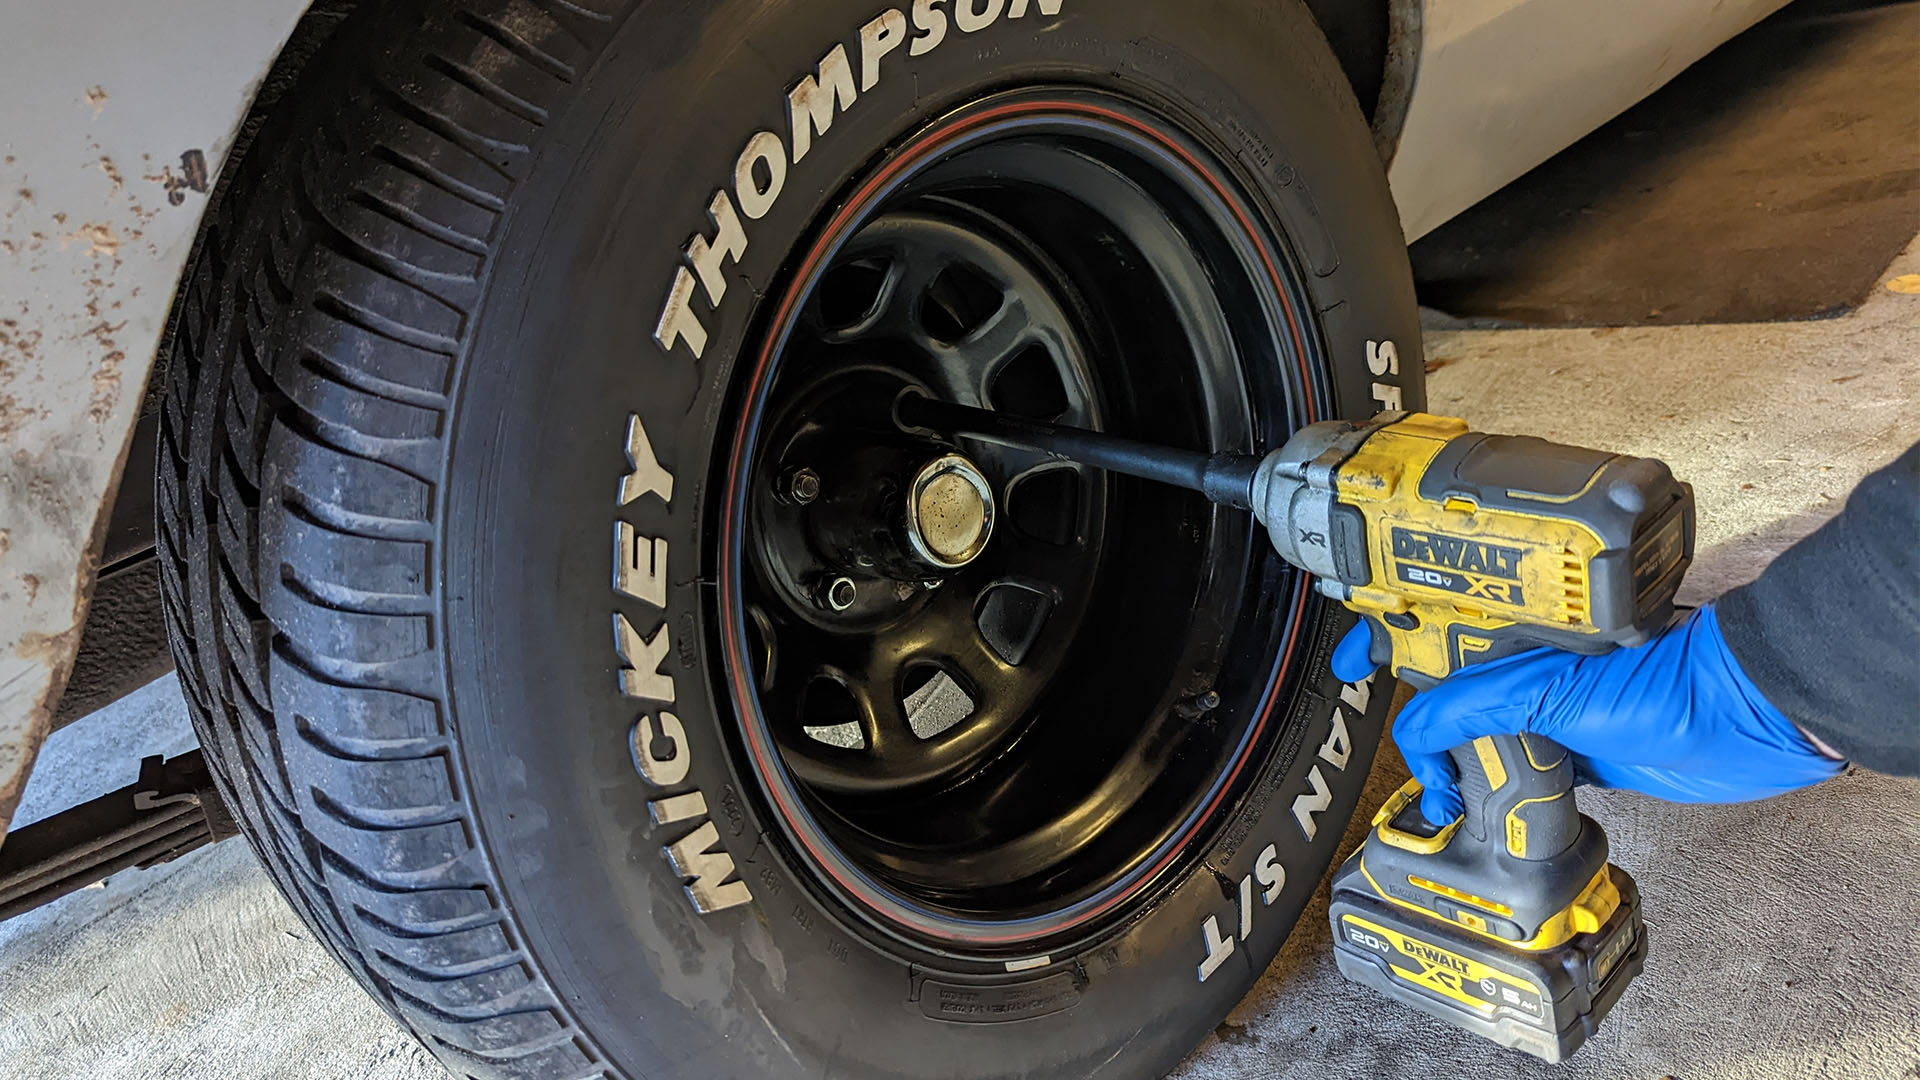
4. Pop On a Socket
Take a look at the anvil. Sockets are secured in place with either a friction ring or a detent pin. If you’re using a model with a detent pin, be sure to line it up with the hole in the base of the impact socket. If it uses a friction ring instead, your only concern is to line the anvil up with the base of the socket and pop it on. This is also a good time to remind you to pick the right socket depth, as that will ensure proper engagement of the fastener.
5. Start The Fastener By Hand (fastening only)
If you’re using an impact wrench for tightening, be sure to start the fasteners by hand. This will prevent cross-threading, and ensures you’ll be allowed to play with power tools for even more projects.
6. Get On It
All right, we’re almost there. The next thing to do is position the socket onto the fastener. Making sure you’re working straight on so that the socket is fully engaged with the fastener and not cocked at an angle is how you’ll save yourself a lot of headaches. An impact-rated universal joint and an extension will prevent drama with those fasteners in weird places.
7. Apply Gradual Power
There’s a good chance you’ll need to go all out and let the tool work at max power to bust stubborn fasteners free. You really don’t want to assume so and start there, though. Especially not with automotive applications that have relatively small fasteners. Instead, gradually apply power by making use of your tool’s variable speed control trigger and multiple power levels. Give it a little and see if that works. If it doesn’t, give it a little more. Eventually, you’ll get the hang of things and know when and how much power to apply, but trial by fire is no way to learn – broken bolts can be a real nightmare to deal with, and you want to avoid them as much as possible.
It’s worth noting that a lot of new cordless models feature an automatic fastening mode that eliminates a lot of the guesswork. In this mode, you just squeeze the trigger, and the gun decides how much power to apply. It might take a second to work, but it does come in handy, especially if it’s a good design that somehow knows just when to stop so that your fasteners don’t take a ride across the shop floor.
Video
Reading doesn’t always help you visualize the process, nor should you get all of your information and tips from a single source. That’s why I’ve dropped in the video below. It’s brief, but does an excellent job of helping beginners use an impact wrench for the first time.
How to use an Impact Wrench
More From The Drive (H2)
- This is what it’s like to adopt a highway
- Yes. You do need to see Porsche’s 911 Dakar
- Ferrari has a crate engine and its awesome
- Here’s how to use a torque wrench
- Rotating your tires is simple and worthwhile