We may earn revenue from the products available on this page and participate in affiliate programs. Learn more ›
Fact: Check engine lights lead to gray hairs and sleepless nights. Just kidding, they’re important warning signs that help you maintain your ride’s health and well-being. But what happens when that palpitation-inducing light just won’t go off, even after the vehicle has been completely repaired? Don’t hyperventilate just yet, as resetting your check engine light might be a simple fix.
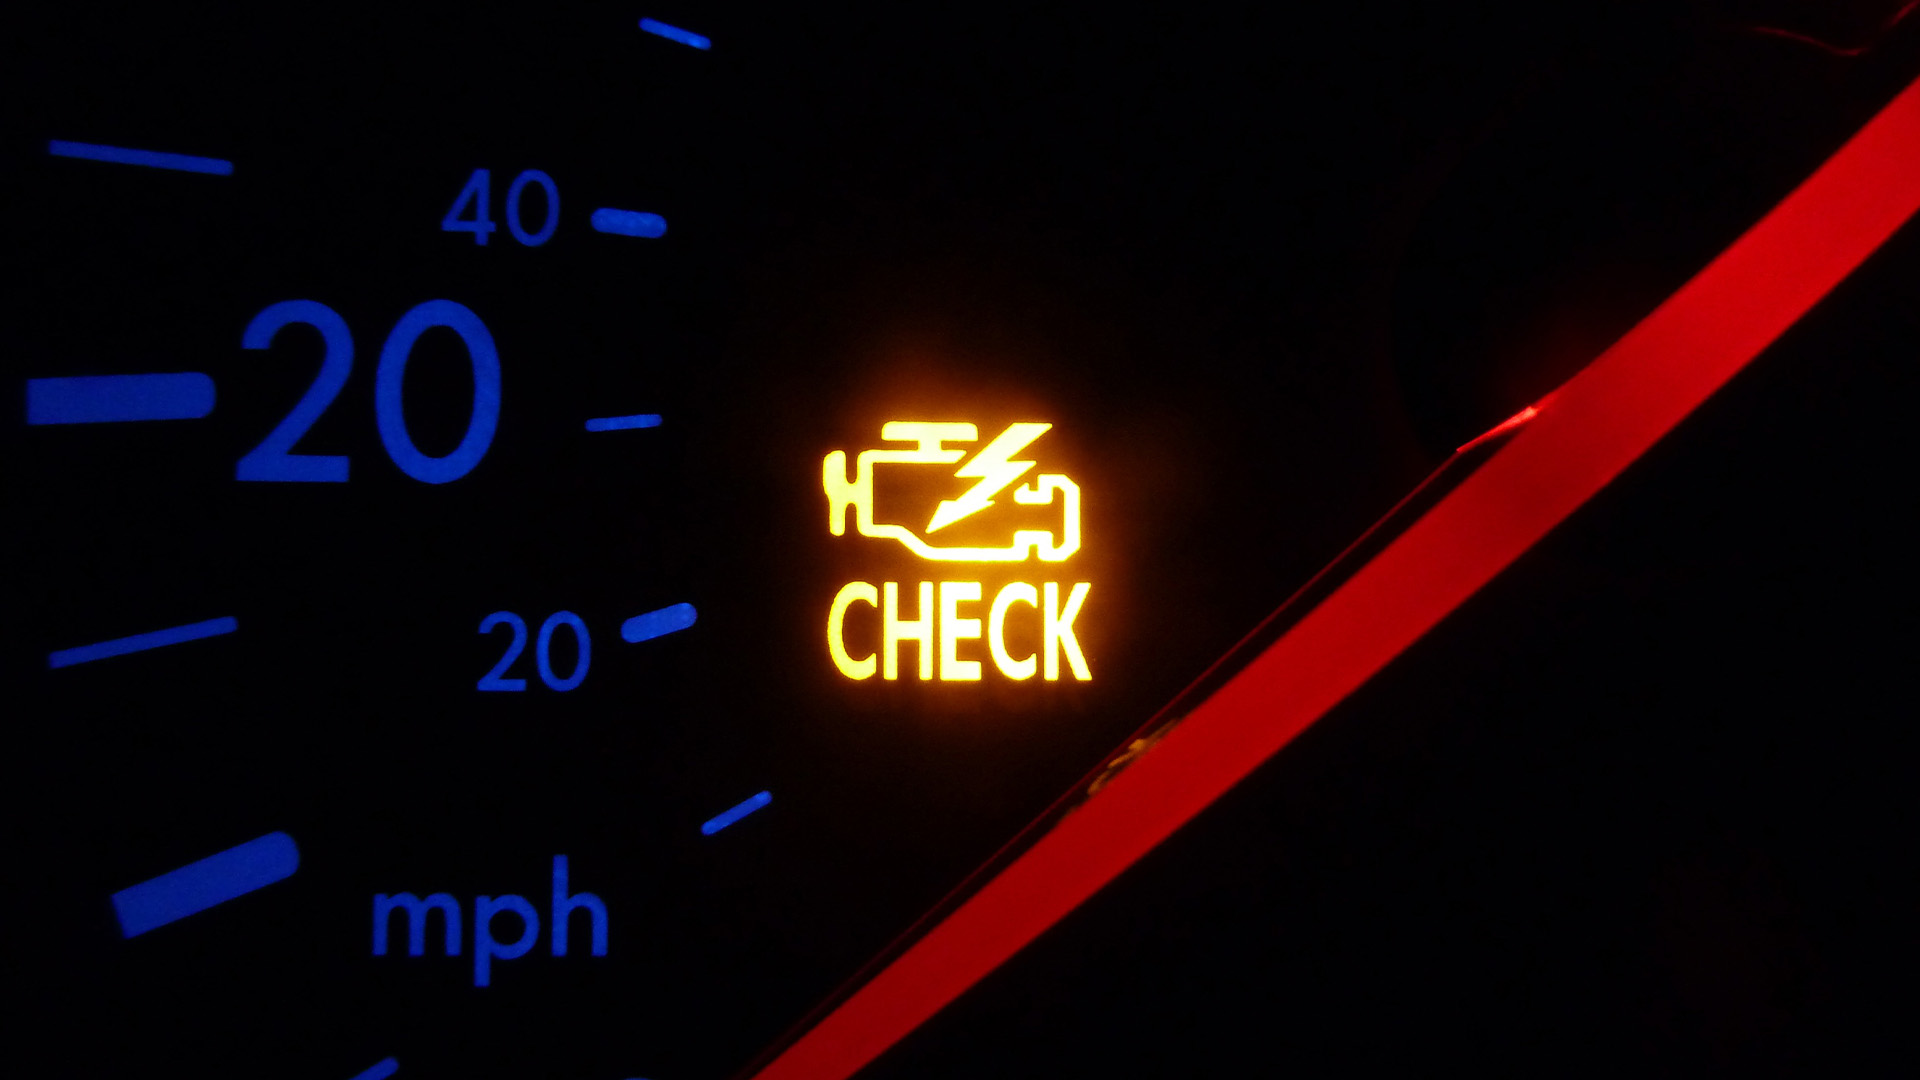
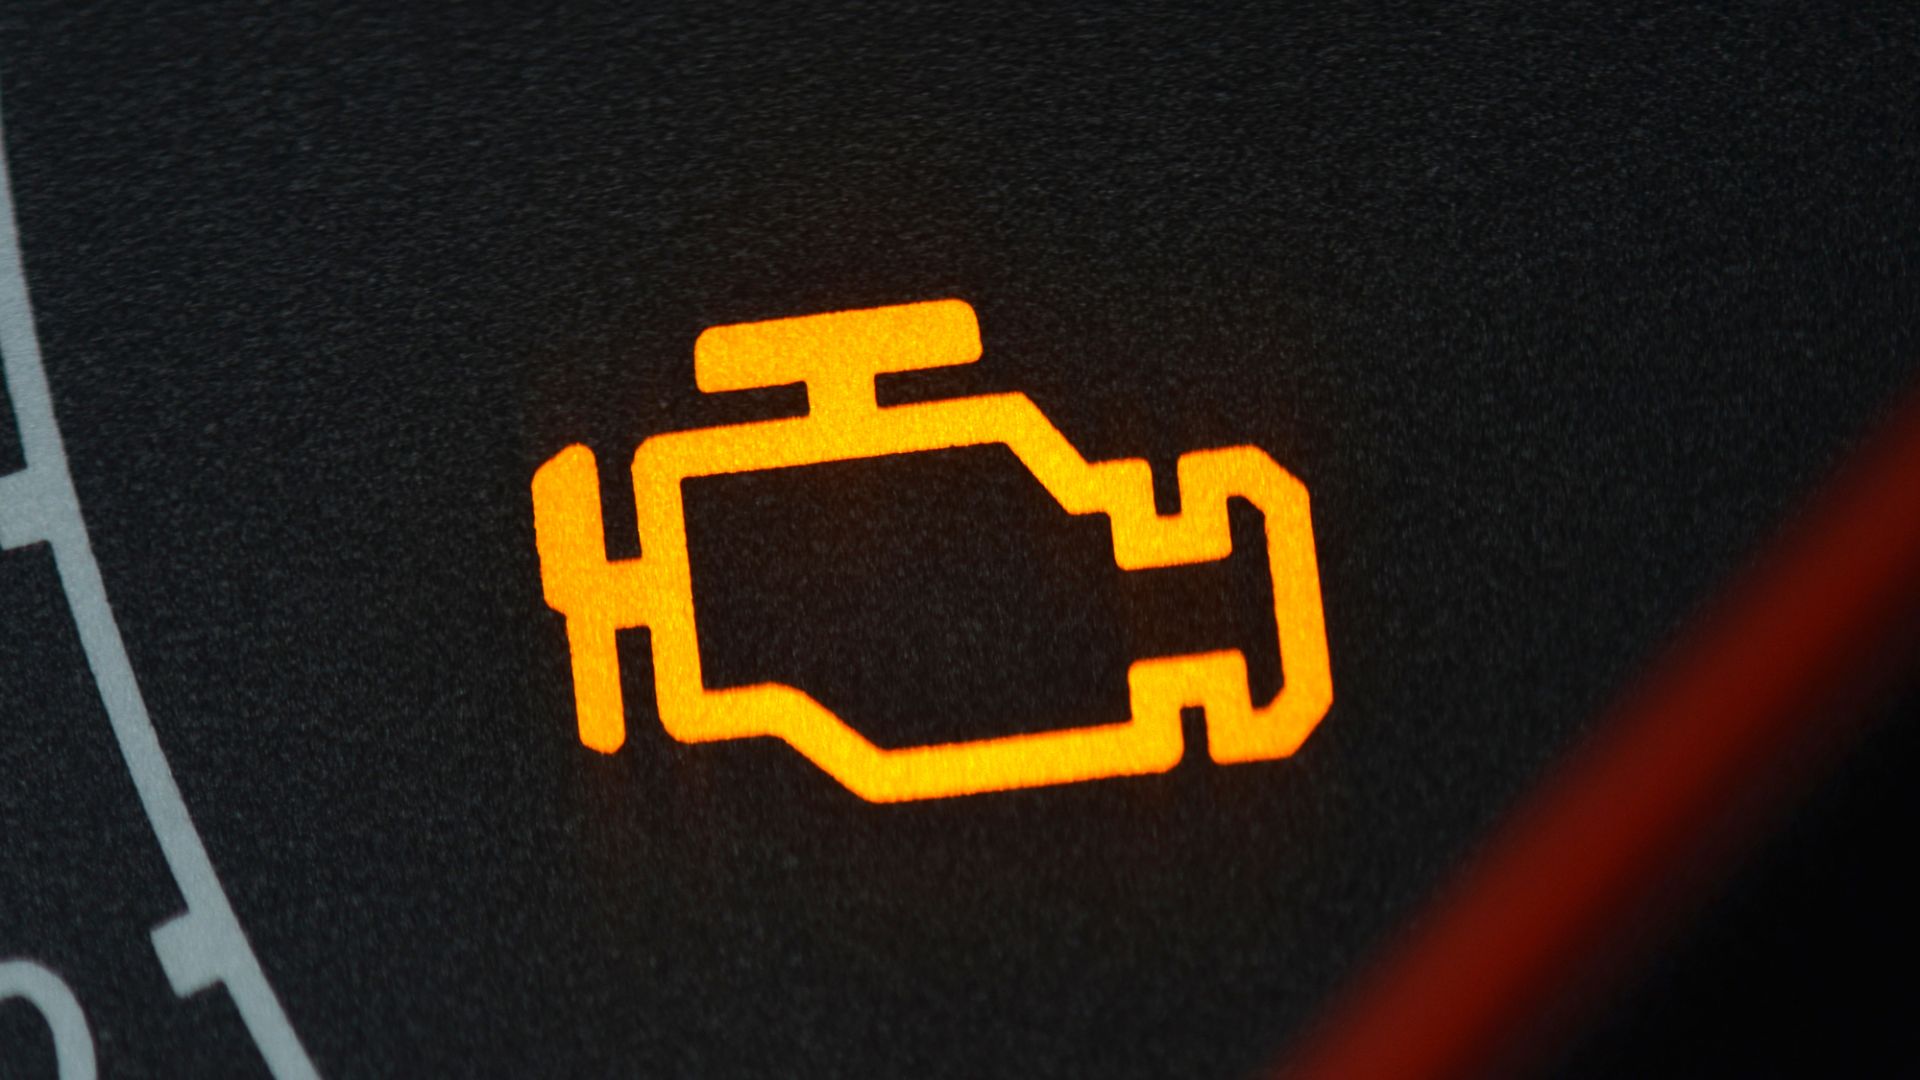
A check engine light, commonly referred to as a CEL, is a small warning light on your car’s dashboard that indicates that something is wrong with your car and is triggered by one of your car’s sensors. There are countless reasons why your check engine light could turn on, including a wiring fault, a bad oxygen sensor, or a misfire. Sometimes, the check engine light won’t reset on its own, even after the faulty part has been fixed.
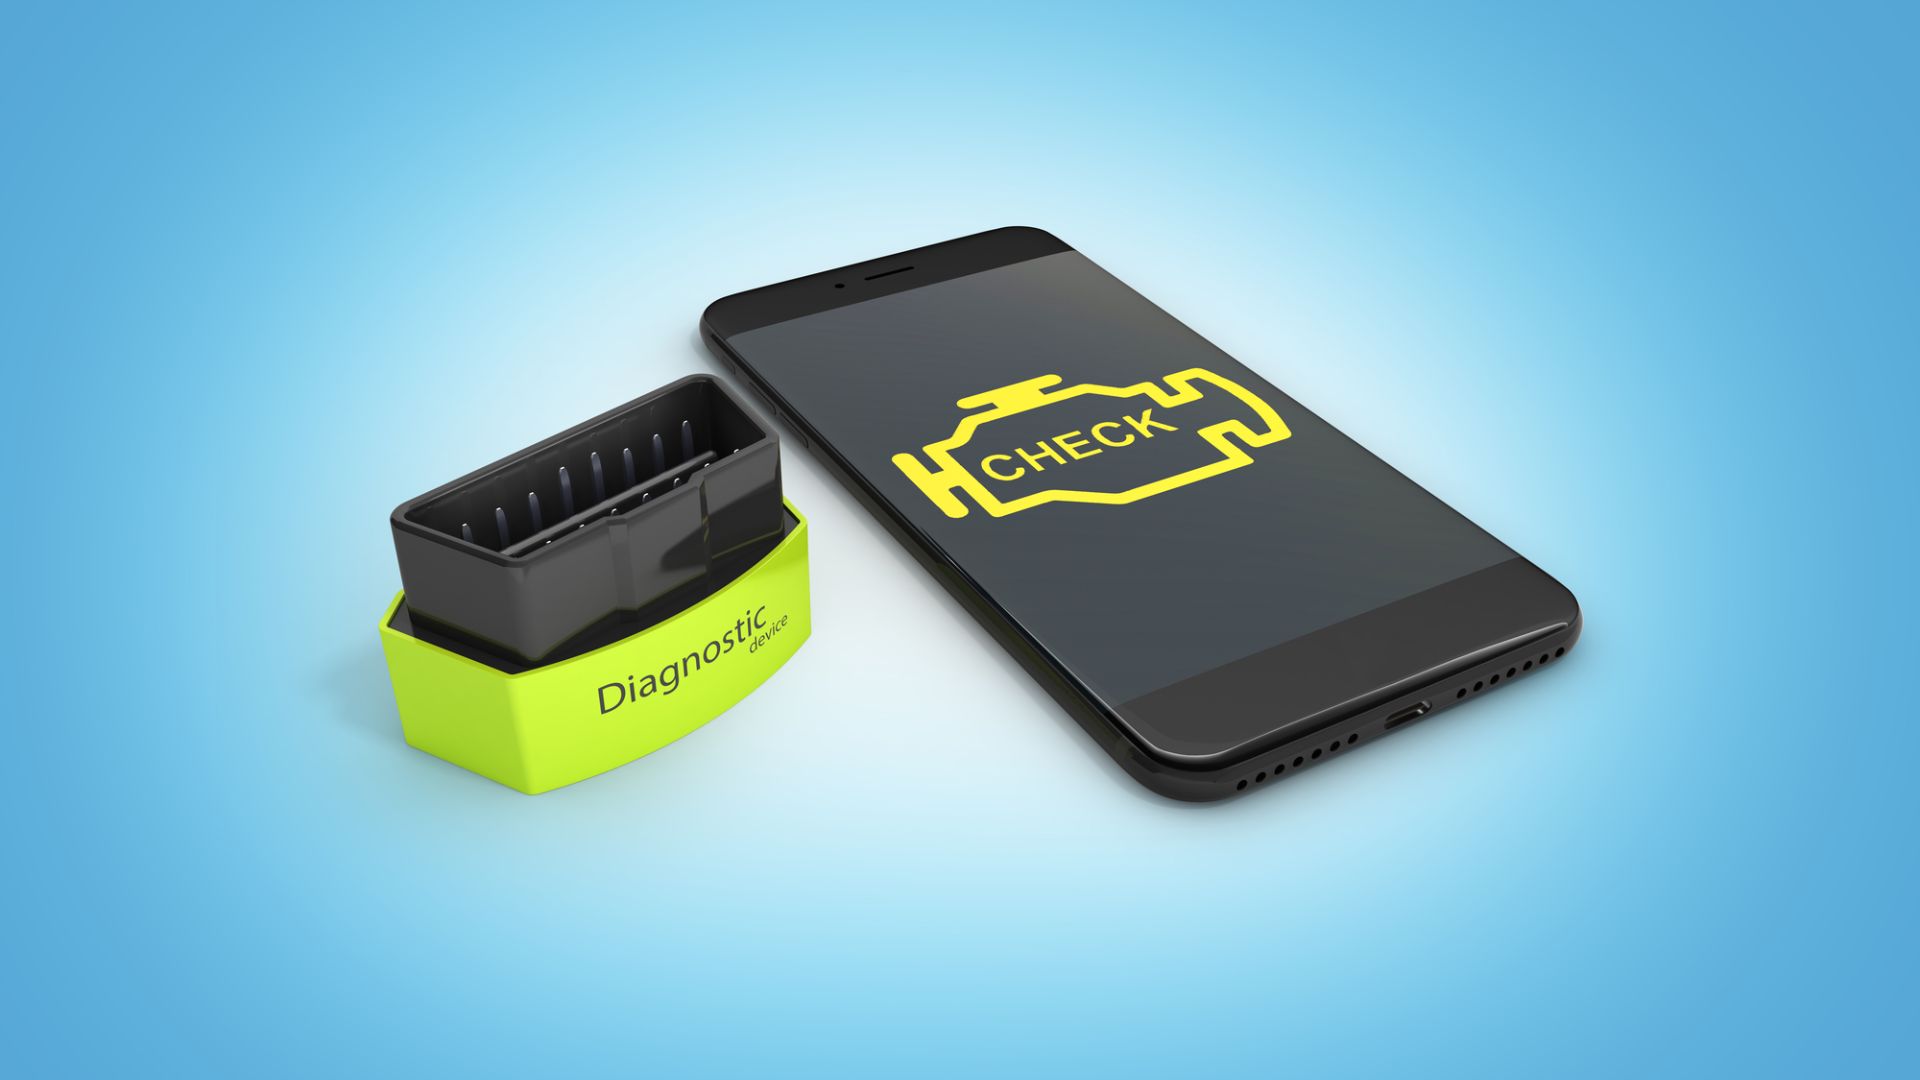
Resetting a check engine light is an easy process that should take no more than 30 minutes, even if it’s your first time. Luckily, if you drive a 1996 or newer car, you can reset the check engine light in a few easy steps by plugging an OBD2 scanner into your car’s diagnostic port. If your car is pre-1996 and doesn’t have an OBD2 port, you may have to disconnect and reconnect the battery. Remember to always be careful when handling car batteries, as they contain voltage and battery acid.
You’ll need an OBD2 scanner and/or a socket set to complete this job. You’ll also need a flat workspace, such as a garage floor, driveway, or street parking. Let’s get started.
How To Reset a Check Engine Light Using OBD2, Step by Step
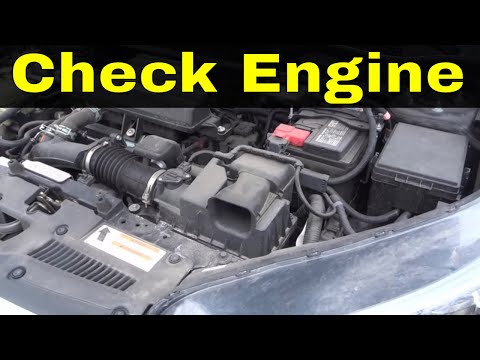
Step 1: Locate your car’s OBD2 port.
The OBD2 port is usually located underneath the steering wheel or within the passenger-side footwell and should match the connector on your scanner.
Step 2: Plug in the OBD2 scanner and power it on.
Step 3: Turn the car on and run a test to find the code responsible for the check engine light.
Your car’s error codes should display. These error codes will tell you what triggered the code and what is wrong with the vehicle. You can then use them to fix the issue that caused the check engine light.
Step 4: For the intents and purposes of this article, let’s suppose you fixed the issue.
Step 5: Use the scanner to erase the codes.
After you’ve fixed the faulty part or parts, you can clear the codes from the car’s computer. You can wait a moment to see if the code returns. If it doesn’t, you can proceed. If it does, you may need to see if you properly fixed the issue.
Step 6: Start the car.
Start the car and see if the check engine light is out. It may take a few minutes for the computer to reset. If the light’s out—congratulations. If not, try again from step 2.
How To Reset a Check Engine Light by Turning it On and Off Again, Step by Step
Step 1: Disconnect the negative cable from the negative terminal on the battery.
The negative terminal is the one with the minus sign. Depending on the design of the battery, you may need a wrench to loosen the cable free.
Step 2: Disconnect the positive cable from the positive terminal on the battery.
The positive terminal is the one with the plus sign. If you are using a tool like a wrench, make sure the metal doesn’t contact the terminal as it will spark.
Step 3: Wait 15 to 30 seconds.
Step 4: Reconnect the positive terminal.
Step 5: Reconnect the negative terminal.
Step 6: Start the car.
If the check engine light is no longer on, congratulations! You’re all done.
Final Tips for Resetting Your Check Engine Light
Well before the advent of the OBD2—yes, we’re old, we know—The Drive’s editors used to scrape and damage our knuckles diagnosing check engine lights. Here are our pro tips for diagnosing a check engine light.
- Head to your local auto parts store and rent an OBD2 scanner to see what’s what. The staff will also help you read the code.
- If your car is pre-OBD2, you might be in for a long process of checking your car’s electrical connections and sensors.
How To Reset The Check Engine Light-EASY And FREE
Got a question? Got a pro tip? Send us a note: guidesandgear@thedrive.com