We may earn revenue from the products available on this page and participate in affiliate programs. Learn more ›
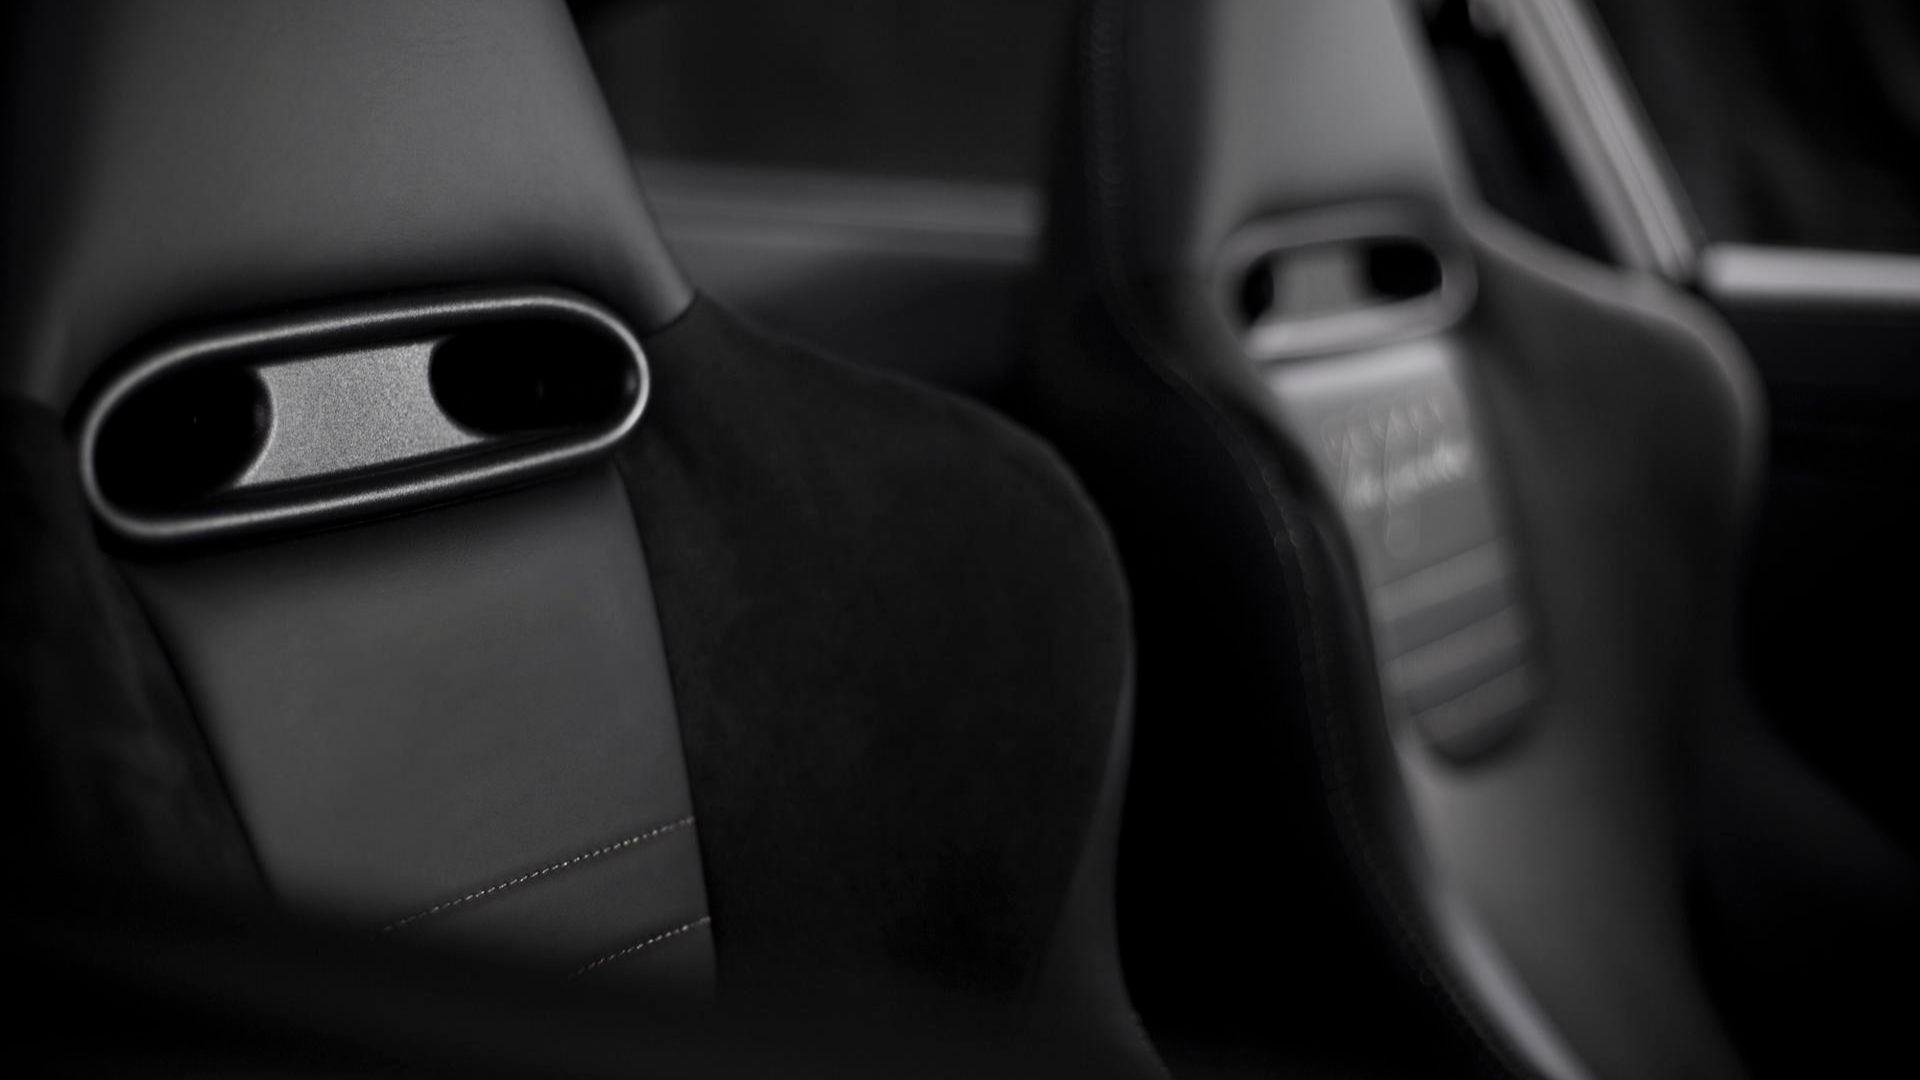
Are your car’s seats in such bad nick that your dog doesn’t want a ride to the park? Do all the rips, tears, and slashes bring to mind a tiger delivery service? Do you get a daily seat-spring colonoscopy? Are you ready to admit your car needs help? Fantastic. You’re in the right place.
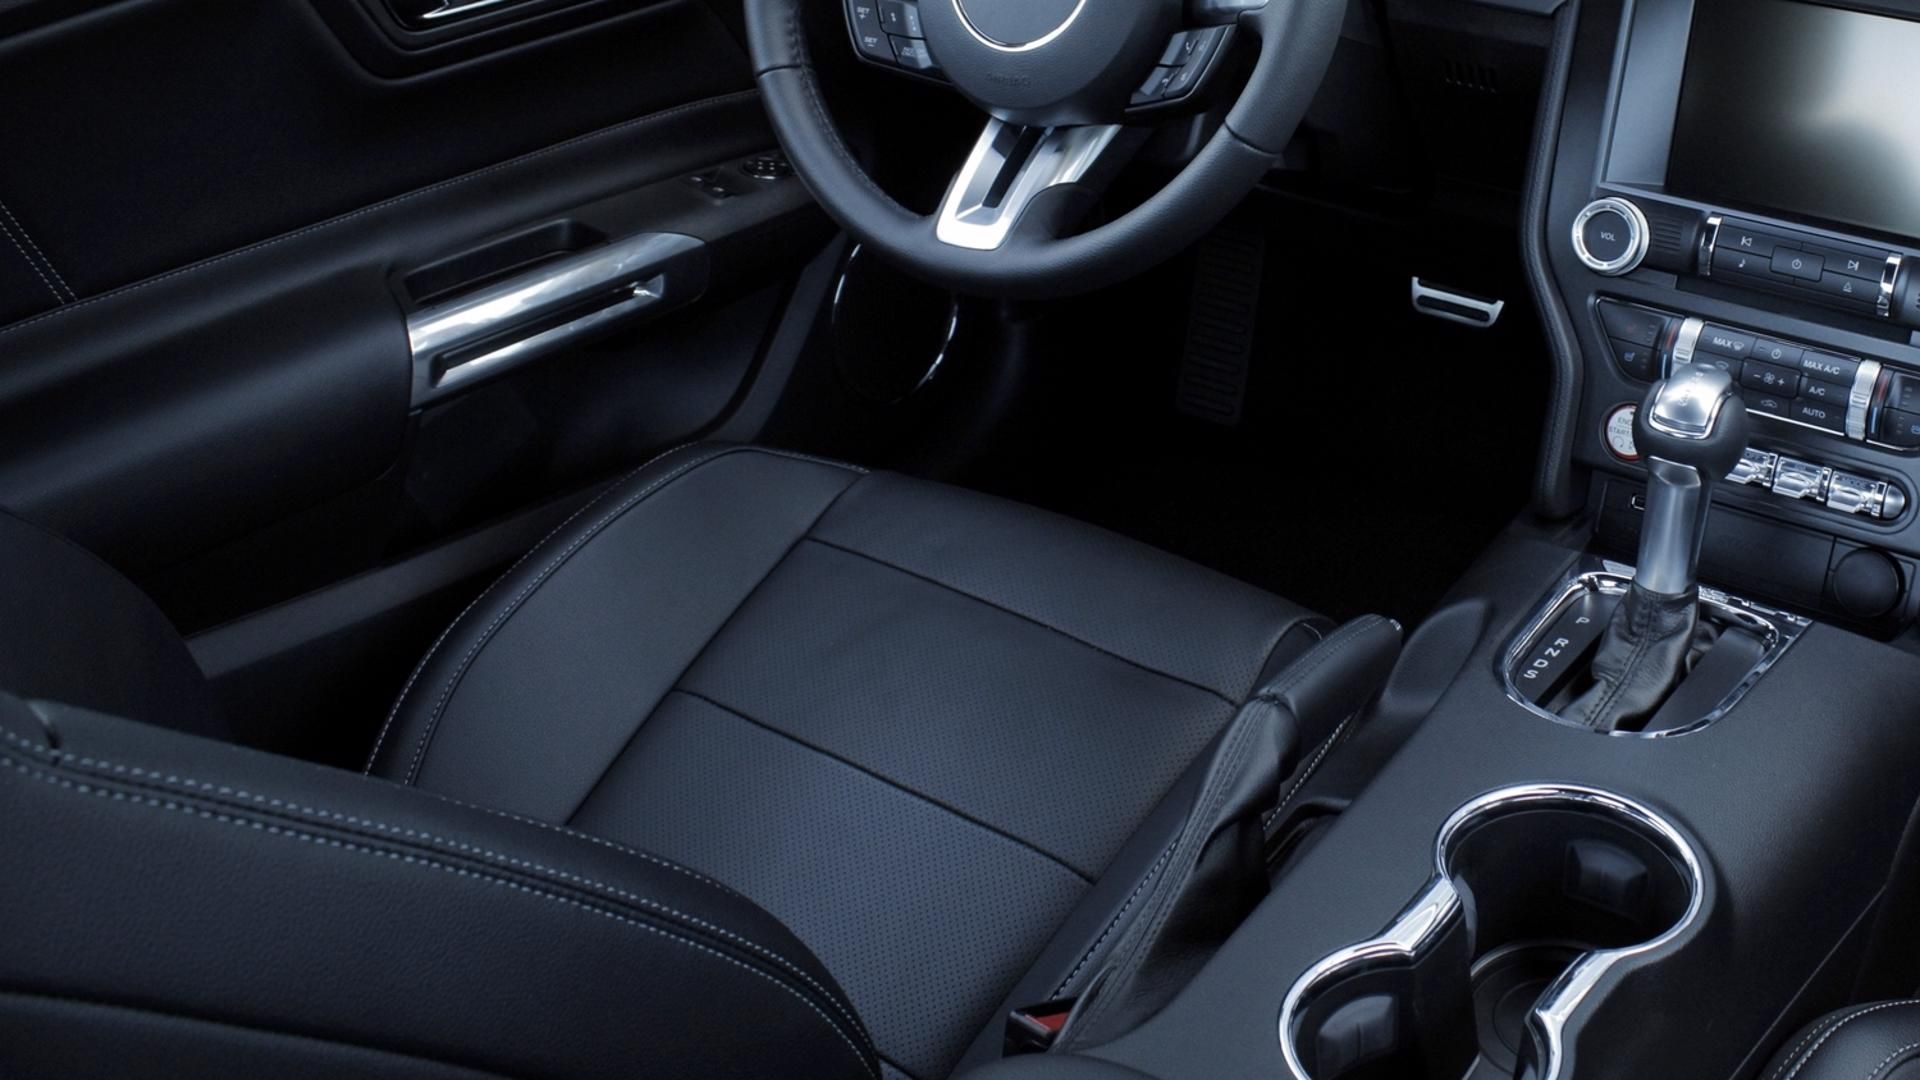
Keys, cell phones, wallets, pocket knives, dogs, kids, and your own rear end can, over time, damage your car’s interior fabric. The condition of its upholstery is one of the first things people notice about your car; a poorly kept interior can decrease its value.
For newer cars, replacement seat covers can usually be purchased from a dealership, directly from the manufacturer, or from the aftermarket, although DIY’ers must contend with a complicated array of clips, screws, and electronics to install them. Older cars without complicated mechanisms are easier to reupholster, as long as replacement covers are available. If made-to-measure replacements aren’t available, or if you want a wilder pattern, you’re looking at sewing your own upholstery.
Whatever the case may be, The Drive’s crack How-To team is here to help you reupholster your seats, and get your car looking factory-fresh or runway-ready. Summon your inner Ralph Lauren and let’s get to work!
Basics
Estimated Time Needed: Two to four hours
Skill Level: Intermediate
Vehicle System: Interior
Safety
Working on your car can be messy. It can also be dangerous. Here’s what you’ll need to ensure you keep your jeans, shirt, and skin spotless, and your bones intact.
- Nitrile gloves (to repel chemicals used and irritants in the seat cushions).
- Long-sleeve shirt to protect your arms.
- Safety Glasses.
- Ventilator (optional)
Organizing your tools and gear so everything is easily reachable will save precious minutes waiting for your handy-dandy child or four-legged helper to bring you the sandpaper or blowtorch. (You don’t need a blowtorch for this job. Please don’t have your kid hand you a blowtorch—Ed.)
You’ll also need a flat workspace, such as a garage floor, driveway, or street parking that’s also well-ventilated. Check your local laws to make sure you’re not violating any codes when using the street because we aren’t gonna pay off your impound fees.
Everything You’ll Need
We’re not psychic, nor are we snooping through your toolbox or garage, so here’s what you’ll need to get the job done.
Tool List
- Screwdriver
- Socket wrench set
- Handheld pry tool
- Scissors or seam ripper
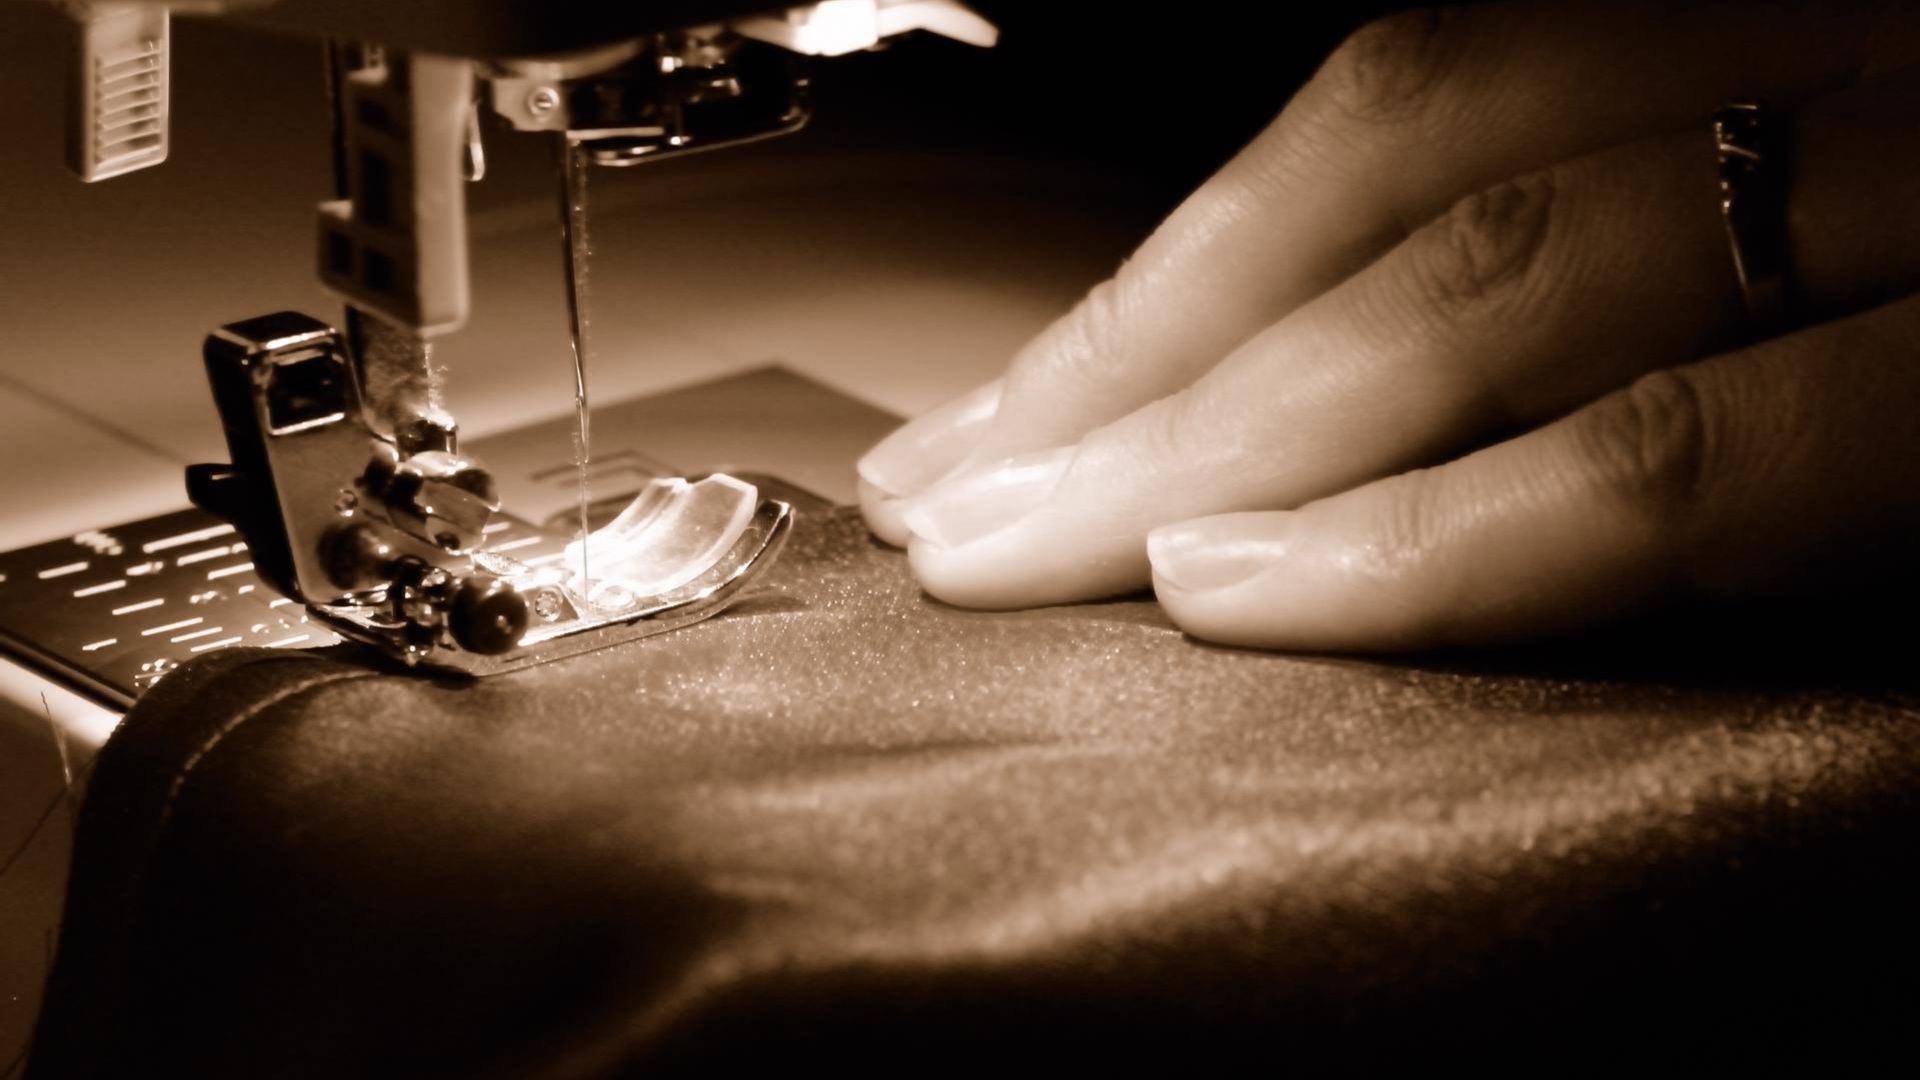
- Sewing machine
- Staple hook
- Marker
Parts List
- Replacement seat covers
- Replacement seat material
- Car upholstery-specific thread
- Large sheet of white paper for creating a pattern guide
Here’s How To Reupholster Car Seats
Let’s do this!
How To Replace Car Seat Upholstery
- Purchase replacement seat upholstery (either through a dealer, manufacturer, or aftermarket)
- Using the appropriate socket wrench, detach the car seat base from the floor.
- If there are any electrical components connected (e.g., power-seat controls), detach the connectors.
- Remove the seat and set it on a work table or bench.
- Remove the headrest by pushing in the small detent at its base.
- Unzip the upholstery from the seat backing (gives access to the seat base)
- Unscrew the seat base from the seat frame, but do not remove it.
- Carefully detach the side clips holding the seat base to the cushion.
- Lifting upward, remove the upholstery while carefully detaching the inner clips using the small pry bar.
- Repeat steps 7 and 8 for the seat backing.
- Place the new seat base upholstery on the base cushion and stretch to connect the first clip at the rear.
- Working back to front, connect the clips to the cushion, ensuring it remains taut throughout.
- Reattach seat base to seat frame.
- Repeat steps 10 and 11 for the seat backing.
- Once seat backing upholstery is secure and taught, zip up the backing.
- Reinstall the headrest.
- And finally, reinstall the seat.
- You did it, congrats!
How To Reupholster Car Seats From Scratch
- Purchase desired seat upholstery fabric.
- Using the appropriate socket wrench, detach the seat base from the floor.
- If there are any electrical components connected (e.g., power-seat controls), detach the connectors.
- Remove the seat and set it on a work table or bench.
- Remove the headrest by pushing in the small detent at its base.
- Unzip the upholstery from the seat backing (gives access to the seat base)
- Unscrew the seat base from the seat frame, but do not remove it.
- Carefully detach the side clips holding the seat base to the cushion.
- Lifting upward, remove the upholstery while carefully detaching the additional inner clips using the small pry bar.
- Repeat steps 7 and 8 for the seat backing.
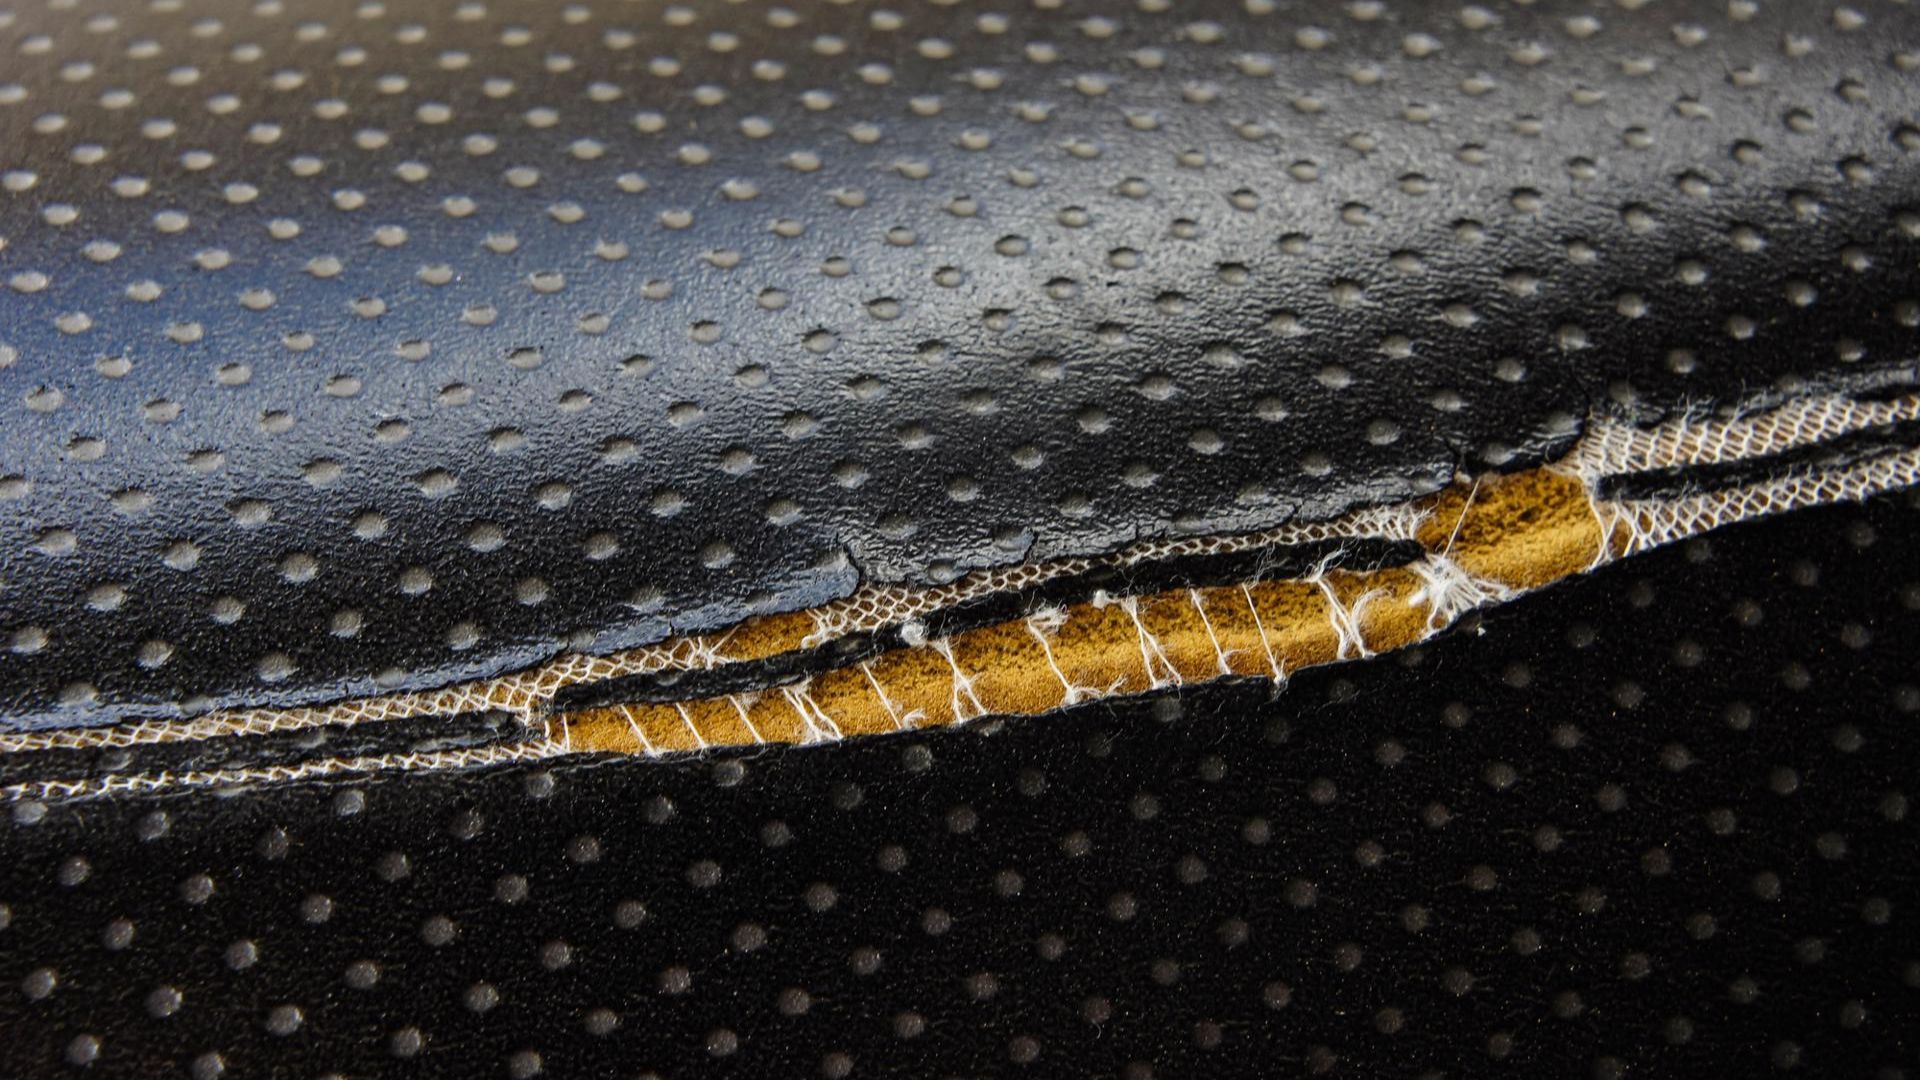
- With the upholstery laid in front of you and still all in one piece, use the marker to label where the seams meet (e.g., 1 meets 2, 2 meets 3, etc.), as well as where the mounting clips are placed. This will be important when sewing the new upholstery together and remounting.
- Using a seam ripper, or scissors, very carefully separate the upholstery’s sections from one another.
- Lie the unstitched upholstery on a large sheet of white paper and trace its edges to create a pattern guide. Remember to include any necessary openings (e.g., headrest slots) in the pattern.
- Cut out the pattern and place it onto the new fabric.
- Using the pattern, cut the new upholstery leaving three-quarters of an inch between the fabric edge and the stitching line (known as the seam allowance).
- Using the seam markers as a guide, sew together the cut pieces of new upholstery.
- Sew in the mounting clips and zipper (if applicable).
- Place the new seat base upholstery on the base cushion and stretch to connect the first clip at the rear.
- Working back to front, connect the clips to the cushion, ensuring it remains taut throughout.
- Reattach seat base to seat frame.
- Repeat steps 18 and 19 for the seat backing.
- Once seat backing upholstery is secure and taught, zip up the backing.
- Reinstall the headrest.
- And finally, reinstall the seat.
- Wow, you’re done! Congratulations.

Tips From a Pro
Here are The Drive’s pro tips for reupholstering your car’s seats.
- Never glue leather to foam. Leather is meant to stretch; gluing can cause folds and creases.
- As fabric ages it can become brittle, making it difficult to remove from the seat and create a template. If you have a spare piece of fabric, make a template while the upholstery is still attached to the seat cushion to ensure you get accurate measurements.
Life Hacks
Since you may not have access to the right tools, we also compiled a list of hacks to make your life easier and drain your pocket less.
- Visit your local pick-and-pull junkyard. You’ll often find well-maintained seat upholstery and, with a little sweat and a few tools, you can save hundreds on materials.
How Much Does It Cost To Reupholster Your Car Seats?
Professional upholstering can cost several thousands to tens of thousands of dollars depending on the car, materials, and time it takes to complete. Doing your own reupholstery with off-the-shelf seat skins can bring that figure down to a couple hundred dollars.

HOW THE PROS MAKE CUSTOM CAR SEATS
Featured Products
Sojoy Universal Four Season Fashionable Car Seat Cushion Cover
Gorla Premium Universal Fit Waterproof Car Seat Cover
EDEALYN Ultra-Luxury PU Leather Car seat Protection Cover Car
Got a question? Got a pro tip? Send us a note: guidesandgear@thedrive.com