We may earn revenue from the products available on this page and participate in affiliate programs. Learn more ›
Your car represents who you are and what you’re about, so picking the right one for you is a difficult decision to grapple with. Then once you have your car, you have to decide what color you want it to be. These are not light-hearted choices.
Although the car purchase should be carefully considered and researched, it might ease your stress to know that car color doesn’t have to feel, or be, so permanent. Thanks to technologies such as vinyl wraps or Plasti Dip, painting a car is not the only way to change its color and aesthetic.
Plasti Dip is a great resource for those people who cannot make up their minds. One month they want their Nissan 300ZX to be orange, the next month they want it to be dark purple, and Plasti Dip’s rubbery stuff allows for that. If that sounds like you, and you’re ready to change colors, The Drive’s indecisive editors are here to help with a guide to removing Plasti Dip. Let’s make sure your car doesn’t look like this.
What Is Plasti Dip?
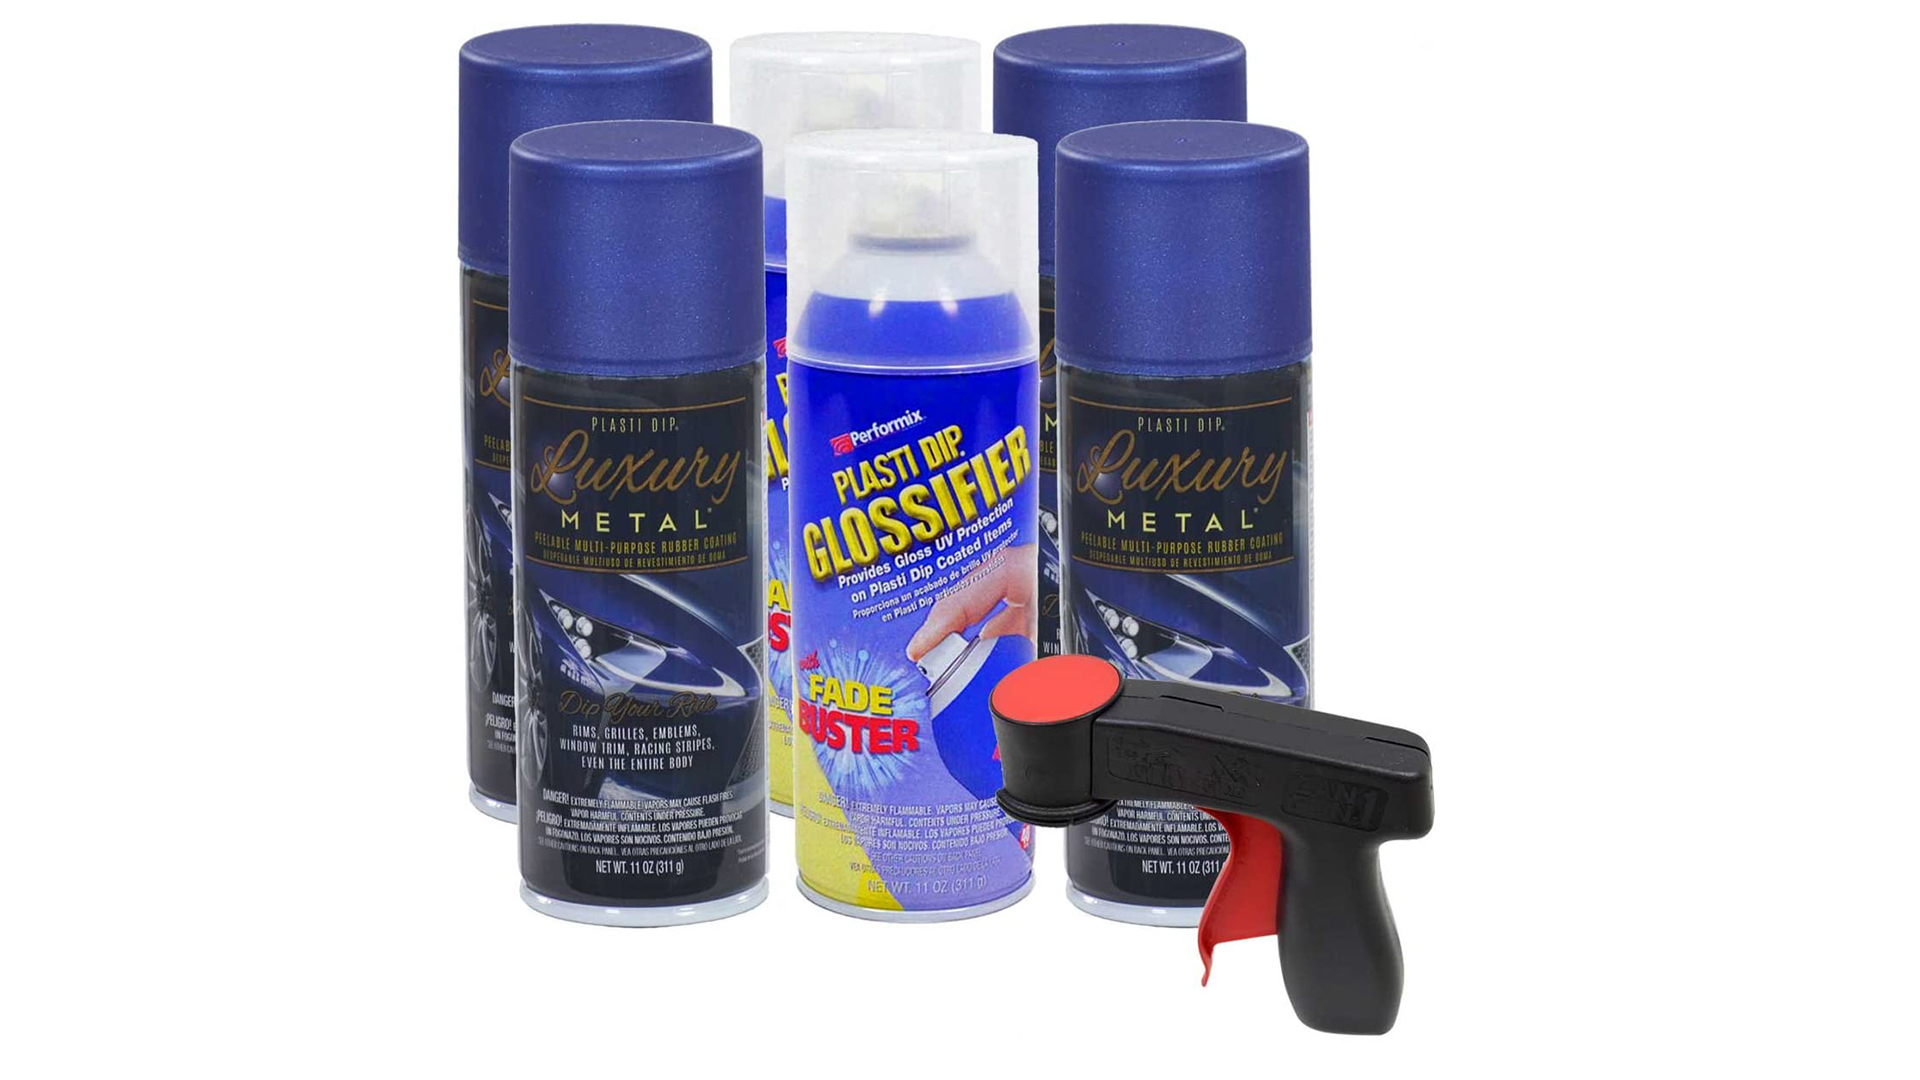
Plasti Dip is a rubberized coating that sprays out of an aerosol can as a liquid and dries as a flexible solid. Many people use it to customize their cars as an alternative to paint and vinyl wraps.
Reasons You Might Need To Remove Plasti Dip
- The Plasti Dip has damage or flaws.
- The Plasti Dip is old and faded.
- You want a different design or color.
- You don’t want Plasti Dip anymore.
Why Isn’t My Plasti Dip Coming Off Easily?
Not all plastic coatings are applied with the same care or are cared for similarly. If the coating was applied outside the recommendations or guidelines, it might be weakened and tear easily. Likewise, if only one or two coats were applied, it will peel off in tiny little pieces rather than one easy sheet. You can peel off the millions of pieces one at a time, but it’ll take you forever, and you’ll probably still miss some stuff.

The Basics of Removing Plasti Dip
Estimated Time Needed: 30 minutes to a few hours
Skill Level: Beginner
Vehicle System: Exterior
Safety
Working on your car can be dangerous and messy, so here’s exactly what you’ll need to ensure your head stays on your shoulders, your fingers stay on your hands, and your skin stays on your body.
- Rubber gloves
- Safety glasses
Everything You’ll Need To Remove A Plasti Dip
We’re not psychic, nor are we snooping through your toolbox or garage, so here’s exactly what you’ll need to get the job done.
Tool List
- Jack
- Jack stands
- Impact wrench
- Pressure washer
- Microfiber towels
- Automotive tape, if needed
- Plastic sheeting, if needed
- Box cutter, if needed
Parts List
Organizing your tools and gear so everything is easily reachable will save precious minutes waiting for your handy-dandy child or four-legged helper to bring you the sandpaper or blowtorch. (You won’t need a blowtorch for this job. Please don’t have your kid hand you a blowtorch—Ed.)
You’ll also need a flat workspace, such as a garage floor, driveway, or street parking that’s also well-ventilated. Check your local laws to make sure you’re not violating any codes when using the street because we aren’t getting your ride out of the clink.
Here’s How To Remove A Plasti Dip
Let’s do this!
Peeling Plasti Dip
If your car was properly Plasti Dipped with multiple coats, you should be able to easily peel it off. If not, you’ll need the help of an additional product.
- Park your car in a shaded area and let it cool down.
- Use a fresh microfiber towel to rub the edges and corners of a panel, door, or hood with Plasti Dip. This should disturb the dip and cause its edges to peel and loosen.
- Grab a corner of the Plasti Dip and slowly peel it back off the panel. It should cleanly peel off like vinyl.
- Repeat steps 2 and 3 until all Plasti Dip has been removed.
- Good job, now go wash and wax your car!

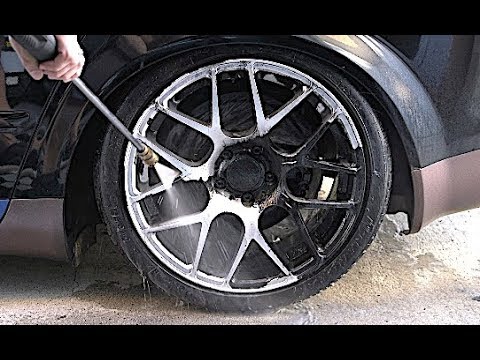
Dissolving Plasti Dip
- If you are doing wheels, remove the wheels and place them in a safe location.
- If you are doing body panels, protect any pieces of black plastic or other trim with tape and plastic sheeting.
- Make sure the car is completely dry.
- Spray a panel or area with a decent coat of Dip Dissolver.
- Allow the dissolver to set and eat away at the dip.
- Wait until the dip can easily be wiped away with your finger. Some of it might start to drip off.
- Use a pressure washer to clear the Plasti Dip away.
- Repeat steps 3-7 until all Plasti Dip is off.
- Great work, now go wash and wax your car.
Get Professional Help from a CeramicPro Automotive Surface Expert
There’s probably half a dozen things you could be doing instead of caring for your car’s surfaces. CeramicPro meticulously educates and certifies every auto detailer, nanoceramic coating specialist, window tinter, and paint protection film installer in their national network of professionals. With CeramicPro, you’ll get world-class service, expertise, and exclusive products that take your car’s appearance and protection to the next level.
FAQs About Plasti Dip
You’ve got questions, The Drive has answers!
Q: Can I Put a New Coat of Plasti Dip Over the Old One?
A: It’s essentially a matter of cutting corners or doing it right. If you spray over the old one, it will show any texture, and it will not last as long. If you remove the old Plasti Dip first, then reapply multiple coats of the new stuff, you know it will be smooth and last a long time.
Q: What Is The Expected Longevity of Plasti Dip?
A: When applied correctly and properly cared for, Plasti Dip can last approximately three years, or longer.
Q: Is Washing Your Car Enough To Dispose of Plasti Dip?
A: No., you will need to actively remove the Plasti Dip from the car.
Q: Should We Wash Plasti Dip For Reuse?
A: Plasti Dip Cannot and shout not be reused.
Let’s Talk, Comment Below To Talk With The Drive’s Editors!
We’re here to be expert guides in everything How-To related. Use us, compliment us, yell at us. Comment below and let’s talk! You can also shout at us on Twitter or Instagram, here are our profiles.
Jonathon Klein: Twitter (@jonathon.klein), Instagram (@jonathon_klein)
Tony Markovich: Twitter (@T_Marko), Instagram (@t_marko)
Chris Teague: Twitter (@TeagueDrives), Instagram (@TeagueDrives)
Video
How to Remove Thin Plasti Dip – Nothing Works Faster
Featured Products
Briggs & Stratton 2,000 PSI Pressure Washer
Sun Joe 2,030 Max PSI Pressure Washer
Greenworks 1,500 PSI Pressure Washer
Got a question? Got a pro tip? Send us a note: guidesandgear@thedrive.com