The goal for past weekend was to get the Jetta Ute project assembled enough for a quick road test. We had already made a quick run down the driveway and back with one of the quarter panels on. This new test would make sure the aluminum bed structure was solid before attaching body panels in a more permanent manner.
The body consists of four fiberglass panels—a pair of quarter panels extending from the B-pillar to the back of the Ute, a roll pan that sits below the tailgate and ties the quarter panels together, and a rear window surround that, along with the front of the bed, creates the back of the Ute’s “cab.” On the Mark 4 Jetta, the quarter panels must be in their final position before this surround is installed. (Other models vary. On the Mark 5 Jetta, for instance, the surround must be installed before the quarter panels.) Since it was a nice sunny day, I’d leave this off and focus on the panels surrounding the bed.
First I installed the tail light in each quarter panel with a couple of screws, then tested all functions to make sure I didn’t mess up the wiring in the process. Then I hung the panel off the side of the bed and lined it up as best I could to match the existing contours of the Jetta. I started with matching the top front of the panel to the door, then worked my way toward the back. For now, I used sheet metal screws to attach the fiberglass to the car, since they’re easily removable if (when) I made mistakes and repositioned the panels.

Though not part of the kit, I found it useful to create these L-brackets to help position the top front of the quarter panels and pull them close to the body of the car. I also trimmed the fiberglass to fit a bit better.
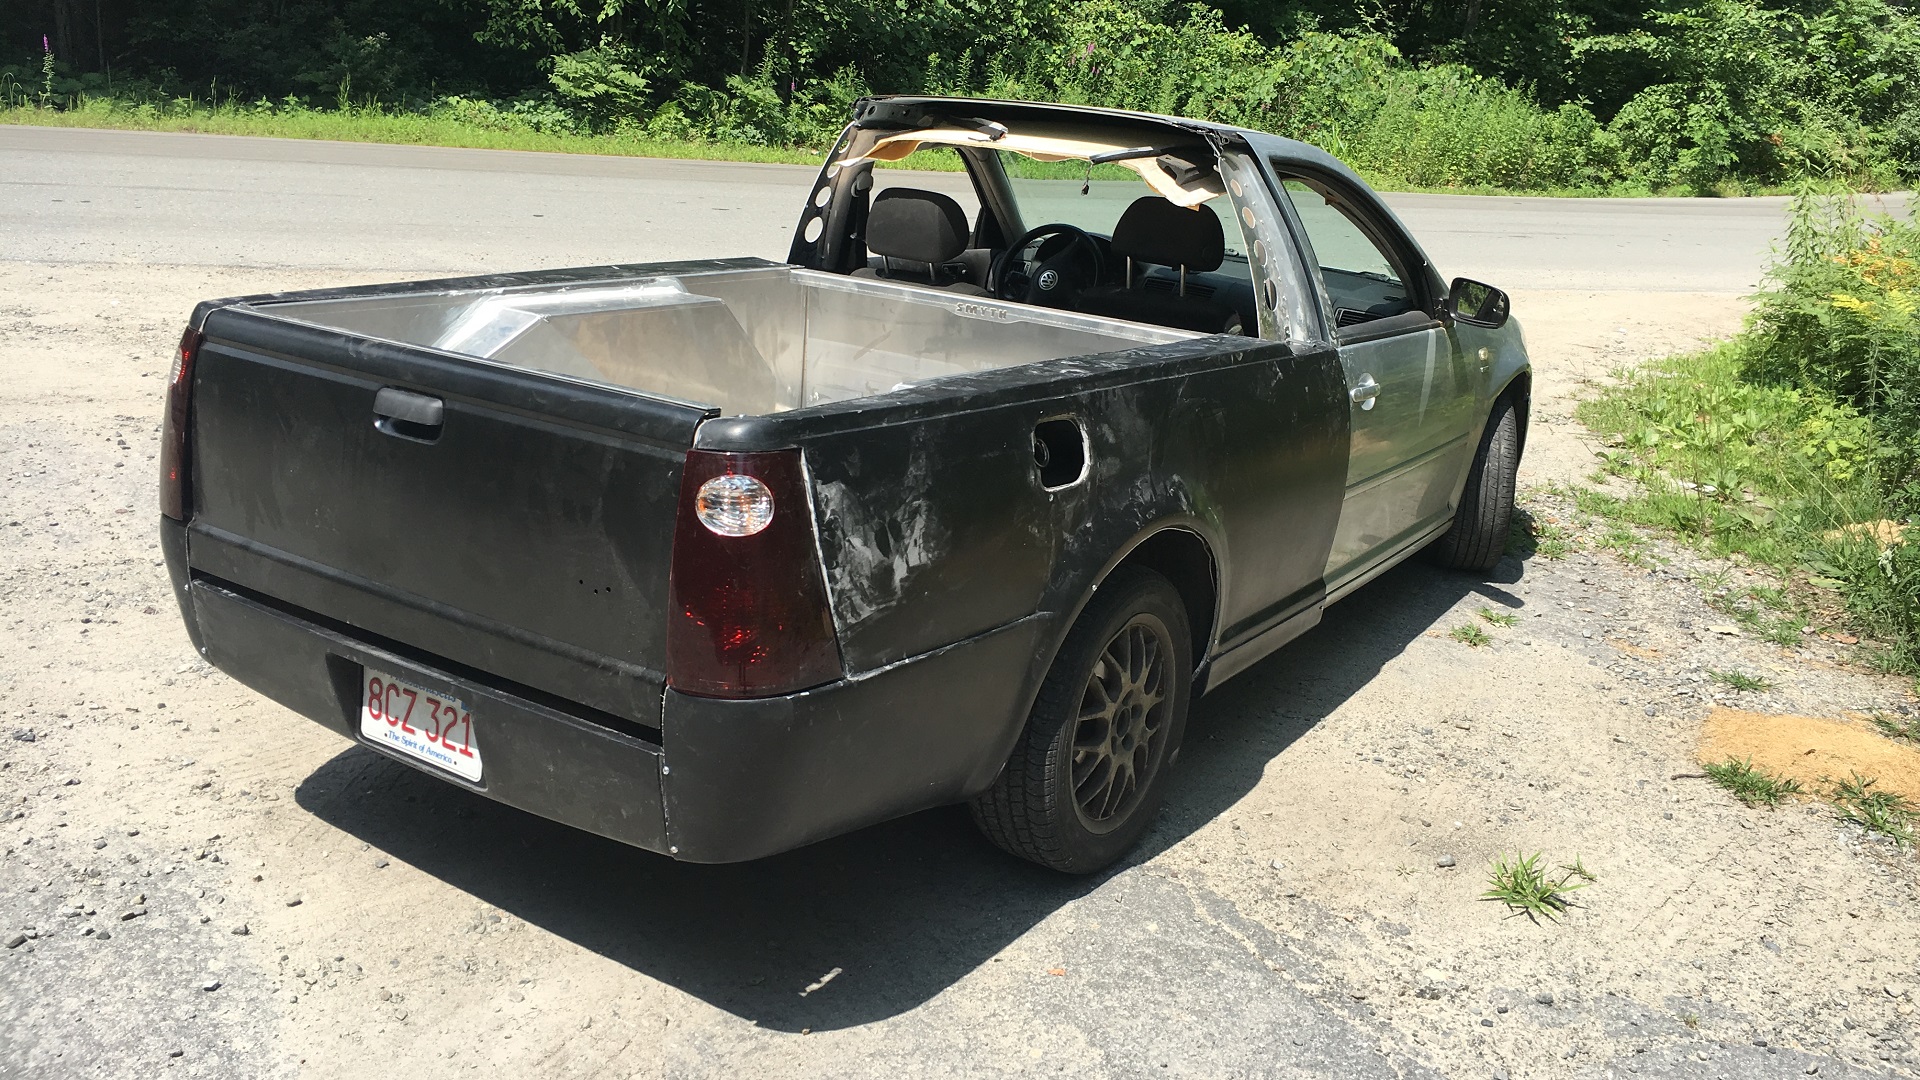
On the passenger side, I had an easier time lining up the panel properly thanks to the fuel filler opening. I hammered the dents around the fender arch back a bit, then attached the panel the same way as the driver’s side. Two screws on either side attached the roll pan under the tailgate, and with a couple of sheet metal screws holding the license plate on it was time for a test drive.

Ignore the panel gaps. This was just a preliminary fitment to make the Ute legal to take on the road. But the important question was how did it drive? Extremely well. Despite cutting away a quarter of the car, it felt as least as solid as it was stock, if not slightly stiffer. (I did use a few more rivets than necessary for extra strength.) The only creaks and rattles came from the removable bed floor, which isn’t a problem. It still drove like a German sedan, yet it now had the cargo space of a Ford Ranger. And the stereo still works with the relocated amplifier. I declined to install rear speakers, figuring the front speakers would provide more than enough sound for the smaller passenger compartment.
With a successful road test, it’s time to fit these panels more permanently and to add the rear window surround to enclose the passenger compartment.
The end of the build phase of this project is near.