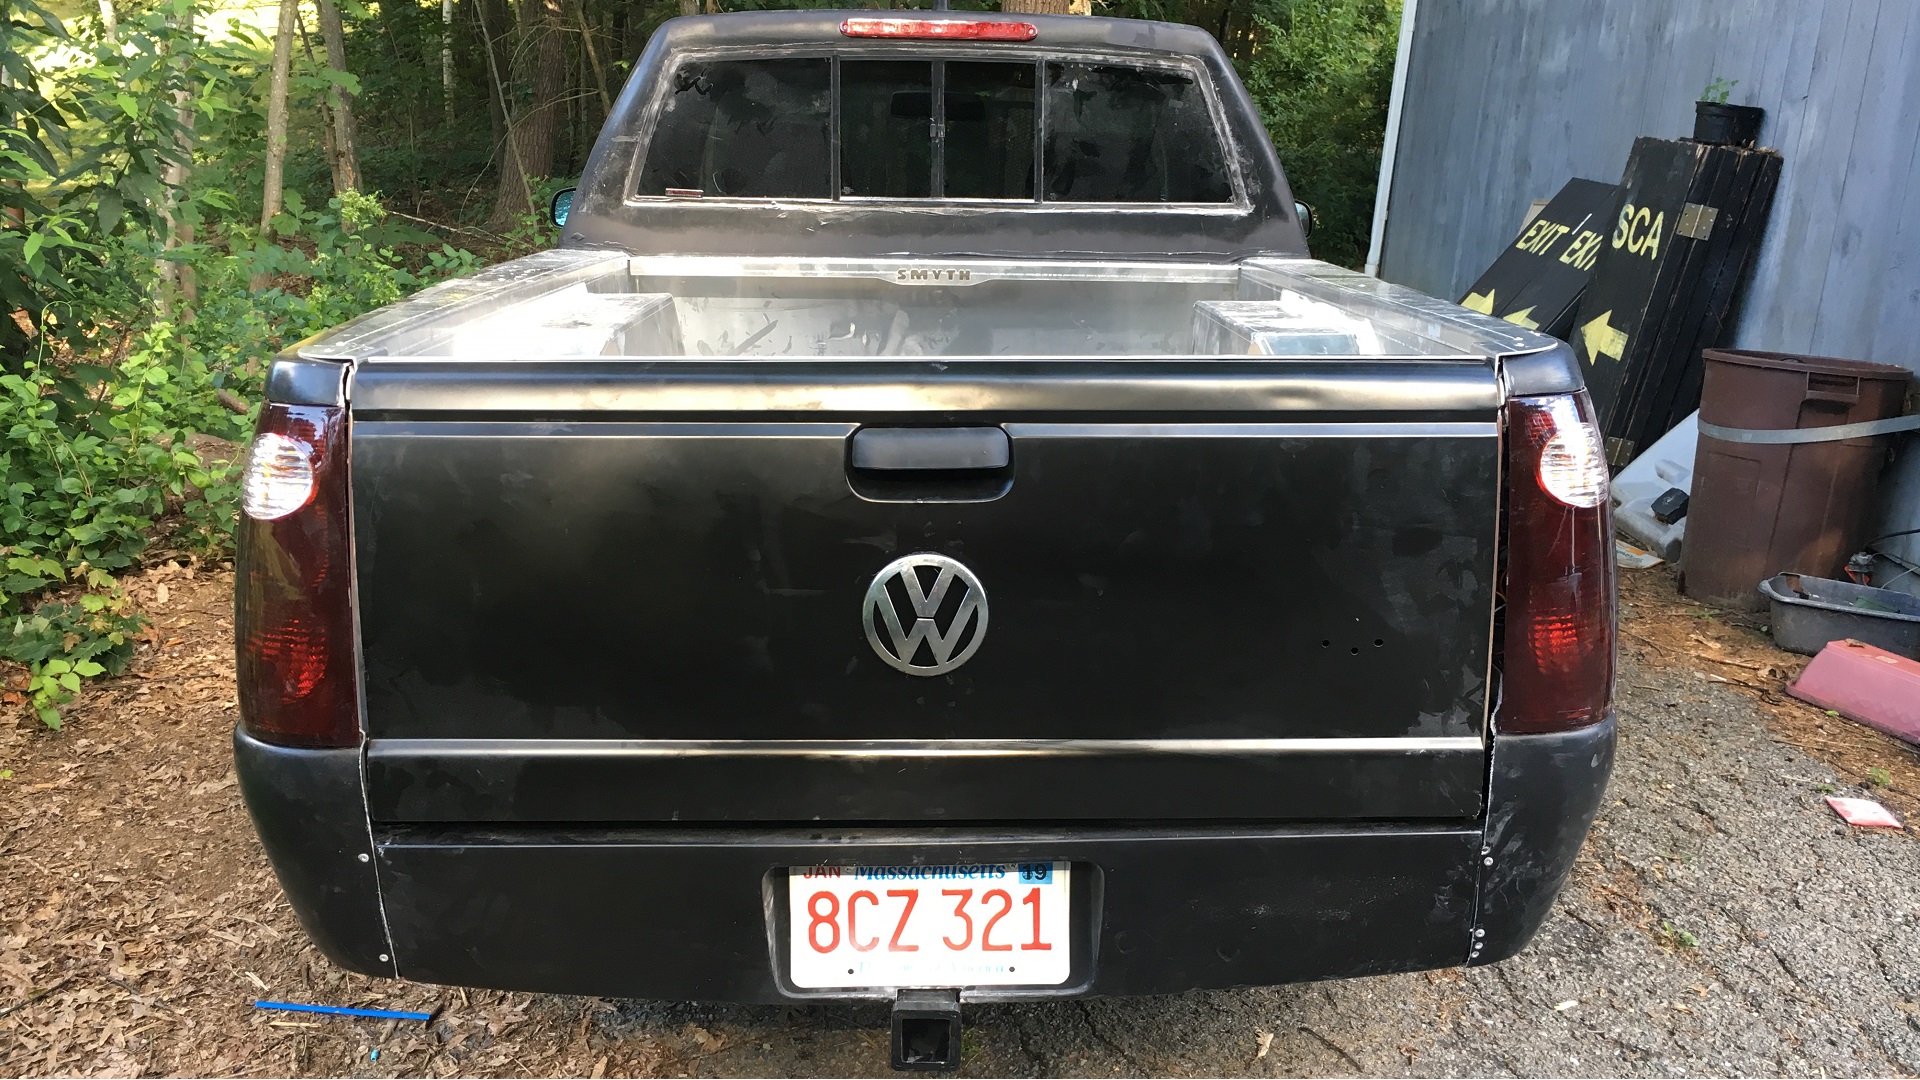

After recovering from my colossal screw-up on the back window, the rear window surrounding was ready to install on our VW Jetta that we’ve been converting into a Smyth Performance Ute. This fiberglass panel sits on top of the front of the bed and wraps around the sides to cover the B-pillar braces. Once I found the correct position for this piece to sit, I bolted the bottom lip into the top of the aluminum bed panel. The top slides under what’s left of the car’s original roof panel and gets riveted into place. The curve of the fiberglass panel didn’t quite match the curve of the roof, requiring a fair bit of sanding to bring the sides down to size. I actually ran out of fiberglass on the driver’s side. But this was no big deal, as it was still structurally sound, and I’d be applying body filler all over the transition area anyway to hide the rivets.

When I got bored with this bodywork, I switched to other tasks, such as riveting the aluminum trim panels to the tops of the bed sides. These cover the rough edges of the fiberglass quarter panels and make it look better.

I also did a little more work that would allow me to reinstall the remaining portion of the headliner. I drilled a 3/4 inch hole in the roof and installed an NMO antenna mount for my ham radio. I also drilled holes for and installed an LED third brake light. I chose a cheap, simple one that did not include white bed illumination lights. It did not work when I connected it to the brake light wire I ran from the back of the car, but it worked when I touched the wires to a drill battery, so there must be something wrong with my wiring. I’ll troubleshoot that later.

Back to the ham radio, I installed the remote control head in the small bin in front of the shifter where it fit perfectly. The radio itself sits on top of the center hump so that its speaker and microphone are accessible to both the driver and passenger. This will not only let me gab with locals during commute time, but also help me provide communications for stage rally and rallysprint events throughout the northeast.

I hesitate to show this picture of my poor bodywork, but in the interest of transparency, I’ll show just how bad I am with body filler. This is obviously not finished yet, but it shows how I’ve covered the rivets in the transition area of the roof. I sprayed the whole area with primer so I could see just how rough it was and where I needed to keep sanding it smooth. I also patched the first hole I drilled for the ham radio antenna, which was in the wrong place. Oops. Most likely I’ll paint the entire roof with black primer when I’m done just to make it a uniform color.
The final detail I worked on was something I’ve wanted to do since the build began, adding a VW badge to the tailgate. I’d searched online for such badges, but found one right in my garage in the form of an extra grill badge that came with the car. It had been hanging on the wall since last winter, but I realized that I could remove the chrome portion and stick that to the tailgate, so I did. I haven’t gotten enough funny looks from people while driving the Ute around town. so this may help a bit.
There really isn’t much left of the Ute build at this point. I need to get the body filler smooth, of course, but we basically have a usable little pickup truck that still drives like a Volkswagen Jetta. We’ll be spraying the bed with liner, and later spraying the rest of the Ute with Plastidip to make it a uniform color at a lower cost than a paint job. It’s also time to replace that dented right front fender. Fortunately, because we’ll be dipping the whole Ute anyway, the color of the replacement fender doesn’t matter. I can even pick up a lightly scratched one for cheaper, since we’ll be changing the color anyway.