We may earn revenue from the products available on this page and participate in affiliate programs. Learn more ›
When your car’s brakes are new, slowing down is effortless, and the pedal feels solid. No hesitation, no inconsistencies in the system as the driver’s foot presses toward the floor. Unfortunately, that magical feeling doesn’t last forever. Most people know that parts of the system eventually need to be replaced, but not everyone knows how they work or what brings about the need to bleed the brakes.
As time passes, air can build up in the brake lines. These air pockets can reduce braking performance and make the pedal feel squishy under pressure. The good news is that you don’t have to be a master mechanic to bleed your own brakes, but you will need a friend who’s willing to help you out for a half-hour or so.
The Drive’s editors have bled enough brakes in our day to know our way around both pads and drums, and we’re here to help you get started off on the right foot. Find a friend, a flat place to work, and a few tools, and you’ll be bleeding brakes like a pro in no time.
Let’s get rolling.
[Ed. Note: The title of this post was updated March 15, 2021]

What Exactly Is Bleeding Your Brakes?
First, we’ll note that there’s no actual blood involved here and you won’t be required to use violence to fix the problem. The term bleeding brakes refers to the process of removing unwanted air from the brake system.
Pressing the brake pedal in your car pushes brake fluid through the lines, which applies the force and hydraulic pressure necessary to slow the vehicle, either by squeezing brake pads onto discs (disc brakes) or by pressing brake shoes into the brake drums (drum brakes). If there’s air in the lines, braking performance can be reduced and brake feel can become unpredictable.
Air can get into the brake lines in a number of ways, such as during repairs. However, the most common reason for air in the brake likes is due to the hygroscopic nature of brake fluid, meaning it can absorb moisture from the air. When that happens, the boiling point of the brake fluid lowers, which can caused cooked brakes far more easily than normal under hard braking. The boiling of the brake fluid can add air to the lines, causing trouble stopping. Bleeding the air from the brakes remedies this issue.
How Do I Know When It’s Time To Bleed My Brakes?
If your brakes are working properly, the pedal should feel firm and devoid of shaking or noises as the vehicle slows. When it’s time to bleed your brakes, you may notice:
- Spongy or soft brake pedal feel
- Inconsistent braking power
- Stopping takes longer
- Brake fluid leaks
Safety Tips When Bleeding Brakes
Working on and around lifted vehicles can be extremely dangerous, so it’s paramount to take the proper precautions. Follow these tips to keep you in tip-top shape.
- Use jack stands to hold the vehicle while working on the brake system. You’ll be under the car at points during this process, and jack stands are the best way to safely suspend the vehicle off the ground.
- Work on the flattest surface possible to prevent the vehicle from sliding or falling off the jack stands.
- After you’ve finished with bleeding the brakes, test them, both while the vehicle is stationary and while traveling at low speeds. It’s best to make sure that the brakes are working properly before you need to rely on them to save your life.
- Bleeding your brakes won’t be the most dangerous repair job you can do, but you should still take care of your hands and eyes. Any time you’re working underneath your car, wear safety glasses and mechanic gloves. Debris, fluid, and other dirt or grime can fall off the underside of your car at any time.
- Make sure you dispose of used brake fluid and other waste properly. You can’t just throw it in with your kitchen trash or pour it down the drain. Your town may have a waste recycling center or program, and many local auto parts stores offer disposal services.

Everything You’ll Need To Bleed Your Brakes At Home
Check your vehicle’s maintenance manual for any model-specific tools or supplies you’ll need.
Tool List
- Basic automotive tool kit
- Brake bleeding kit (optional)
- Clear tubing (.25-inch diameter)
- Mechanic’s gloves
- Safety glasses
- A friend (just don’t call them a tool to their face)
Supplies List
- Brake fluid
- Paper towels
Organizing your tools and gear so everything is easily reachable will save precious minutes waiting for your handy-dandy child or four-legged helper to bring you the sandpaper or blowtorch. (You won’t need a blowtorch for this job. Please don’t have your kid hand you a blowtorch—Ed.)
You’ll also need a flat workspace, such as a garage floor, driveway, or street parking. Check your local laws to make sure you’re not violating any codes when using the street because we aren’t getting your ride out of the clink.
Here’s How To Bleed Your Brakes At Home
Bleeding your brakes at home is a fairly straightforward process, but you’ll need a friend to help you at points. It’s also important to remember that the process below is outlined in very general terms. We can’t possibly know the ins and outs of every vehicle’s braking system, so you’ll need to refer to a maintenance manual for your make and model to fill in the procedural gaps here.
Let’s do this!
Lift Vehicle, Secure It Onto Jack Stands, And Remove All Four Wheels.
- Be sure to set the stands in the manufacturer’s recommended locations.
- If you don’t know how, here’s The Drive’s guide on How To Properly and Safely Lift a Car.
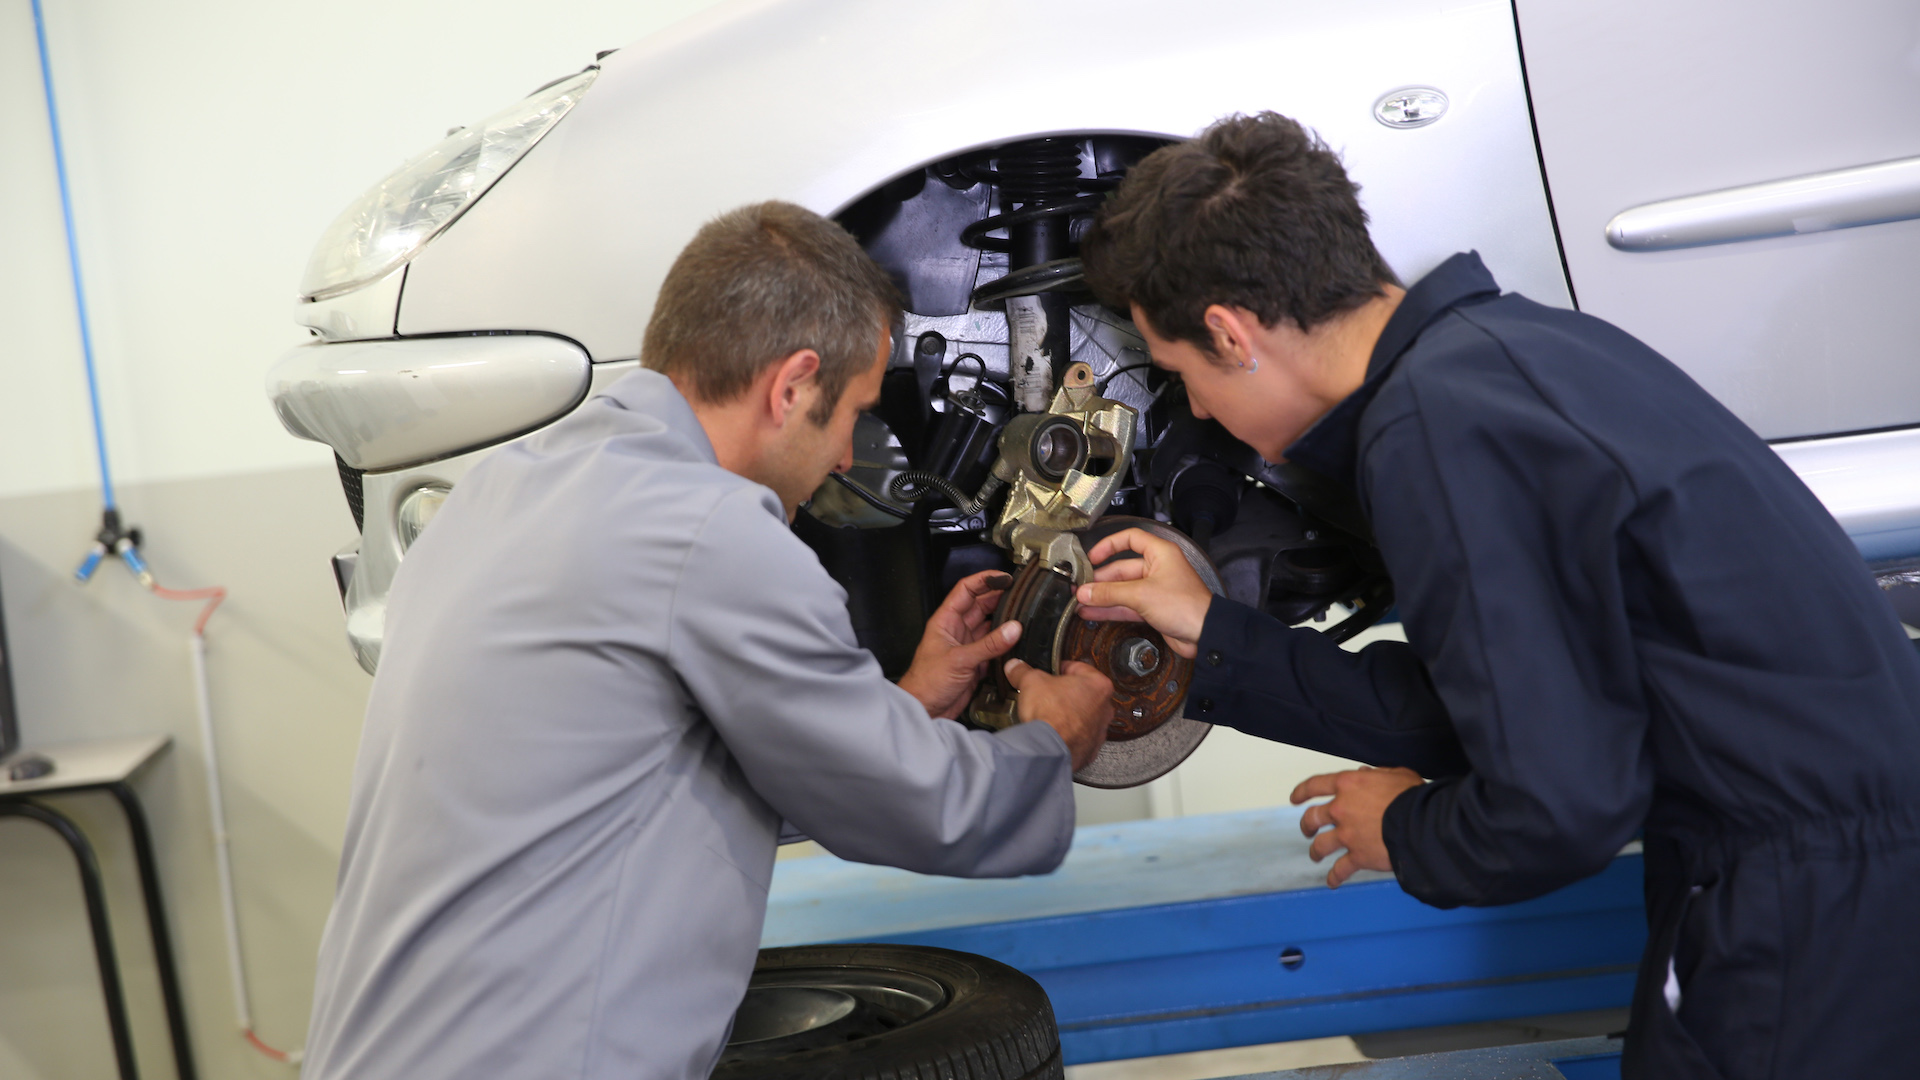
Locate Bleeder Screws On Brake Caliper Body
- Find the bleeder screw. It should be located somewhere on the backside of the brake caliper. If there’s a rubber or plastic cover, remove it and store it safely.
- Loosen the screw but don’t go yanking away at it. Stripping or breaking the screw is a big no-no. If it’s tough to break loose, apply some oil and let it penetrate for a half-hour or so before trying again.
- Once you’ve broken the bleeder screw free, gently re-tighten it for now. We’re not trying to completely secure them at this point.
- Start with the wheel furthest from the driver and work your way around from the right rear wheel to the left rear wheel, and finish by working on the right front and then the driver’s side front.

Check Brake Fluid Level
- Check your vehicle’s maintenance manual to make sure you’re using the right fluid.
- If the fluid level is low, add fresh fluid to bring it to the appropriate level.
- Once you’ve checked the fluid and added any if necessary, put the cap back onto the reservoir, but don’t tighten it down yet.
Place One End Of Tubing Over Bleeder Screw End
- This is to safely drain and store used brake fluid.
- The other end of the tube should drain into a container to dispose of the oil.
- It’s best to hold the oil catch container above the bleeder screw to prevent trapped air from re-entering the system.
Grab a Friend To Help Press Brake Pedal
- You’ll need an extra set of hands (and feet) to help depress the brake pedal while you’re under the car.
- Have your friend press the pedal a few times and let you know when they’ve depressed and held it. That brake pedal pressure should press fluid through the system, out into your tubing, and on into the catch can.
- As your helper holds the pedal down, it should start moving toward the floor. Tell your assistant to alert you when the pedal is almost all the way to the floor, which is your signal to quickly close up the screw.
- Repeat this process at each wheel, gently re-tightening the bleeder screw on each wheel after bleeding is complete.
Have Your Friend To Depress Pedal Once More
- Once all four corners have been bled, have your friend press the brake pedal one last time while you keep an eye on the fluid reservoir. This time ask them to quickly take their foot off the pedal. If there’s a big commotion and the fluid churns around violently, you’ve likely still got air bubbles in the brake system. When this happens, you’ll need to re-bleed the brakes following the process above.
- A small bit of movement in the reservoir is normal and means that you’ve done the job correctly.
Check Bleeder Screws And Finish The Job
- Before replacing each wheel, check the bleeder screws to make sure you’ve tightened them all the way this time. They don’t need to be torqued down with the force of an American Gladiator here, just tight.
- Reinstall the wheels, making sure to tighten the lug nuts completely.
Sometimes You Need a Certified Mechanic
As much as The Drive loves to put the “you” in do-it-yourself, we know that not everyone has the proper tools, a safe workspace, the spare time, or the confidence to tackle major automotive repairs. Sometimes, you just need quality repair work performed by professionals you can trust like our partners, the certified mechanics at Goodyear Tire & Service.
Pro Tips For Bleeding Your Brakes
Here are a few pro tips we’ve learned along the way.
- Have all of your equipment ready to go. Having a friend to press the pedals and help you along the way is great, but don’t waste their time flailing around without the tools you need to do the job.
- The key to working with bleeder screws is to be gentle and patient. A broken or stripped screw will not only stop your brake bleeding project in its tracks, but it’ll also make for one heck of an annoying trip to a mechanic.
- Your friend doesn’t need to stomp the brake pedal each time. They should apply steady, even pressure.
FAQs About Bleeding Your Brakes
You’ve got questions, The Drive has answers!
Q: Do I Have To Bleed The Brakes At All Four Corners?
A: Yes, the brakes function as a system, so skipping a corner will not help completely remove the air from the brake lines.
Q: I’m Not Comfortable Bleeding My Own Brakes. How Much Does It Cost To Have Done?
A: Your local brake shop should be able to bleed your brake lines quickly and somewhat cheaply. Most brake bleeding jobs cost between $70 and $100, depending on the type of vehicle. Materials costs are minimal here, so the vast majority of the expense is labor cost.
Q: Can I Drive With Air In My Brake Lines?
A: You shouldn’t ignore air in your brake lines. It may seem like you can stop, and that there’s nothing wrong with having air in your brake lines, but your brakes won’t function properly and may not stop the vehicle when you need it to.
Q: How Do I Dispose Of Brake Fluid?
A: You can’t flush brake fluid or pour it down a drain, and you should absolutely keep it out of the reach of children and pets. Brake fluid is toxic and must be disposed of carefully. Many auto parts stores offer recycling services, as do most town and city waste management departments.
If you’ve spilled brake fluid, kitty litter is the best way to dry it up, but you can use paper towels or other absorbent material to soak it up if there’s no litter on hand.
Let’s Talk, Comment Below To Talk With The Drive’s Editors!
We’re here to be expert guides in everything How-To related. Use us, compliment us, yell at us. Comment below and let’s talk! You can also shout at us on Twitter or Instagram, here are our profiles.
Jonathon Klein: Twitter (@jonathon.klein), Instagram (@jonathon_klein)
Tony Markovich: Twitter (@T_Marko), Instagram (@t_marko)
Chris Teague: Twitter (@TeagueDrives), Instagram (@TeagueDrives)
Video

How To: Bleed Your Vehicle's Brakes
Got a question? Got a pro tip? Send us a note: guidesandgear@thedrive.com