We may earn revenue from the products available on this page and participate in affiliate programs. Learn more ›
I got the idea to decorate my car battery from an old classic car magazine I saw years ago — somebody had wrapped vintage-looking decals on a modern battery to preserve the period-correct look of an old Jag’s engine bay. I executed a similar concept for a fun little project on my Civic Si, and it actually came out looking pretty sweet.
At the risk of outing my un-ironic secret love for the Need For Speed: Underground aesthetic, I’ll admit that I’m big into engine dress-up. Over the years I’ve painted plastic pieces, replaced lengths of wire loom just to change their color, made my own emblems to stick on engine covers, and spent hours agonizing over the orientation of stickers that nobody but me will ever see. So if you’re wondering “who the hell would bother decorating a car battery” … it me.
But seriously if you’re looking for a very simple decorative project or an extra layer of car personalization, here’s how I decal’d my car battery to make it look cooler.
Here’s the battery as I got it when I bought the car. It’s nothing special.

I’d never heard of this brand and suspect it wasn’t expensive, but it’s been fine. It doesn’t take much juice to fire up a two-liter four-banger. This is a very easy battery to change the look of because it’s nice and plain — something like an Interstate with a lime-green top might be harder to hide (if that’s your plan).
Anyway, my first move was to remove the battery’s existing sticker. Of course, I could have just removed the ProMax brand sticker and had a nice clean black brick, but that wasn’t extra enough for me. I stuck it on a piece of paper I’ll keep in my car’s service records, just in case I need to reference it for some reason.

Then I noticed there was a warning label below that sticker — that came off too, but I thought it looked cool so I stashed it face-down for potential re-application.
The key to removing stickers like this without wrecking them or leaving a lot of residue is to go slowly, consistently, at an angle, and always try to be grabbing as close to the still-stuck part as possible.
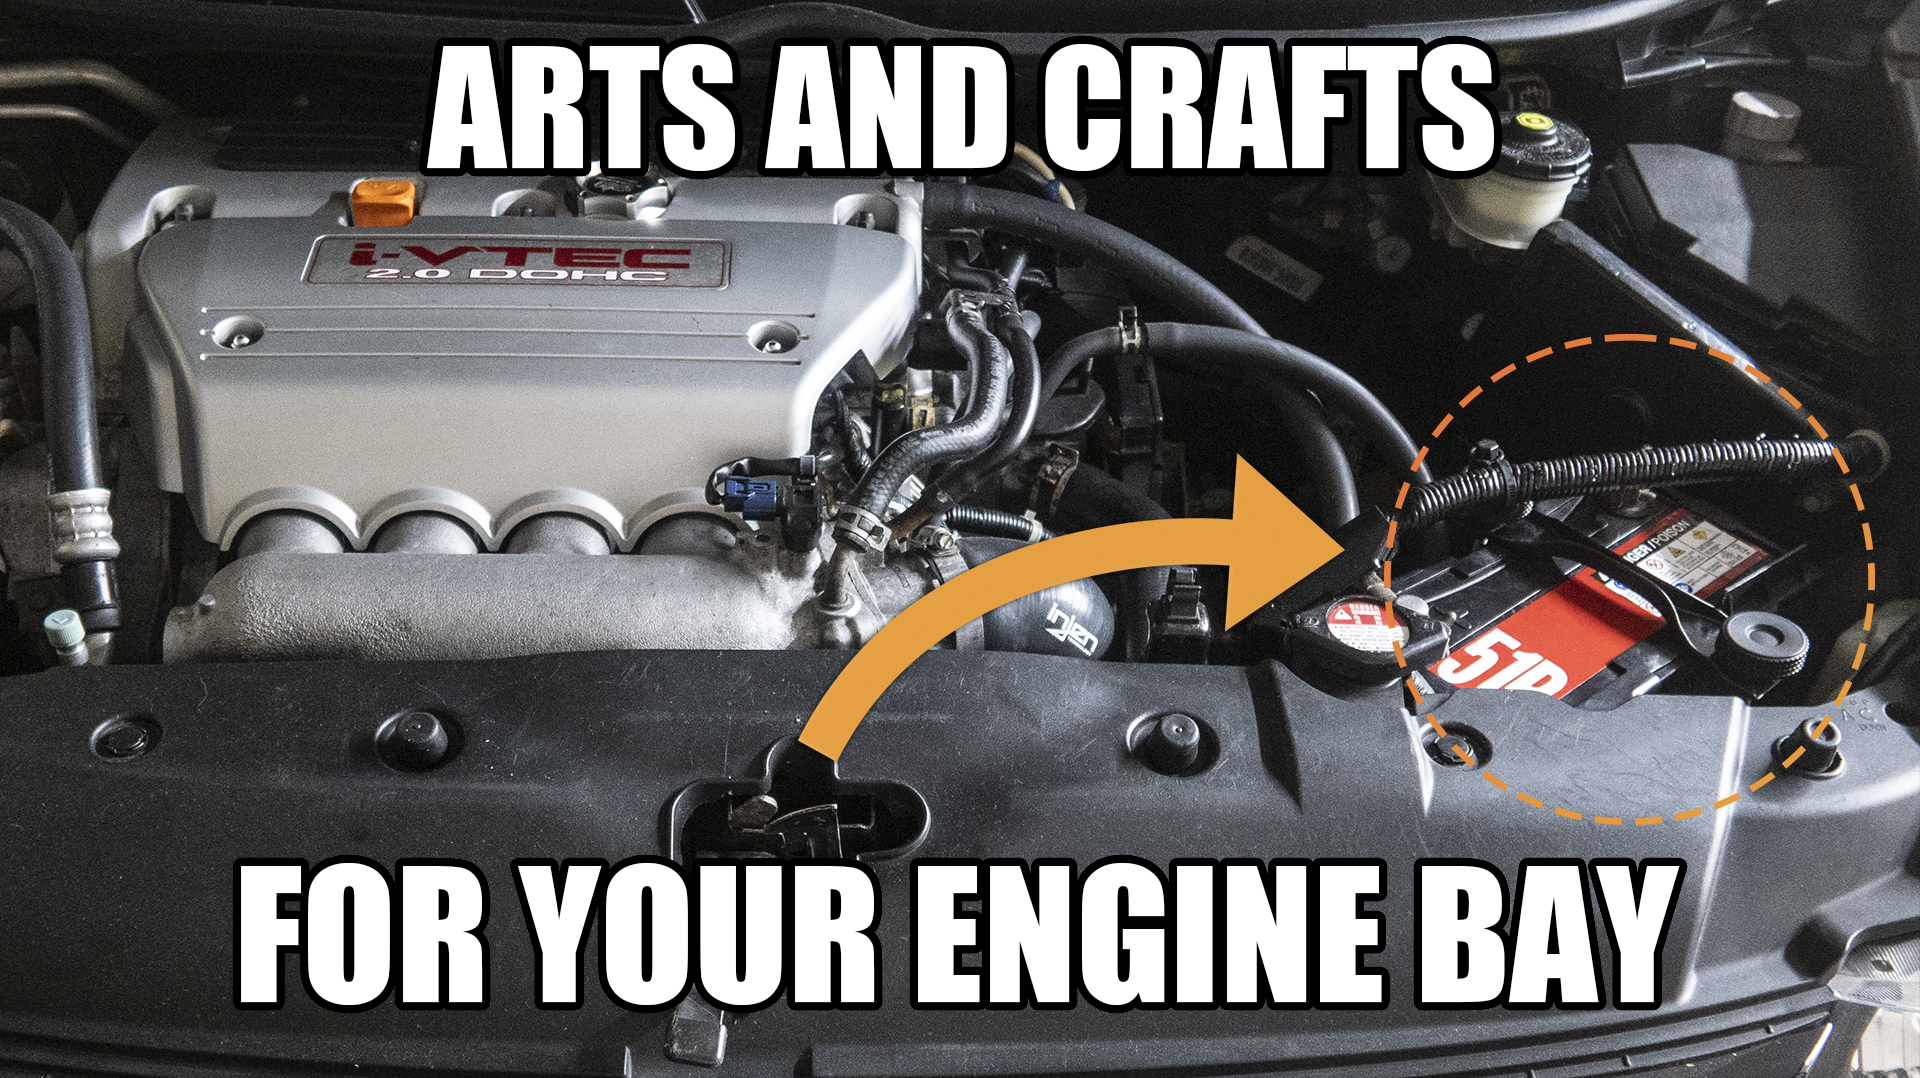
My “design” is real simple: I had loads of red vinyl stripes laying around from when I did the graphics on my Mitsubishi Montero, so all I wanted to do was slap a red line on there and maybe one extra layer of something on top of that. After a few seconds of thinking on what that could be, I decided that “51R” (the battery’s size group) would make sense. And I just so happened to have a set of white letter and number decals that fit inside the red striping perfectly.

Cutting the right length of red was easy — these vinyl stripes have grids on their backside for painless measurement. I like to spritz the back (sticky side) of vinyl like this with soapy water before laying it down; that makes it a lot more forgiving. You can slide it around a little if you don’t put it at the precise position you wanted right away.
You can do that correctly with a spray bottle, but for this goofy little project, I just lathered up some hand soap in my hands in the sink and then flicked it onto my vinyl strip here with my fingers. Obviously, you’ll want to be careful getting water near those battery terminals, though. Moisture could lead to corrosion; shock risk might exist too but I think it’s minimal.
Since my Civic’s battery has this little plastic frame around it for some reason, I ran the red stripe out below the upper part of it and was able to achieve a super clean look. It really seems like it belongs on there! A plastic trim tool was helpful in sneaking the edges down.
Once the stripe was laid I realized the battery’s warning label would actually look cool and balance the “51R” emblem I planned to make, so back on it went. It seemed plenty sticky still after being pulled off. Stickers are often up for a second application if you peel them up smoothly.

The letters and numbers took a lot of patience, but I’m happy with the final result. I did the “5” first, then the “R,” figuring I’d achieve a centered look by making them the same distance from the outside of the stripe and then putting the “1” in between. Once I laid my “1” down I decided I didn’t like my “5,” so I ripped it up and laid a new one — luckily I had a couple of extra “5” decals in my sticker pack.


If I wanted another layer of precision here, I could have set down a strip of painter’s tape to align the letters along their tops or bottoms. But I was confident enough in my freehand application skills and I’m satisfied with the ultimate result.
Finally, I’m also proud of the battery tie-down itself and the accompanying nuts that hold it in place. I thought about getting one of those shiny billet tie-downs, but honestly, the stock Honda one has a simplicity to it that I find elegant and its rubberized texture is nice. My car had none at all when I bought it, which is bad news. You don’t want a free-range car battery because if you hit a bump just wrong and it gets jostled you’ll have a lead weight clanking around your engine bay. Anyway, an OEM replacement was easy to source cheaply from a Honda dealer.

The nuts that hold it down, though, are another matter. Car batteries are usually detained by two threaded rods with nuts pinning them down. My feeling is that they don’t look very cool, so I spent a long time looking at different types of nuts and fasteners that might give the battery tie-down a more purposeful and finished appearance.
After exhaustive searches at every local hardware store and many websites, I settled on these plastic knurled knobs that are unique and industrial-looking while still serving the essential function of holding the battery in place. Specifically, the “nuts” are actually a pair of J.W. Winco 534-50-M8-SW Diamond Cut Knurled Knobs, sized 30″ (1.18), M8 x 1.25 which I got from an outfit called Global Industrial.
I did have to cut the threaded rod down a few inches for them to fit, but that was easily done with a carbide hacksaw blade (tried a 1.5-inch Dremel cutting wheel too, but in this case, the hand saw was the move). They’re slightly cumbersome to attach because with the threaded rod being so short it’s not as easy to get in place as it would have been otherwise. But I don’t anticipate removing the battery all that often, so it’s not a huge deal.

If you’re not the kind of person who understands projects like this, that’s OK (I’m surprised you read this far!) but if you’ve been looking for a small-but-satisfying cosmetic mod you’re hereby welcomed to my idea for inspo. Besides basic car battery safety, the only real potential pitfall to think about is that you might need to keep the factory barcode or markings on your battery to make warranty claims to turn one in for a core refund. I doubt it, but if that’s something you’re really worried about, consider at least keeping the stock sticker on hand if you peel it off.


Have any of you done something similar, or remember the fake “Lucas Battery” sticker covers I referenced at the beginning of this story?