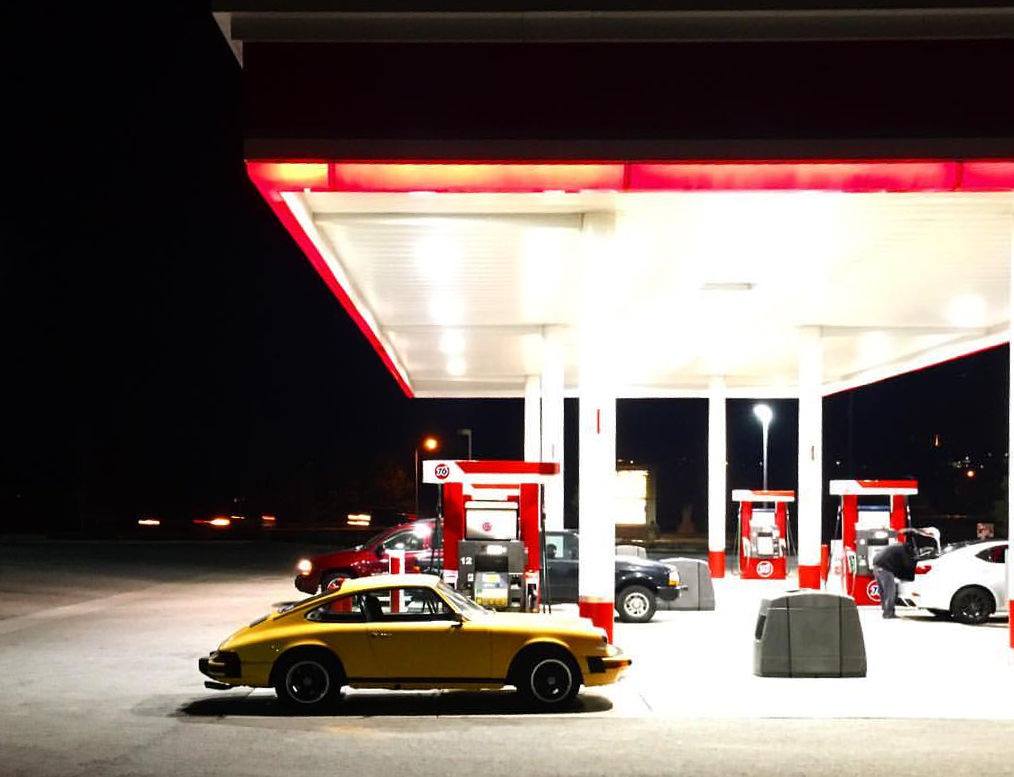


Last time I spent time with the 912E, I was trying to figure out getting a fix on the braking system. The car had been sitting for quite a while before I’d purchased it, and the previous owner said that when he’d driven it two years prior the brakes had been less than acceptable. Time didn’t help them any, and I figured, at the very least, bleeding the system and filling with new fluid wouldn’t hurt. It helped, but not nearly enough. Further investigation unearthed sticky caliper pistons, corroded brake pad hardware pieces, rear caliper bleeders that had been rounded off by an overzealous mechanic, and pads that were beyond their serviceable life. They needed help to be their best, so I went in up to my elbows and made some corrections over a long weekend, getting some much needed winding down garage therapy in this most hectic of seasons.

The first thing that needed to be done was to measure the car’s front calipers to determine which pads needed to be purchased. All 912Es use the same rear caliper, but the fronts can be different, depending upon what front uprights were on hand at the factory that day. The primary way to tell which caliper you have is to measure the spacing between the two caliper bolts, generally easier if you remove the caliper from the car. If the caliper mount spacing is 3″ from the middle of one mount hole to the other, then your car is fitted with what Porsche and ATE call “M” calipers. If that spacing is slightly wider at 3.5″ from center to center, as my car is, then you’ve got what are called “A” calipers. The A caliper is a common cast iron unit from ATE that shares a pad dimension with the alloy “S” caliper, and was used on Ferrari 308s, a number of Porsches, and several German sedans. Now that we know what pads to order, it’s time to get started. For street driving, I like to buy Hawk’s “HPS” series of brake pad, and luckily they had this compound available for both front and rear fitment. It’s a decent street pad as it is more aggressive than your average metallic, but doesn’t squeal or dust nearly as badly as many more hard core track pads.

The rear pads needed to be changed badly. They’re cracked and glazed and low on material. The other pad in my hand here is the new Hawk. Being that this pad dimension was used for decades, Hawk has chosen to add a brake pad wear sensor divot to the pad in order for it to fit several applications without need for more tooling. The pad doesn’t exactly match the original because of this, but it does fit perfectly, and it does work.
The front pads were much the same, but not quite as bad as the rears. Since I’m changing compounds on the rear, it’s always a good idea to match the front as well, so the old pads will be filed away for just-in-case use (more likely because I’m a low-level hoarder).

At this point, I chose to remove all four calipers from the car to get good access to the pistons. The entire system needed to be bled anyway, as the last time we did the job it didn’t get all of the old fluid out. The pistons were a little stuck in their bores, but some work with a caliper spreader and a little perseverance got them retracted and cleared of old fluid (admittedly some of it ended up all over me). The rear calipers are a bit of a pain to get off as the lower mounting bolt is obscured and can only be turned about one-sixteenth of a turn at a time. The fronts practically jumped off the car in comparison. With the calipers freed up and back on the car, the new pads fitted into the slot like a glove. I took the time to clean up all of the brake pad pins and springs for each caliper with a wire brush and put a bit of anti-seize on each piece hoping to keep them nice.
Bleeding time meant calling my wife out to pump pedals for a bit. Starting with the rear right corner, as it is the farthest one from the master cylinder, then working my way around the car (rear left, front right, front left), it was pretty easy. New bleed valves on the rear made it much easier to bleed this time, as my wrench could actually gain purchase on the sucker. Fresh fluid made the pedal a bit nicer with slightly less travel than before, and it is now certainly a lot more solid feeling. Pop the wheels back on, dump it to the ground, and go for a test drive. The initial impression is that the car is now in desperate need of tires. The car stops quicker than it had before, but it’s still an old car with tiny brakes, so it’s not going to set the world on fire. With the calipers freed up, at least it now stops in a straight line with reliable results. It’s easy to overwhelm the tires and lock them up, however, so a more aggressive set of performance oriented tires are inbound, we’ll talk about that next time.
The brakes were needed, for sure. In early February, we’re taking the car on a road trip down to Paso Robles, California, so it needs to be in tip-top form. Tires for sure, maybe some more fine-tuning with the audio system, and come to think of it the starter is sounding a bit tired these days. Old car ownership is a joy.


