We may earn revenue from the products available on this page and participate in affiliate programs. Learn more ›
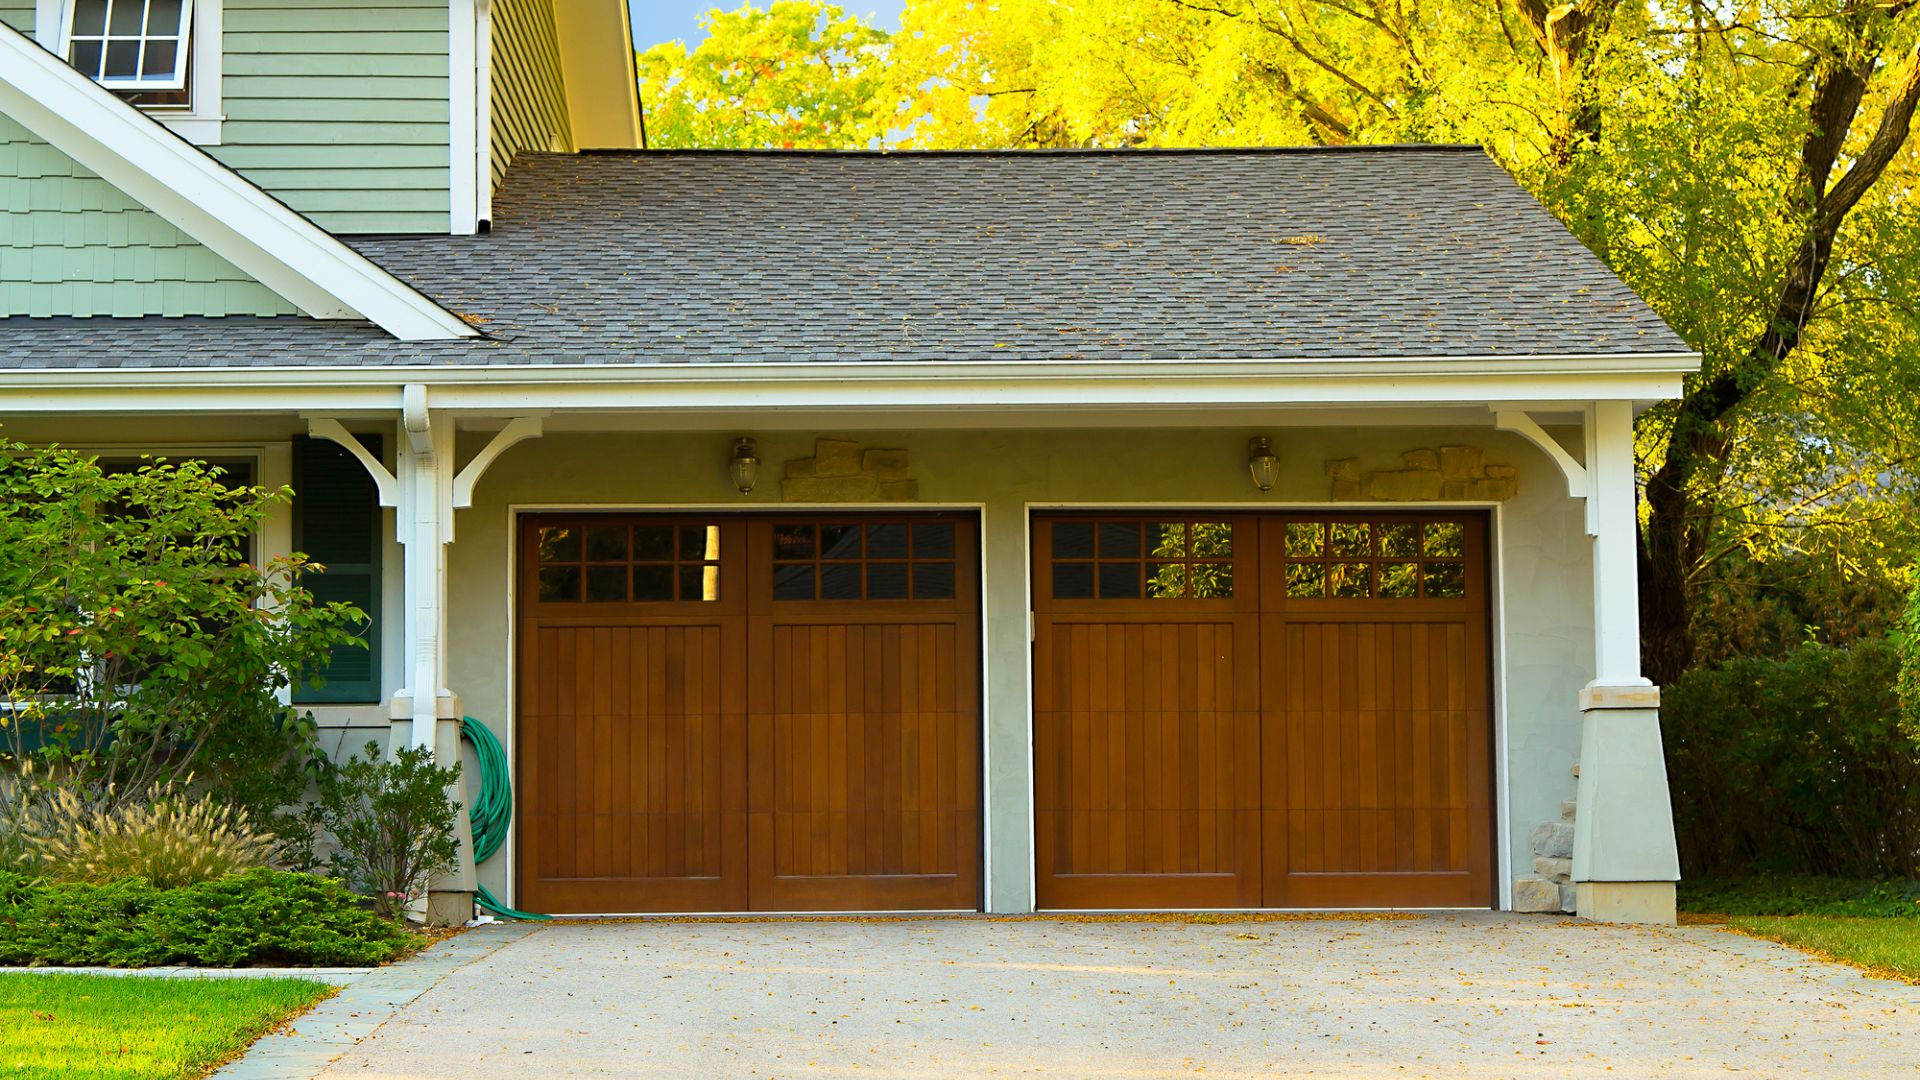
The general public’s knowledge of garage doors and openers typically starts and ends at the remote. Click the button, and it opens. Click it again, and it closes. It’s one of those things we take for granted. But what happens when the button clicks and the door fails to go up?
That’s when you pull out your Sherlock Holmes hat and diagnose the issue. One likely culprit could be traced to a broken garage door spring in need of repair. And for the sake of this article, we’re going to say that is indeed why your garage door isn’t going up and down.
If the torsion spring has a split, crack or separation, it’s broken. Its attachment to a garage door might suggest a complicated repair, but with some caution and the correct tools, it’s entirely in the realm of possibility for any DIY-minded homeowner. Follow below, as The Drive’s crack informational team explains how garage door springs work and how to replace them.
Basics of Repairing a Garage Door Spring
Estimated Time Needed: 1-2 hours
Skill Level: Moderate
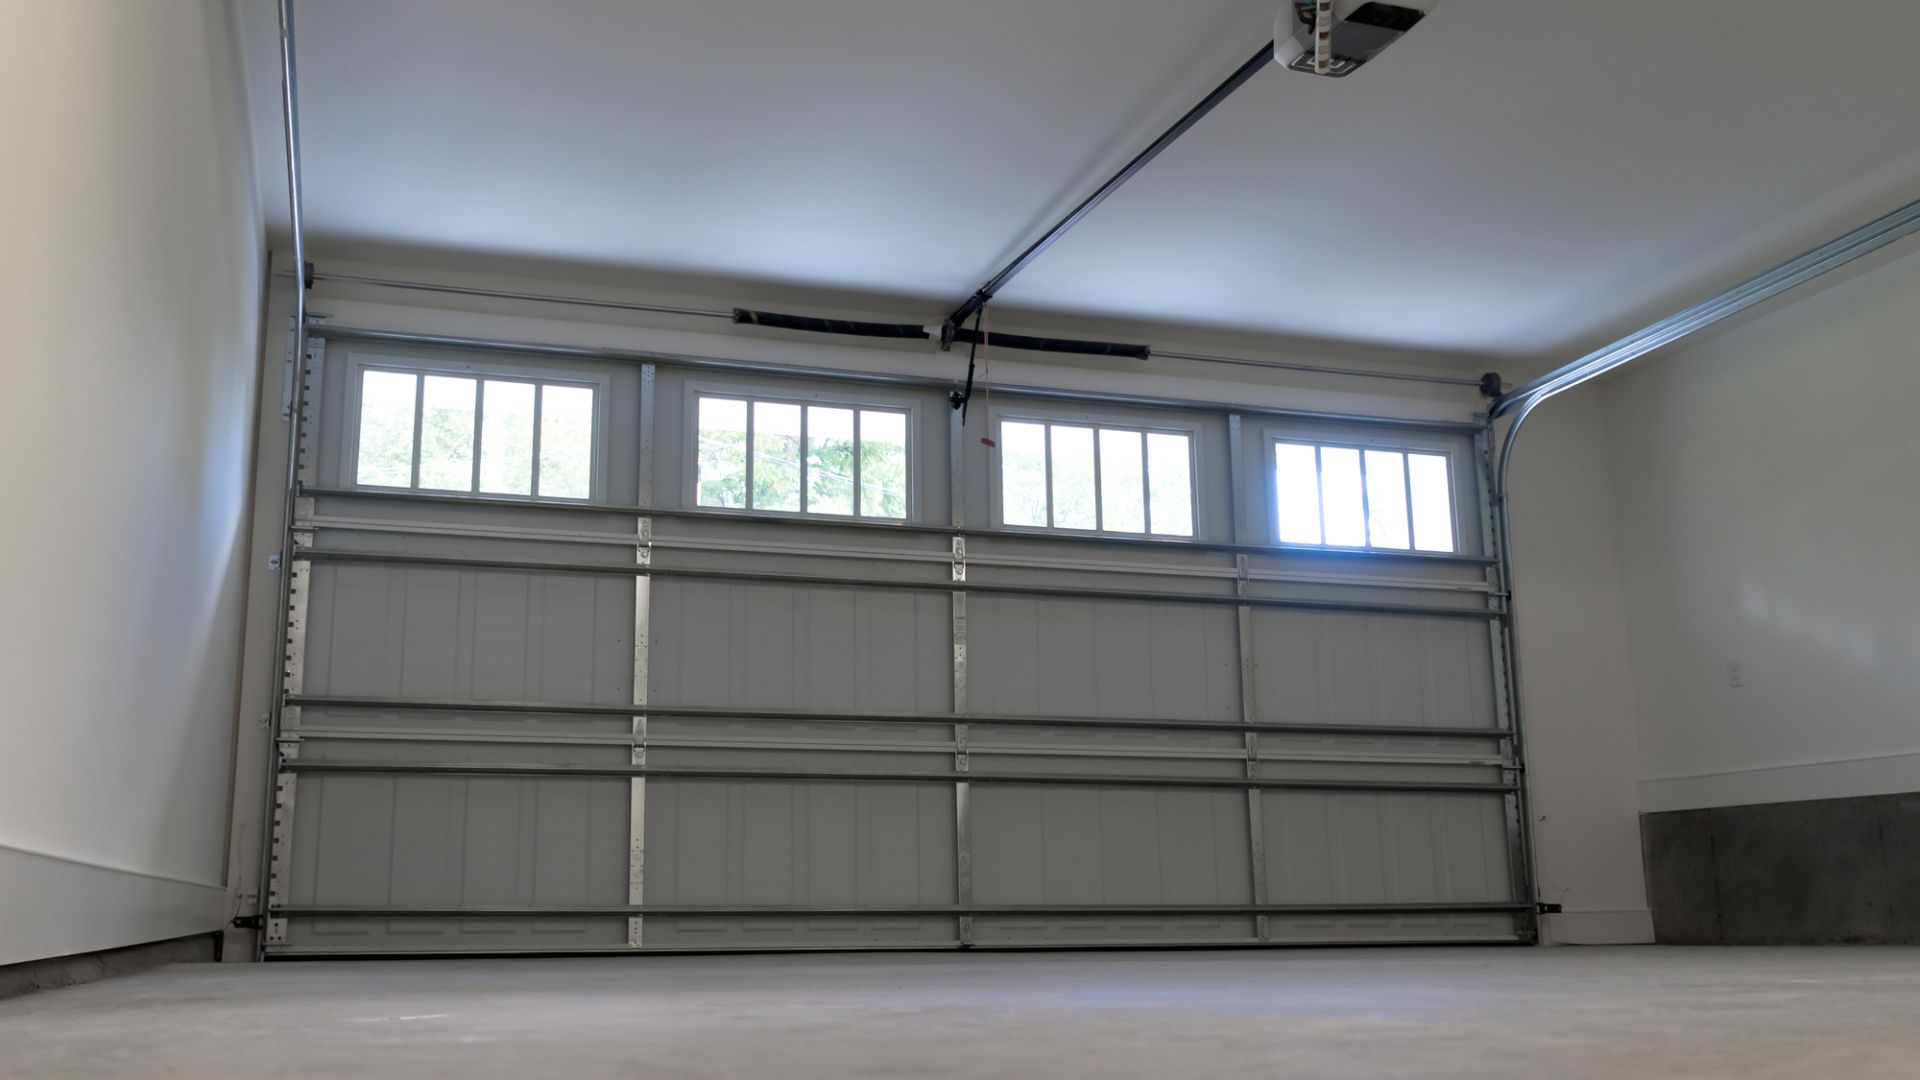
What Is a Garage Door Spring and What Does it Do?
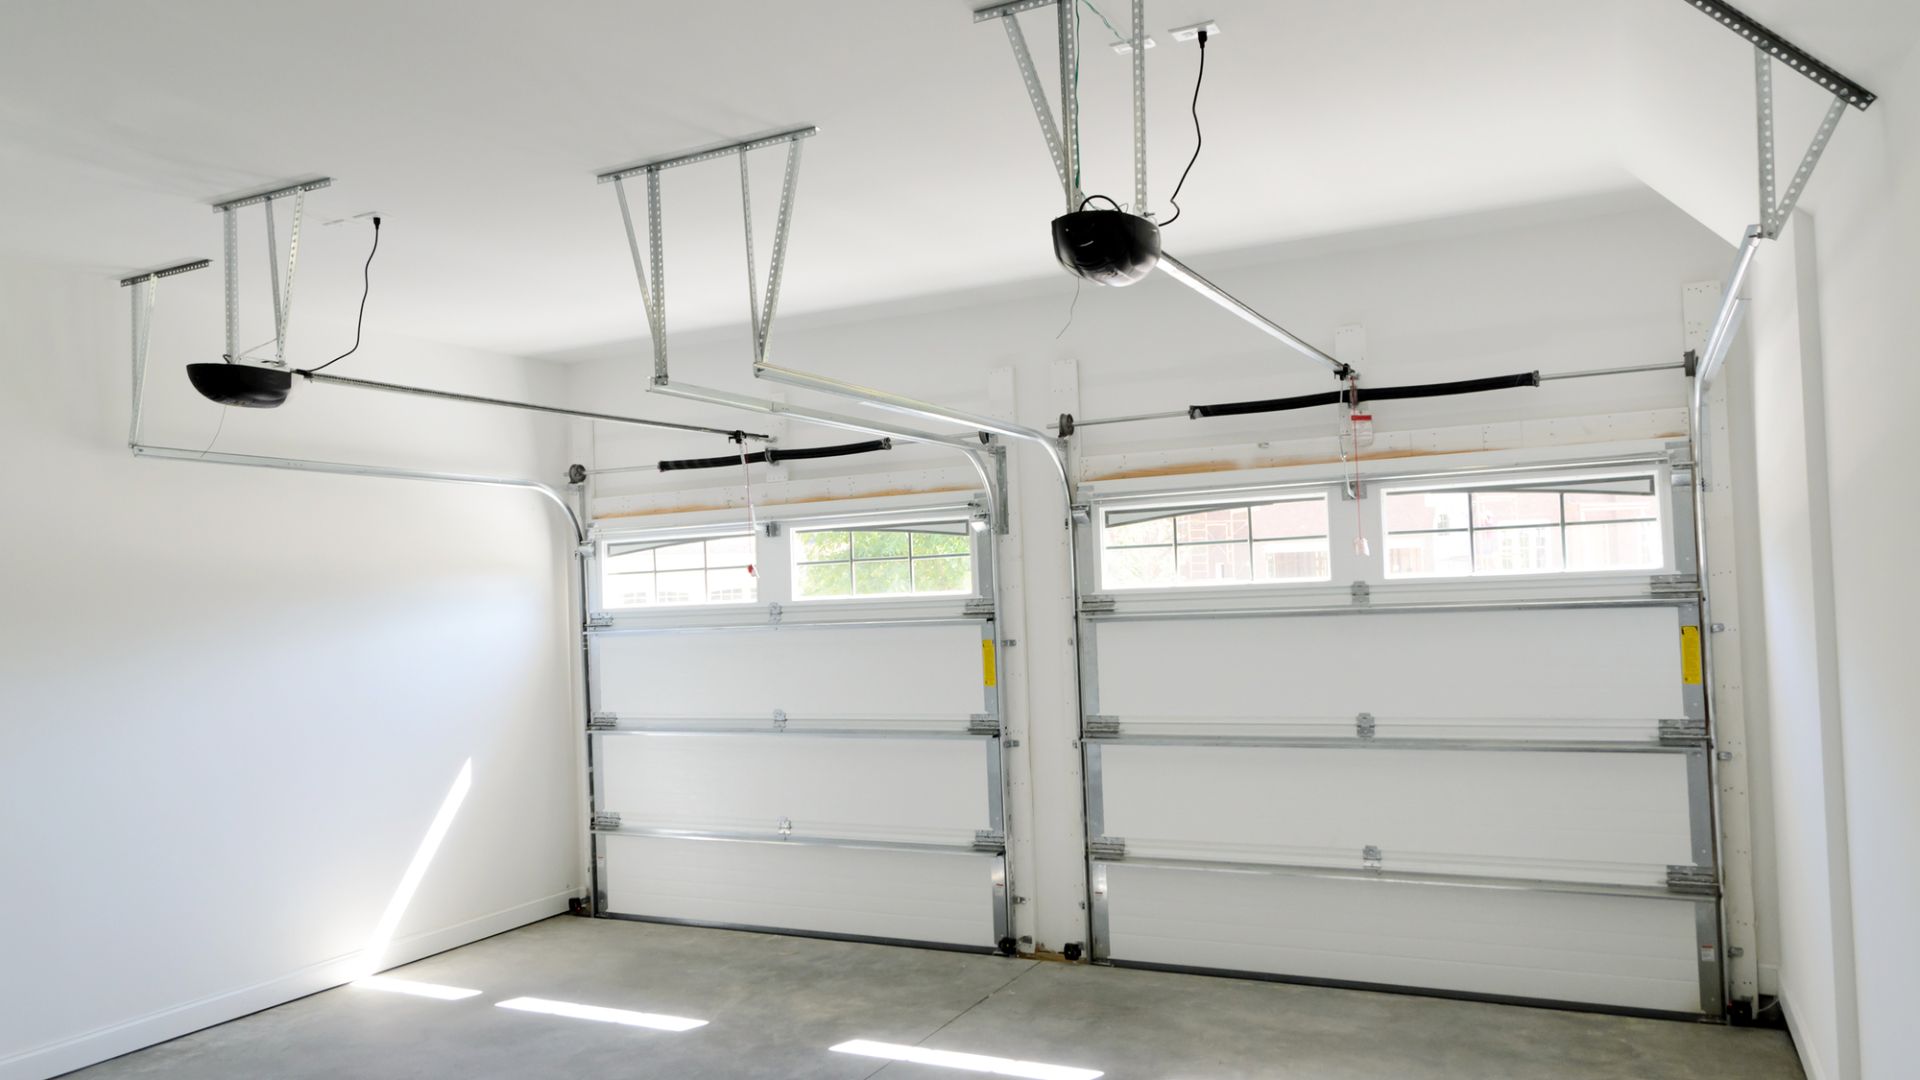
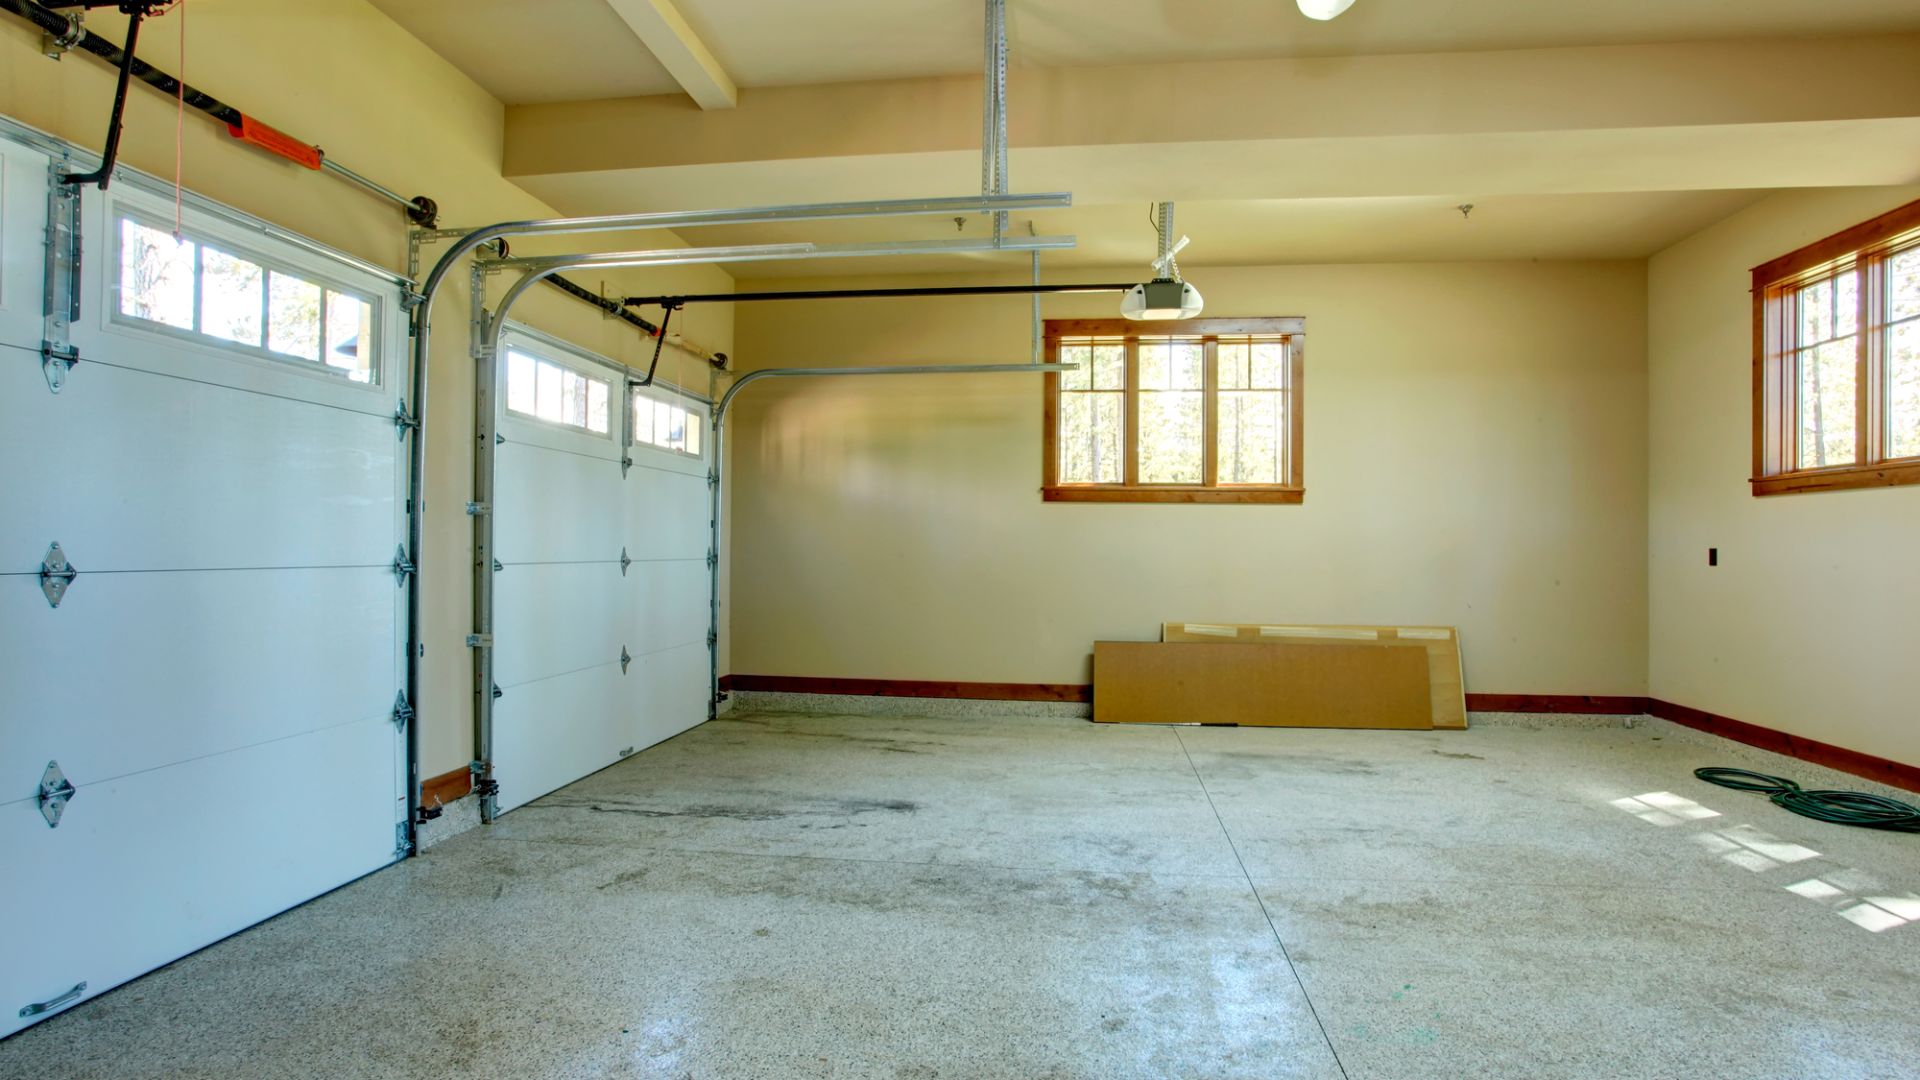
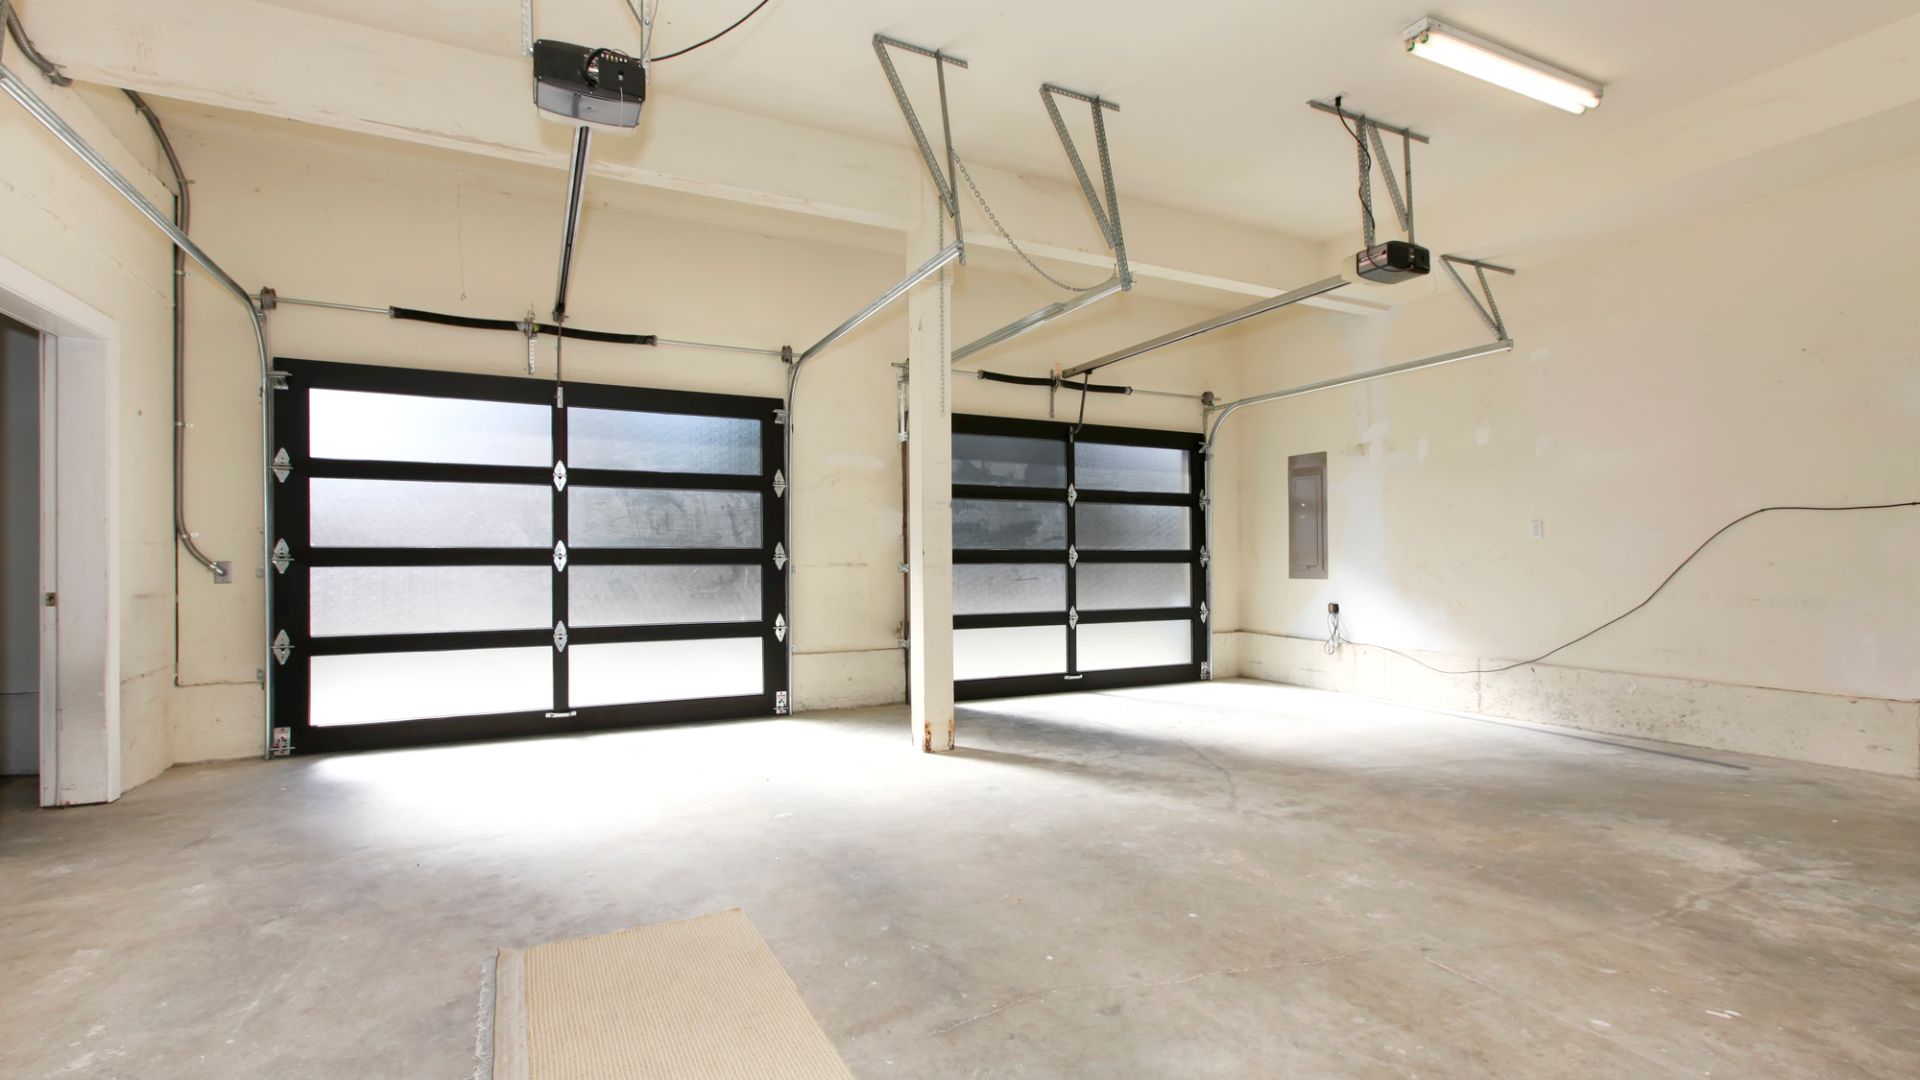
There are two types of garage door springs: extension springs and torsion springs, with the latter being the more common of the pair. Both serve the purpose of assisting the lifting of the garage door and maintaining a smooth and balanced opening and/or closing. Essentially, the spring acts as a counterbalance.
Extension Springs
These are typically located above the horizontal garage door track and run perpendicular to the garage door.
Torsion Springs
Torsion springs are typically centrally located above the garage door and run parallel to the garage door opening.
Garage Door Repair Safety
Garage doors can be extremely dangerous if not approached with care and caution. Torsion springs, in particular, are wound up with extreme tension and can exert a large amount of torque. When working on garage door springs, use a sturdy ladder, be sure to establish a good footing, and properly brace yourself to counteract the force. For people who do not have a lot of upper body strength, assistance might be needed. Additional precautionary protection, such as glasses and gloves, are recommended as well.
Everything You’ll Need To Fix a Garage Door Spring
We’re not psychic, nor are we snooping through your toolbox or garage, so here’s exactly what you’ll need to get the job done.
Tool List
- Folding step ladder, minimum of six feet
- Certified winding bars (not some other metal bar “that works”)
- Two Vise-Grip pliers, aka locking pliers
- Open-ended wrench set
- Socket wrench set
- Cordless drill (optional)
- File
- Tape measure
- Wire gauge tool
Parts List
- New garage door springs
- Garage Door Lubricant
Organizing your tools and gear so everything is easily reachable will save precious minutes waiting for your handy-dandy child or four-legged helper to bring you the sandpaper or blowtorch. (You won’t need a blowtorch for this job. Please don’t have your kid hand you a blowtorch—Ed.)
Useful Measurements for Garage Door Spring Replacement
Before heading to the hardware store for spring replacements, write down this information. These notes will help determine which springs to buy. Keep in mind, springs are typically 1-2 inches longer when wound.
- Length of the old springs (not including the pieces on the end)
- Inside diameter of old springs
- Wire gauge of old springs
- The garage door material
- The height of the garage door
- The width of the garage door
- The number of horizontal garage door sections
- The number of vertical garage door rows
How To Replace a Garage Door Spring
Let’s get into it.
Preparation
- With the door closed, unplug the garage door opener.
- Disconnect the opener from the door by pulling the dangling handle.
- Snap one of the Vise-Grip pliers on the vertical track just above one of the rollers. This is a precautionary step to prevent the garage door from lifting when the new springs are installed.
Remove and Replace Springs
- On the remaining spring that is still holding tension, insert a winding bar into the winding cone and use a socket wrench to slowly remove the setting/holding screws. This will release tension onto the winding bar.
- Unload the tension until the winding bar is pointing to the floor and pressed against the door. Insert the second winding bar into the winding cone, push up and remove the first winding bar, then unload the second winding bar until it is pointing to the floor.
- Use the two winding bars to unfurl the tension, one-quarter turn at a time.
Safety note: Be patient, and never put your hand on the springs for stability. When using the winding bars, keep them away from your face and clothes.
- Once both springs are completely unwound and hold zero tension, remove the center bolts that pair the springs together.
- Loosen the cable drums, release the cables, and slide each drum toward the middle of the torsion shaft.
- File down old set screw marks on the torsion shaft. Light filing should do the job and allow the drums and springs to easily slide across the shaft.
- Pull the torsion shaft out of the end bracket, remove the cable drum, then remove the spring. Leave the plastic bushing.
- Slide the new spring onto the shaft and make sure the red winding cone is on the left side of the garage, when looking toward the garage door from the inside. The opposite spring will have a winding cone with black paint.
- Repeat steps seven and eight on the other side.
Tighten Up
- With the torsion shaft back in place, reattach the springs at the center.
- Reattach the cable to the left cable drum, run the cable, and tighten the drum onto the torsion shaft.
- With the cable taut, attach a Vise-Grip to the shaft and secure it against the ceiling or header.
- Reattach the cable to the right cable drum, run the cable, and tighten the drum onto the torsion shaft.
- Back to the springs. On the left spring, insert the winding bar into the winding cone and rotate it toward the ceiling. Insert a second winding bar into the winding cone, rest it against the door, remove the other bar, then push upward for a quarter turn.
- Look to the instructions for the specific amount of quarter turns needed. Typically, seven-foot doors require roughly 31 quarter turns, while eight-foot doors typically require 34 quarter turns.
- After the turns, leave one winding bar in the winding cone and allow it to securely press against the door.
- Tighten the set screws on the left-side torsion spring.
- Insert a second winding bar to be parallel to the ground, slightly push up, and carefully remove the first winding bar.
- Still holding the attached winding bar, slowly release tension until the spring grips the torsion bar. Remove the winding bar.
- Using the same method, wind the other spring and tighten its set screws.
- Remove both Vise-Grips.
- If the garage door lifts by itself, adjust the springs to the correct torsion.
- Manually lift the door to check for correct alignment and balance.
- Reconnect the door to the opener.
- Reconnect the garage door opener to the outlet.
- Test to make sure it works.
If all is working well, you’re done!
Get Help With Garage Door Spring Repair From Mechanic On JustAnswer
The Drive recognizes that while our How-To guides are detailed and easily followed, a rusty bolt, an engine component not in the correct position, or oil leaking everywhere can derail a project. That’s why we’ve partnered with JustAnswer, which connects you to certified mechanics around the globe, to get you through even the toughest jobs.
So if you have a question or are stuck, click here and talk to a mechanic near you.
Pro Tips to Fix Garage Door Springs
Throughout the years, The Drive’s editors have seen every problem a garage and its door can have. Use these pro tips to make fixing the garage door springs a smooth process.
- Mark the position of the cable drums with a marker before starting any work. When the drums have been removed, and it’s time to reinstall them, use the marks for alignment.
- Before reinserting the cables into the cable drums, bend them in a hook-like position so they seat properly in the drums.
How Much Does It Cost To Fix a Garage Door Spring?
On average, a set of garage door torsion springs costs between $60-100, and winding bars will tack on another $15-20. According to Angie’s List, a professional garage door spring replacement should cost about $200-300, including parts and labor.

How To Replace Garage Door Torsion Springs
Featured Products
Chamberlain Group Smartphone-Controlled Belt Drive Garage Door Opener
3-In-One Professional Garage Door Lubricant, 6 Pack
Matador Garage Door Insulation Kit
Got a question? Got a pro tip? Send us a note: guidesandgear@thedrive.com