We may earn revenue from the products available on this page and participate in affiliate programs. Learn more ›
Chrysler got a lot of things right with the 1968-1970 B-body. I’m not just talking about styling, either. From the use of torsion bars and asymmetrical leaf springs to its ties to some of the greatest engines to ever leave Detroit, it’s hard to argue with the potential of what Chrysler gave you to work with. But the key word here is “potential.”
Chrysler also got a lot of things wrong, and you do have a good amount of work ahead of you when trying to dial these cars in. That’s not a shot at Chrysler, it’s just the way things are when you’re dealing with a car built for the masses with limitations set forth by manufacturing budgets and assembly-line limitations. A great example of the imbalance of technical achievements and blunders is quite literally the imbalance of weight this platform falls victim to.

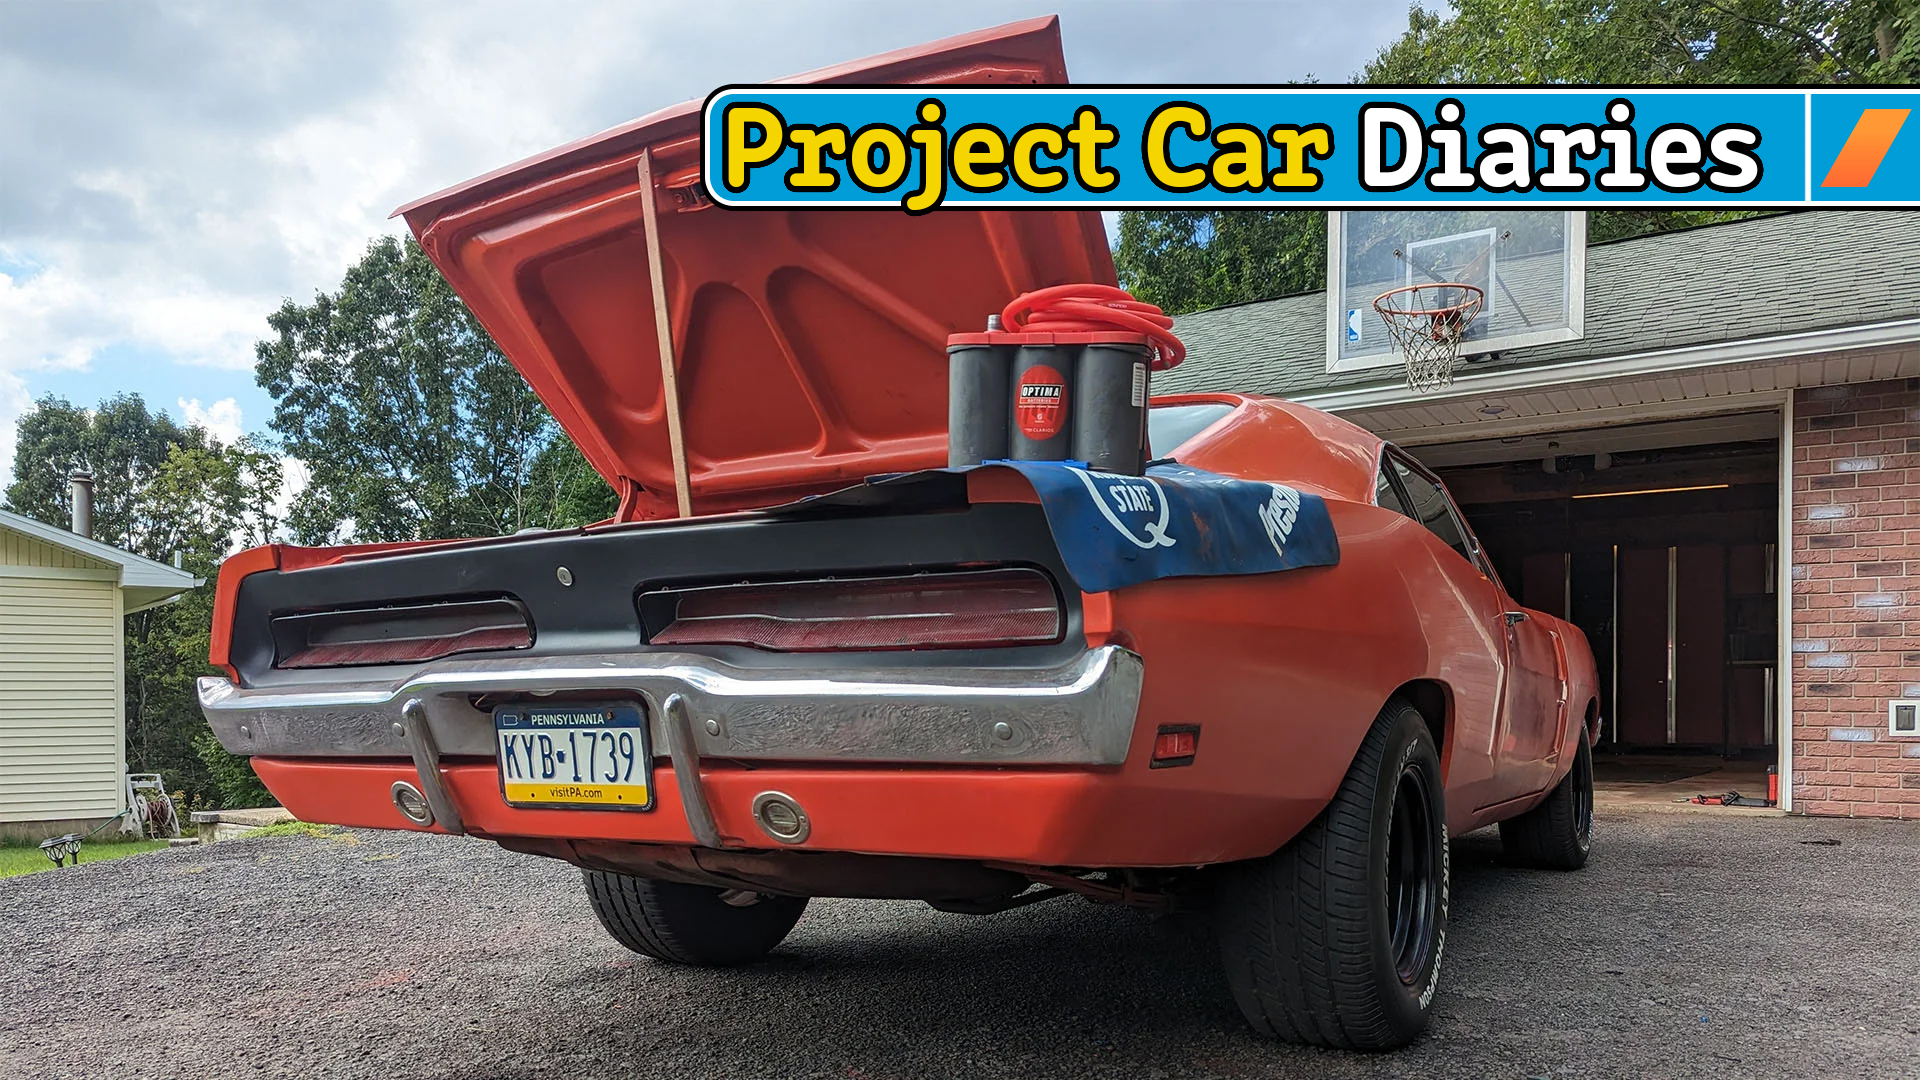
I’ve done a lot of things to my 1969 Dodge Charger that could help this situation. However, up until now, the battery remained at the factory location. That’s almost a cardinal sin of modifying cars, as relocating the battery to the trunk is one of the easiest things you can do to help remedy unfavorable weight distribution as batteries are quite heavy.I’ve finally come to my senses and put my battery out back. And since this is something that benefits so many production cars, I’m happy to show how I did it.
Why Put the Battery in the Trunk?
Relocating the battery to the trunk isn’t something I just decided to do on a whim. Nor did I do it solely because it’s such a popular mod. I did it because I’m not performing a simple restoration on my 1969 Dodge Charger. I routinely apply critical thinking in order to determine what modifications I need to make to elevate performance and functionality.
While tearing the car down for bodywork and paint, something caught my eye. The engine is offset to the passenger side by a considerable degree. This piqued my interest, and I began researching the weight distribution of these cars. A video posted by the king of second-generation Charger restorations, Junkerup Chris Bird Song, shows that the weight is perfectly distributed from side to side, with a slight bias to the passenger side. That’s pretty much optimal as the car, in theory, is perfectly balanced with someone behind the wheel.

The same can’t be said for the distribution of weight from front to rear. Almost 60% of the weight rests on the front half of the car. That brings us back to the aforementioned potential of these cars. Chrysler gives owners an edge with that side-to-side balance being on the money, which is great. But having so much weight on the front end is something that you’re going to be fighting against in almost every scenario. Correcting it is a major obstacle to overcome, and there’s only so much you can do before moving to a motor plate and modified firewall—get out of my head.
Thankfully, I’ve already done a good amount of weight reduction to help the situation. Lighter disc brakes, AC and power brake delete, an aluminum intake, an aluminum radiator, tubular control arms, and a fiberglass hood are already helping me toward the goal of improving the balance. Still, even after all of that, I’ve managed to leave the battery in its stock position. Granted, the weight of the battery alone isn’t going to make or break performance. Every little bit counts, though. And since I’ve already gone as far to have done all of that other stuff, I might as well tackle this.

Here’s How I Did It
Moving the battery to the trunk of a car is a simple enough idea. Basically, all you’re doing is setting up a mounting point in the trunk and running cable to connect the battery. Still, there are a few things you need to keep in mind. Where you place the battery, how you route the cable to where it needs to go, and the thickness of the cable you select all require a little bit of thinking to get this right.
The ideal location for the battery depends on the application. Thankfully, it’s a wildly popular modification and the information we need is widely available. In my case, all I had to do was look at older factory configurations. Earlier Max Wedge cars were plagued with the same issue, and the engineers decided to relocate the battery to the passenger side of the trunk, behind the rear axle. Placing the battery here helps balance the car out and also allows the weight of the battery to act as a bit of a lever to positively impact weight transfer during launches. I’m not drag racing, but I may in the future, and this will surely help.

Optima sent me a battery to review, which added to my list of excuses to do this mod. I had already purchased a factory battery tray about a year ago as rot on the inner fender demolished the original. Seeing as the aforementioned engineers used a simple tray for those applications, I opted to just use the OE tray in a similar manner. On a side note, I picked up a hold-down on eBay that was listed as a fit for a Daytona or Superbird. I cannot confirm that it is, but I had to have it just because it adds a little spice to this recipe.
The Supply List
- Optima Group 34 Red Top
- OE 1969 Dodge Charger Battery Tray
- OE “Daytona/Superbird” Battery Hold Down
- SoundBox Connected 0 Gauge Red Amplifier Amp Power/Ground 1/0 Wire
- Mofeez Hammer Lug Crimper Tool
- TKDMR 1/0 AWG 3/8-Inch Battery Lugs
- BULVACK 150-Amp Circuit Breaker with Manual Reset
- Alex Tech 1/2 inch PET Expandable Braided Sleeving
- Lenitech Zip Ties
Once I had the battery location sorted out, I needed to figure out where to run the wiring. This is something to be very careful with, as a short can be catastrophic. I tapped into the starter relay where the original positive cable connected, ran it through the firewall with a grommet and a sleeve to protect it from abrasions, then followed the routing of the tail light harness to the battery in the trunk. This does put the cable in the cabin of the car, but the addition of a 150-amp breaker puts my woes to rest. That circuit breaker is located near the battery, so if anything does go wrong, the breaker trips, keeping me safe and my car unfried.


Determining what wire gauge you need to run is the next thing to sort out. The appropriate thing to do here is determine the routing and the length of the cable you need, figure out how many amps your car will draw, then do a Google search for a cable gauge chart, and find what you need based on your car’s demands. However, the popularity of this mod really does make quick work of things as you can just head to any forum and refer to existing threads where like-minded builders have already sorted the details out. Trust me. It’s worth doing. I burned myself by using 2-gauge wire, as it was a general recommendation for smaller applications. It wasn’t able to support the current drawn by my car, leaving me with a slow-cranking engine. I ultimately had to buy a 0-gauge wire and do the work twice because I went and committed the sin of assumption.
As far as the negative cable goes, there’s some debate on what’s appropriate. Some recommend running a gauge that matches the positive cable and running it to the engine block. Others simply ground to the battery and the block to the chassis and save the expense. I chose the ladder and reused my factory ground wire to get it done.
You can save yourself a lot of time and effort by just buying a battery relocation kit. You still need to know where you’ll mount the battery and what gauge cables to run, but they bundle everything together, keeping you from having to shop around. These kits also often use boxes to better improve safety, which is never a bad thing. That said, I fully understand and accept the risks of forgoing the box in this situation.
What about terminating the ends? Easy. You will need a special crimp tool and the right lugs for your specific application, but that won’t cost you much more than $20. I chose the Mofeez Hammer Lug Crimper Tool because getting to use a hammer lets me blow off steam from having to work in tight spaces.

It’s hard to not say anything good about the battery itself, but it’s hard to find anything to criticize this early on. Besides, anything is a big upgrade from the parts store batteries I’ve had not-so-stellar luck with in the past. And though I promise you this isn’t a sponsored plug, I do have some positive things to say about the Optima Red Top.
First and foremost, it’s an AGM battery that’s sole purpose is to deliver higher starting power than the competition. In other words, it’s low-maintenance, longer lasting, and will crank this stubborn 440 over easier than the alternative will. At least, that’s what’s promised. I have to get some miles on it before I can confirm, but I’ll take it.
The other thing I like about this battery is the fit and finish Optima batteries have become the battery of choice for high-performance applications over the years, and the looks are something of a standard because of it, and I’m here for that. I also appreciate the removable carry handle and clip-in spacers that make it look and feel right at home in the battery tray.

What’s Next?
Dealing with this loose thread has me feeling rather content. Though, I already know it’s only a matter of time until I start looking for ways to pull more weight off the front end. According to an industrial scale, the car’s sitting at 3,600 pounds. That’s better than the factory claim of 3,800 pounds, but I’d still like to get more out of it. The good news is that weight reduction is cheap. At least, it is until I convince myself that I need race scales.
Between that, saving up for a stronger differential and what I need to make a decent interior, along with all of the other stuff I’m forgetting, there is no shortage of small projects like this left to handle. In fact, we have some brake and lighting upgrades coming in hot. Stay tuned as I continue to build back this once-hopeless Mopar.