We may earn revenue from the products available on this page and participate in affiliate programs. Learn more ›
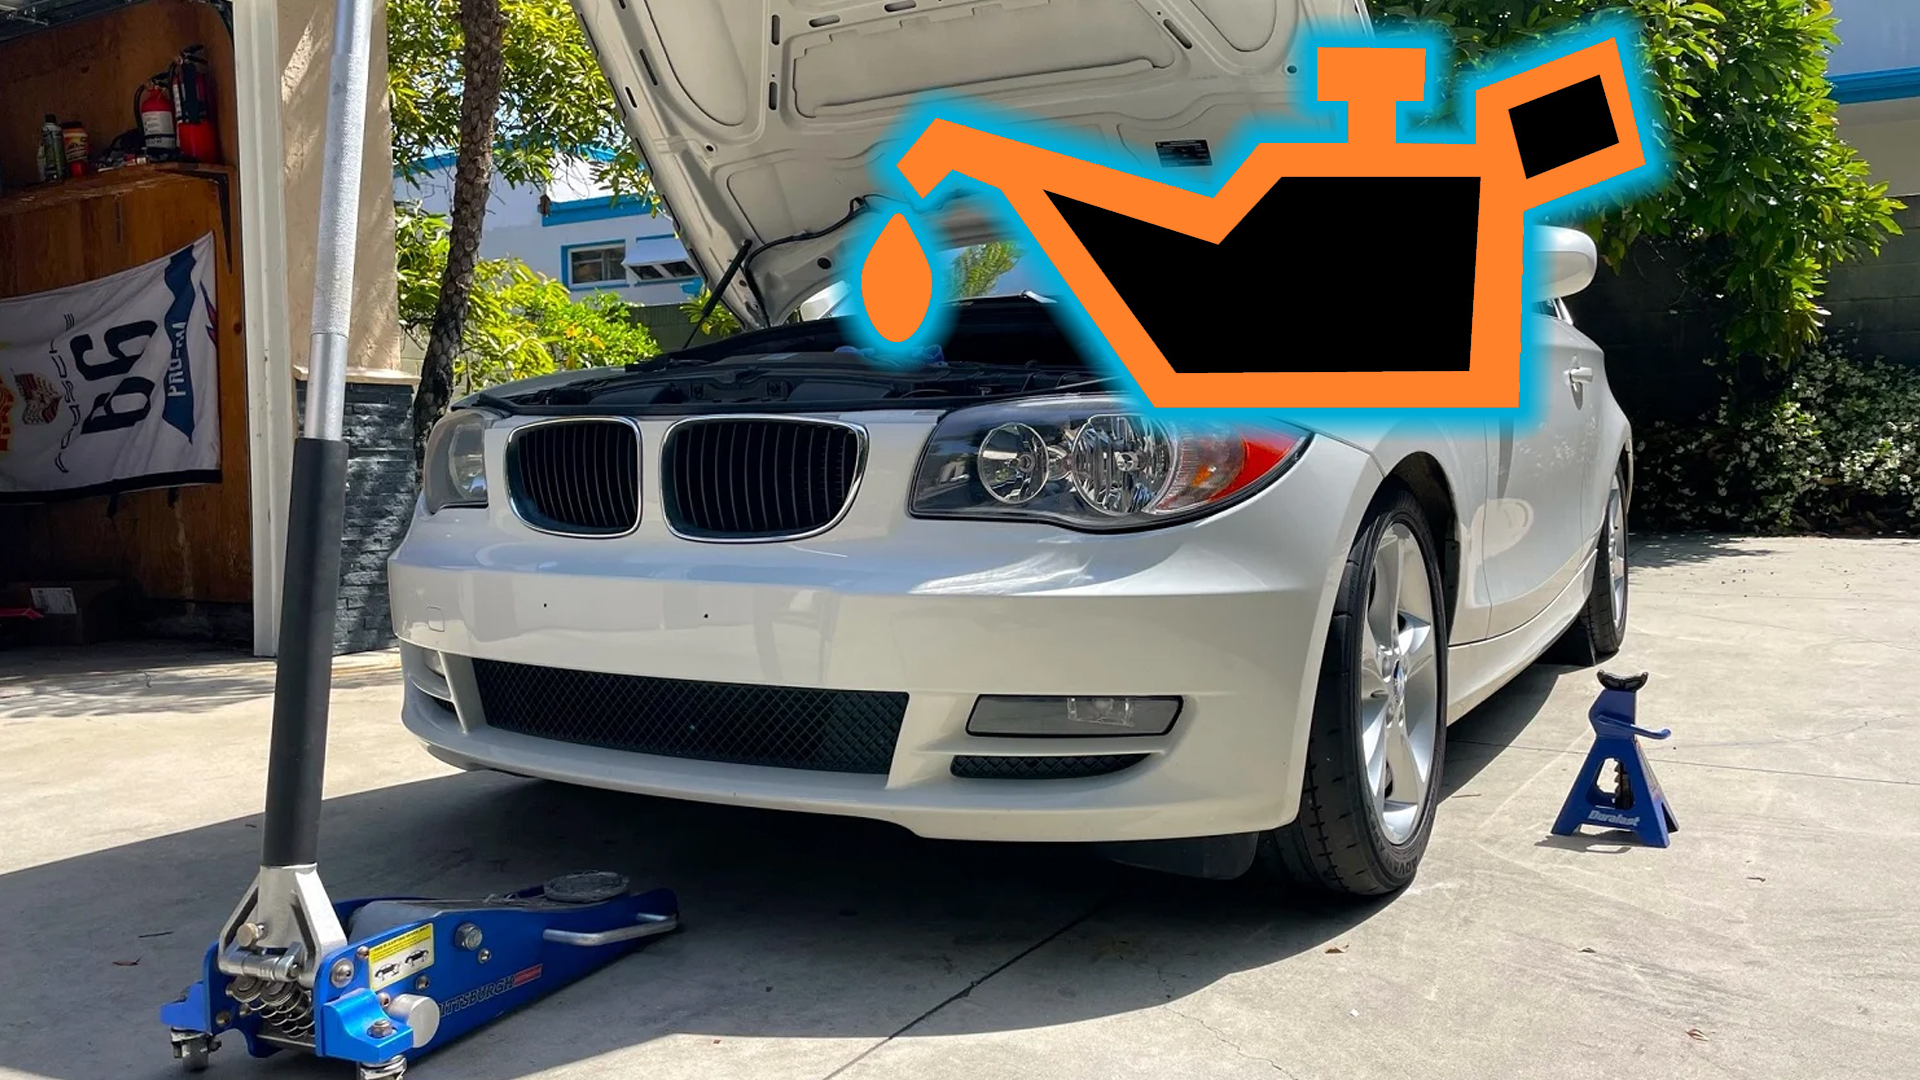
Changing your car’s oil is a quintessential part of automotive ownership. This vital fluid lubricates critical parts inside your vehicle’s engine and ensures that the combustion process keeps going, and going, and going for hundreds of thousands of miles. Reliably and efficiently, too.
Over time, after being subjected to extreme heat and pressures inside an engine, motor oil starts to break down. As it degrades, it is less effective at performing its job and also becomes contaminated with various wearing materials, namely metal. Because of this, it must be changed at regular intervals to avoid damaging or potentially destroying your engine.
Fortunately, changing your own oil is an easy project that should take about 30 minutes to complete. Unless you have a lifted truck, you’ll need to start by getting access to the underside of the engine by jacking the car up and placing it on jackstands, driving up on ramps and placing chocks behind the rear wheels, or using a full-scale hydraulic lift. Never work under a car that’s solely supported by a floor jack. Engine oil can irritate your skin and harm your eyes, so grab some latex gloves and some safety glasses too. You never know what’s going to come off the bottom of an engine.
For the rest of the supplies, you’ll need enough of whatever motor oil your car’s manufacturer recommends (check your manual, the internet, or even your oil cap under the hood), a drain pan to collect the used oil, a new oil filter (additional gaskets may be required if they aren’t included), an oil filter wrench, and a wrench that fits your engine’s drain plug. All of the above can be easily found at your local auto parts store or online.


How To Change Your Oil, Step by Step
The first thing to know is you should never do an oil change immediately after you’ve driven the car. The oil will still be hot, and you could burn yourself. Park your car in a shaded area away from any traffic from cars or people, and allow it to cool down before you begin.
1. Safely position the vehicle and position the drain pan
First, safely jack the vehicle up and put it on jack stands or drive it up on ramps. Either way, ensure it’s safely sitting on a flat surface. Then, chock the rear wheels to help prevent the car from rolling back or forth. Chocking them at the rear is important, but adding chocks to the front of them increases safety even more.
It’s a good idea to position the optional big tarp underneath the pan, in case any oil spills out beyond the reaches of the pan, so it’s easy to clean up and won’t stain your driveway. Or your landlord’s driveway, which could be an awkward conversation indeed. Also, if you’re not quick enough when pulling the drain plug away, oil could flow down your arm and onto the ground.
Position the drain pan directly underneath the drain plug of the car, as well as underneath the filter. If it’s a windy day, factor in that wind might make the oil stray off course, and adjust the drain pan as necessary. You might have to scoot the oil pan over to accommodate the filter after draining the oil, or vice versa, depending on how big the drain pan is.
2. Remove the oil filter from the car
The oil filter could be the screw-in type underneath the engine near the drain pan, a screw-in type on the top of the engine, or a cartridge that’s accessible from the top of the engine. If it’s the former, place the drain pan underneath it, as oil will drain out when it’s removed from underneath the car. Empty any remaining oil in the filter, as well.

This is where the oil filter removal tool comes in handy, as it’s common for filters to be on there really tight. In some cases, the vehicle’s manufacturer might have a bespoke tool for opening up the bit on the top of the engine that houses the cartridge, so make sure you do your research if this is the case.
3. Let the warm oil flow
Loosen and remove the drain plug and let all of the oil drain out into the pan. You’ll know it’s all out when the oil is down to just a couple of drops. When you remove the plug, there are a few options for what you do with it. You could try to remove it while it’s still on the wrench, you could remove it with your hand and risk dripping oil all over your arm and the ground, or you could let the plug drop into the oil, but then you have to fish it out later. This is where having thick chemical-resistant gloves comes in handy.

4. Reinstall the drain plug
This is immensely important: Refit the drain plug. On some older cars a copper gasket is required to go between the plug and the oil pan. If this is what your vehicle has, make sure you have a new one ready to install with it. Use a good torque wrench to torque the bolt to the proper spec, which can be found in your owner’s manual.
5. Install the new oil filter
Take a dab of the fresh new oil and rub it on the rubber gasket on the rim of the oil filter if it has one, then twist it in place. Typically, filters should be just a tad tighter than finger-tight, but do whatever your owner’s manual says. If there’s an oil filter cartridge housing on the top of the engine, re-torque the bolt to the required spec.

6. Feed the engine some fresh new oil
Remove the oil filler cap, position your funnel, and pour in the oil. Double, triple, and quadruple check periodically how much oil is going in via the dipstick. Be sure to also pay attention to how much oil has left the container. If your oil capacity is six quarts and you’ve poured in four quarts, take extra care to slowly pour in the remaining quarts.
Some new cars don’t have dipsticks, in which case check and see what the proper fill procedure is in your vehicle’s factory or approved service manual. Heads-up: it can be a pain with some new cars.

7. Double- and triple-check the oil level
Make sure your oil level is not too low and not too high. Make sure that it is at least above the minimum level on the dipstick. Then, double-check and make sure that the oil drain plug and filter are properly tight, and that the oil fill cap is screwed back on.
8. Safely and carefully lower the vehicle back onto the ground
Now’s the time to safely get the vehicle back down onto the ground. It’s a good idea to have a friend, partner, parent, or neighbor spot you if you’re pulling the vehicle down off of some ramps. If you’re lowering the vehicle down off of a jack, ensure the wheels are attached and also verbally communicate what you’re doing, such as, “Is everything clear, and can I now safely lower the vehicle?” It might sound weird, but it’s a good way to make extra certain of your actions.

9. Turn it on
Once everything looks good, turn the car on. You want to make sure there are no weird noises or leaks coming from anywhere on the engine or through any potential oil cooler lines. Then, turn it off, let it cool, re-check the oil level, and add as much as necessary. Depending on the engine’s design, pan capacity, any oil cooler lines, etc., you might have to add more oil to get the level past the minimum level on the dipstick or on the diagnostic screen if the car doesn’t have a dipstick.
What Do I Do With the Old Oil?
Properly dispose of it, as well as the used filter. Most auto parts stores or oil change shops will accept used oil for recycling, and most municipalities also have a hazardous chemical drop-off facility that will take it off your hands. Whatever you do, don’t pour it down the drain or dump it into the ground. Fortunately, we’ve got a full guide on that very topic for you right here.