How To Replace Brake Pads
This DIY job is a little more complicated than changing a tire, but it’s totally doable at home with the proper parts and tools.

We may earn revenue from the products available on this page and participate in affiliate programs. Learn more ›
Like an oil change, replacing your car’s brake pads is a do-it-yourselfer’s rite of passage—the next scout badge, the hard-earned promotion, the leveling up of a wrencher. But not everyone has an Uncle Jonathon or a weird neighbor Peter to help them get to that next step and explain how to replace brake pads... until now.
Changing your car's brake pads is an often overlooked piece of car maintenance. They’re sort of the “Set it and forget it!” of automotive systems. They’re not really a part you regularly check. Yet, your brakes are perhaps the most important part of your car as they ensure your continued survival. Maintaining them, then, should be a top priority and one of the easiest ways to do that is by replacing your brake pads when they start to fade.
Everything You'll Need to Replace Brake Pads
In terms of skill required, this job falls somewhere between easy and intermediate. You should set aside up to two to four hours, but the actual time it'll take will vary from vehicle to vehicle.
Safety First
Tools and Parts
Here’s How To Replace Brake Pads, Step by Step
Step 1: Loosen Lug Nuts
Grab a tire iron or an impact wrench and loosen the lug nuts on the front two wheels.
Step 2: Lift the Car
For clearance, raise the vehicle with a floor jack or a full hydraulic lift—whatever you have handy.
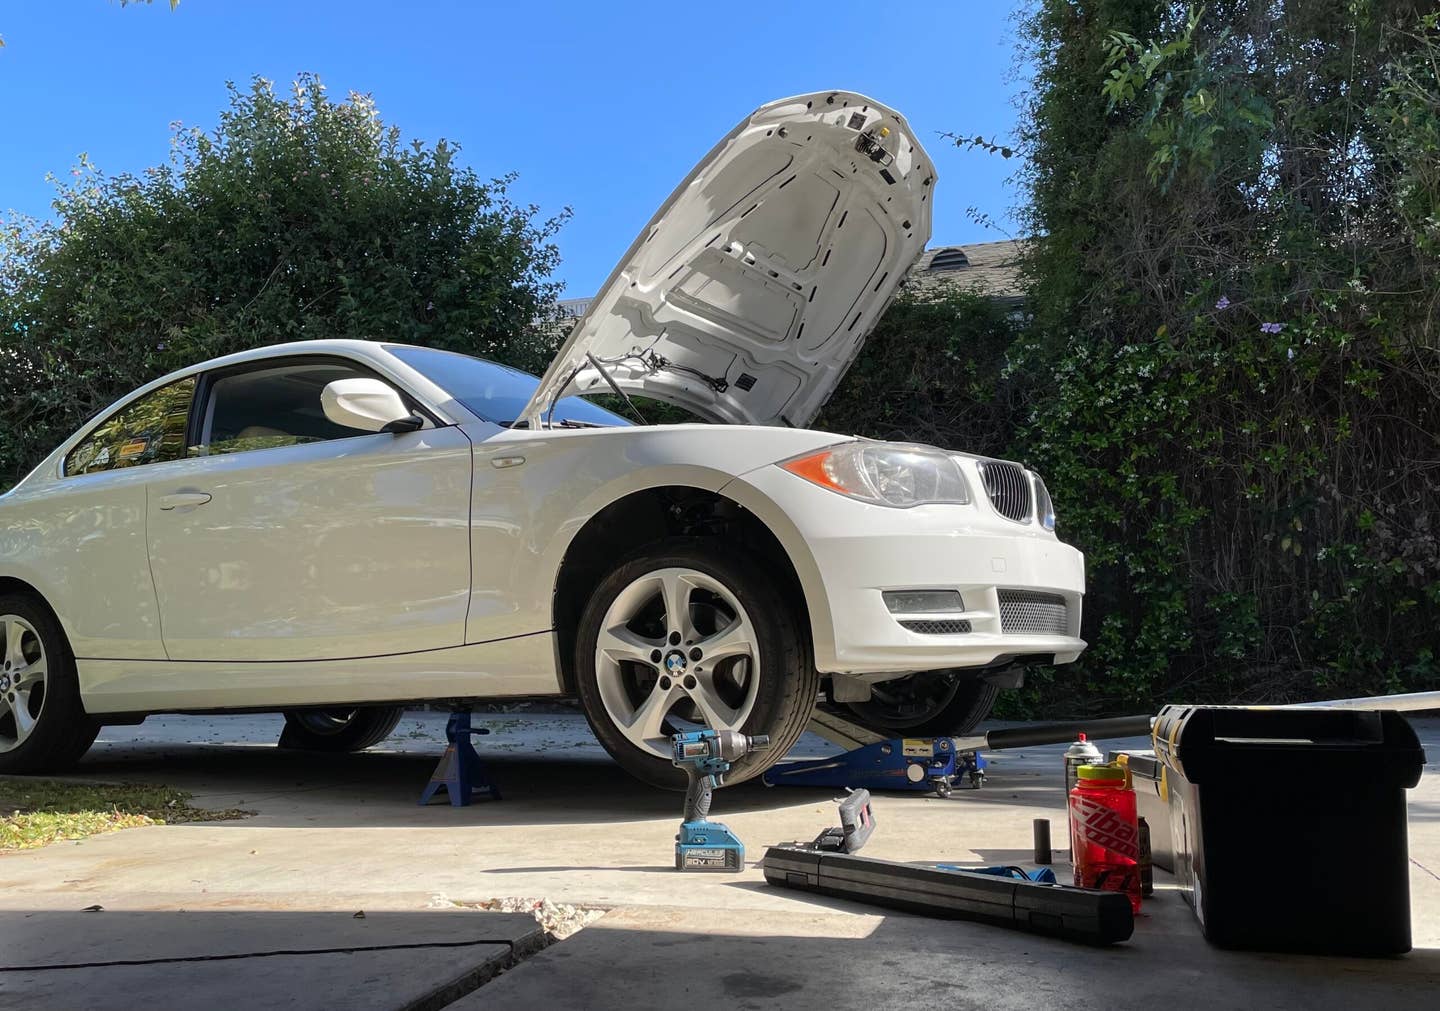
Step 3: Place Jack Stands
Be mindful of where you set the jack stands, preferably on the frame. Don't set place them on the rocker panel or any of the bodywork that would crumple from the weight of the car.
Step 4: Remove Wheel
Store it out of the way so you have clear access to the hub.
Step 5: Locate and Remove Mounting Bolts
They’ll be at the rear of the caliper. Once you've taken them off, store them in a baggy so you don't lose any.
Step 6: Remove Anti-Rattle Clip
You can pry it with a flathead screwdriver but it may fly off, so be careful. This is where those safety glasses may come in handy.
Step 7: Remove Caliper
You can now slide the caliper off the rotor. Rest the caliper on the top rotor (or hang it with a hook) so it’s not hanging by the weight of the brake line.
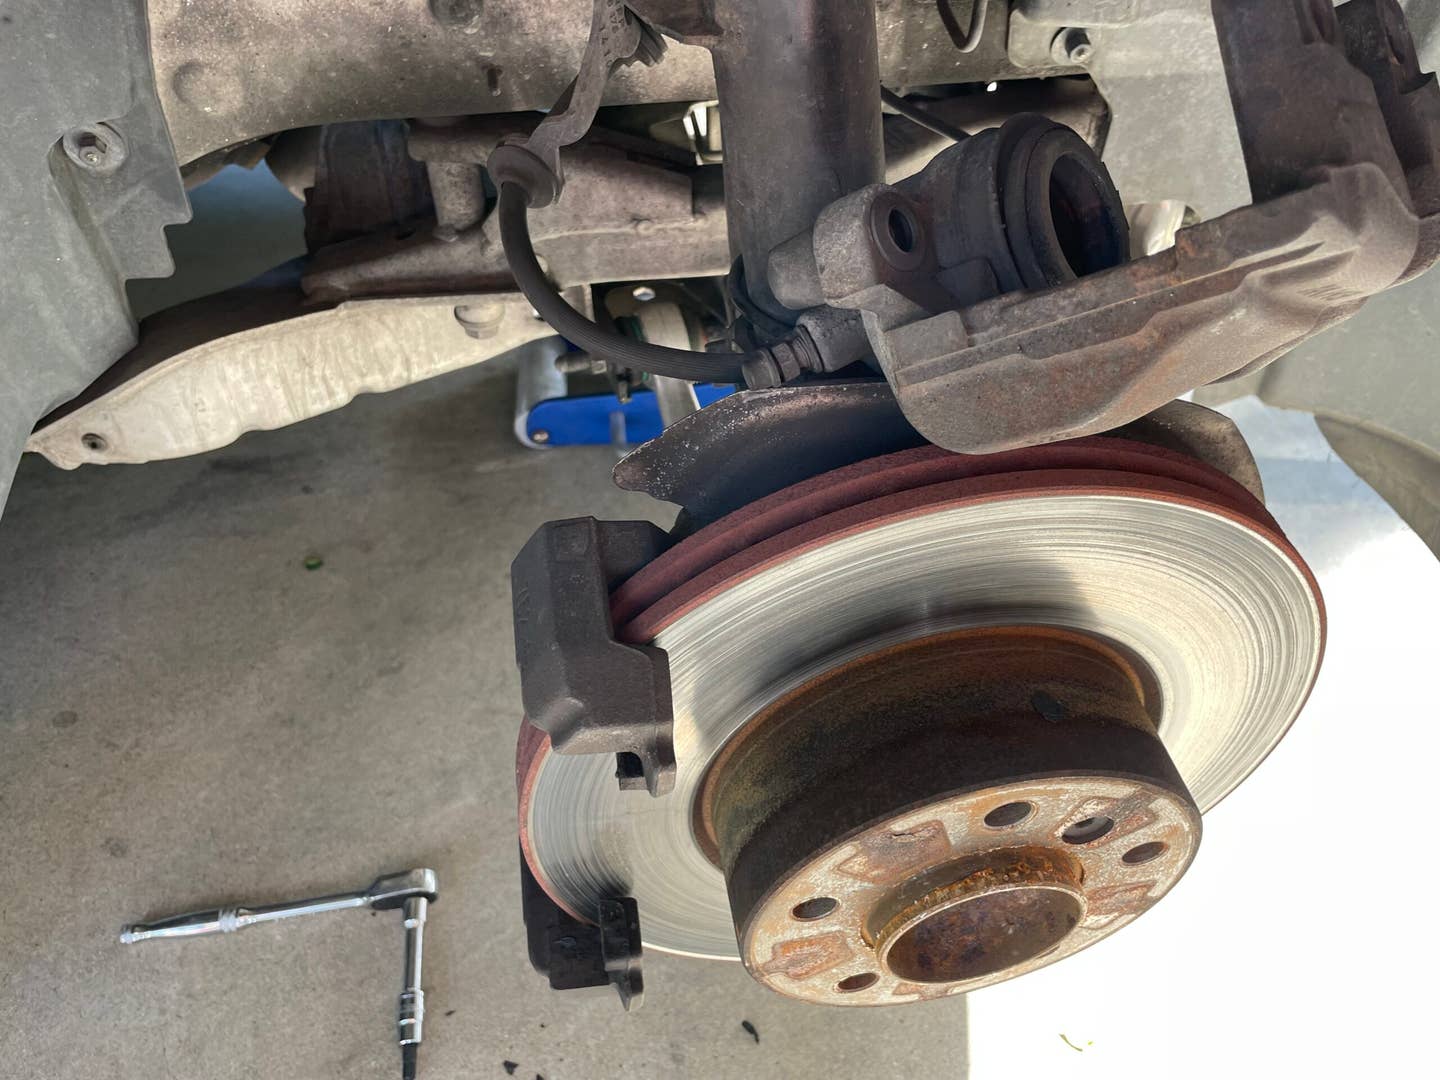
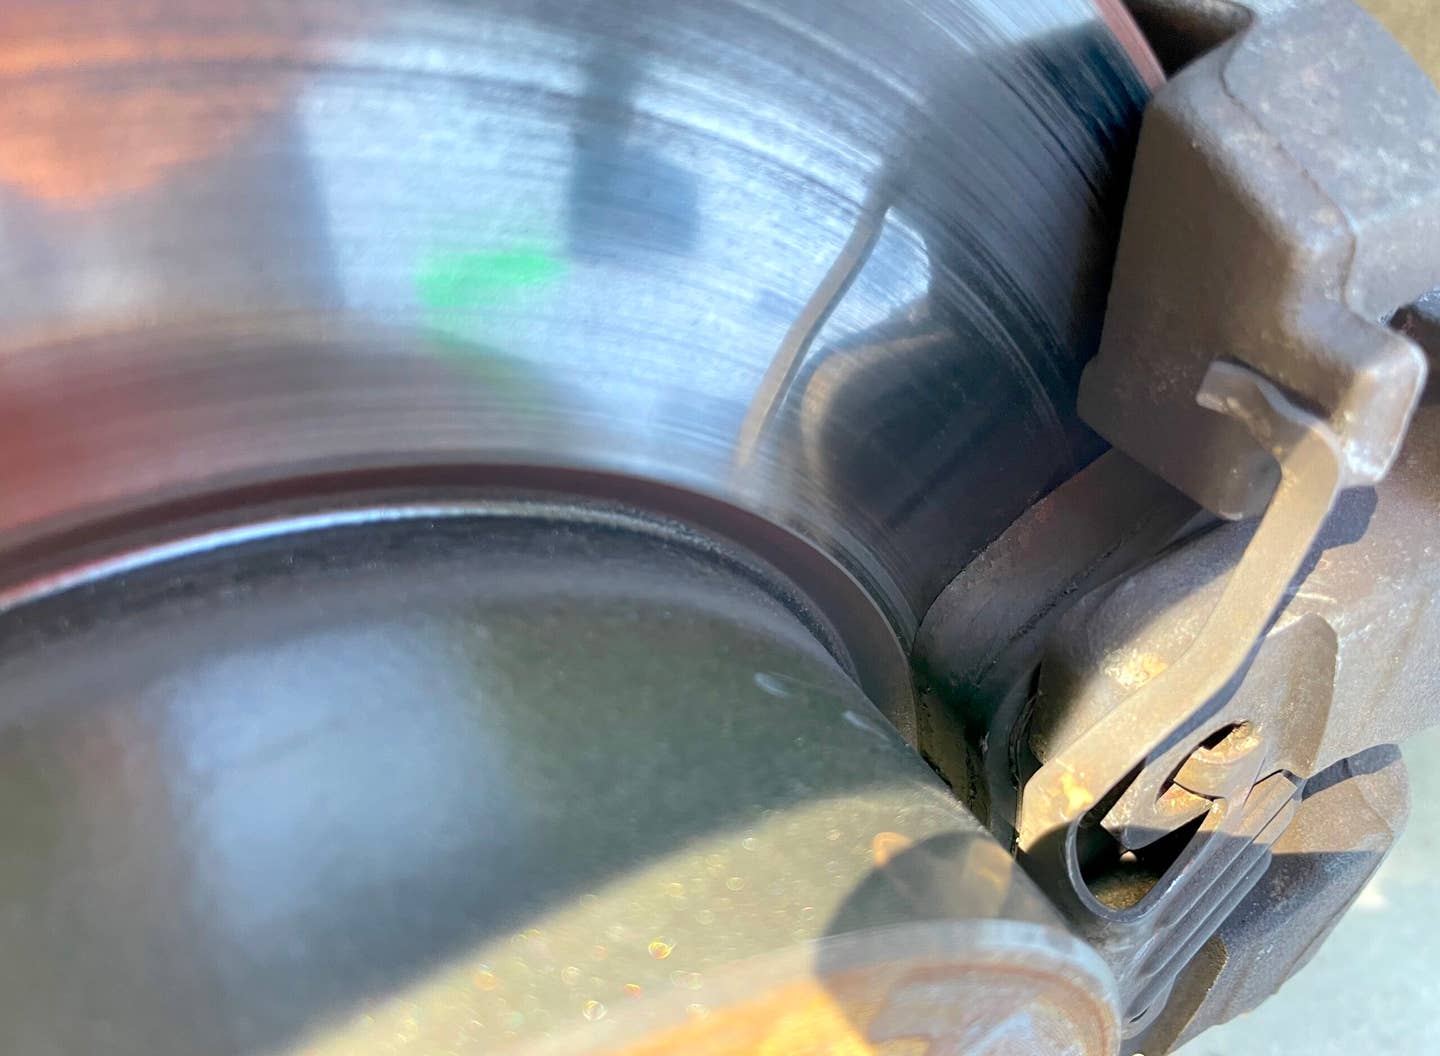
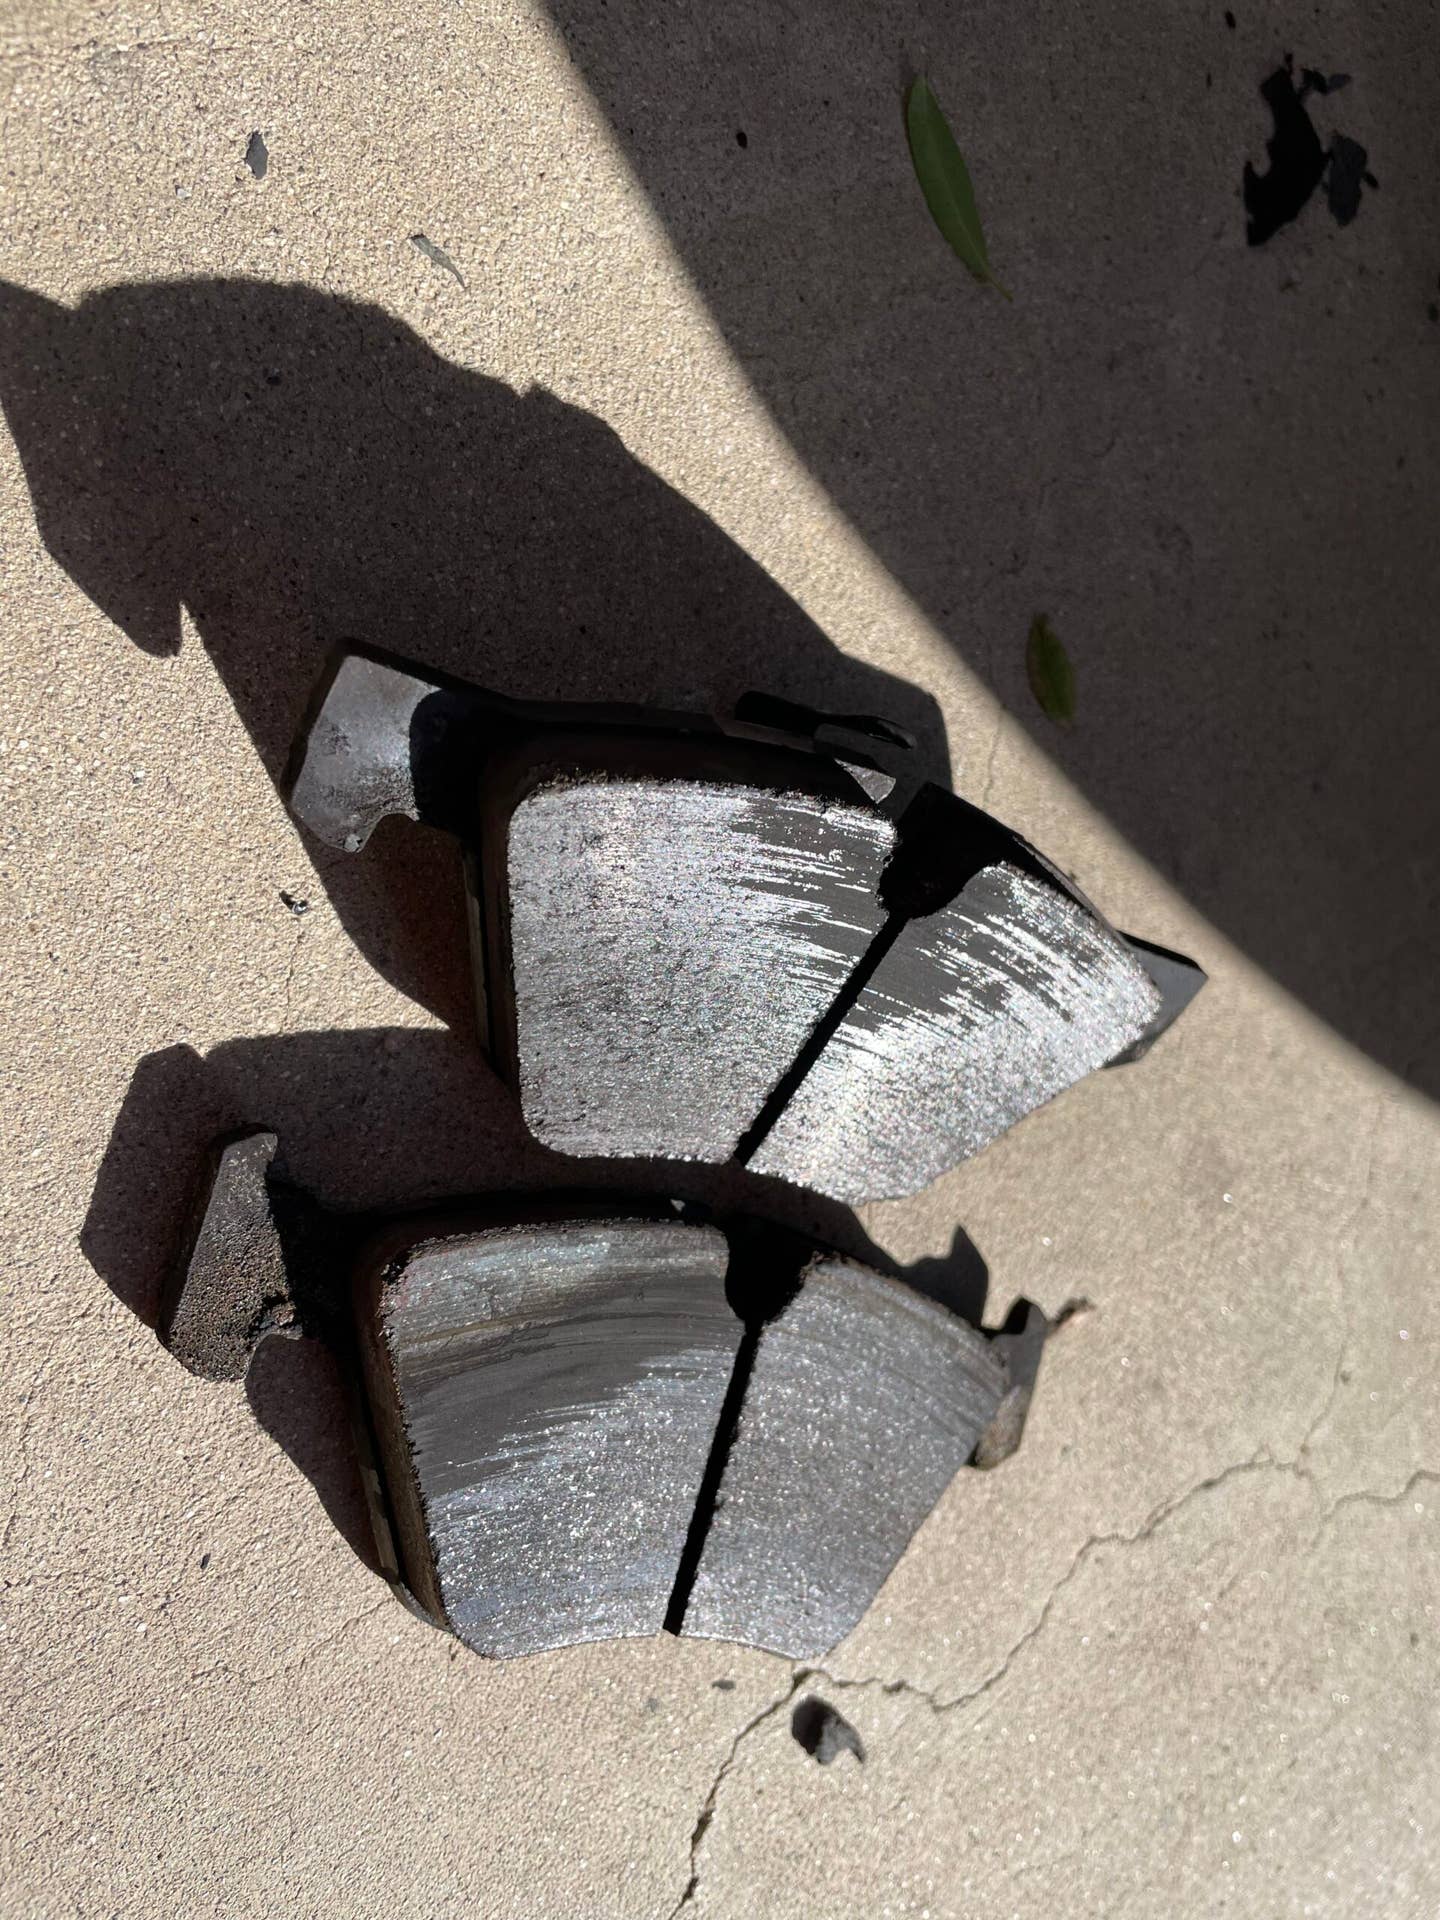
Step 8: Remove Pads
With the caliper free, take off the brake pads. Inspect for uneven wear to ensure everything is properly lined up and there's no debris caught inside.
Step 9: Place Pliers on Piston
The brake caliper piston, the piece that pushes the brake pad into the rotor, may be extended. Using face clamp pliers, put one side of the plier’s grip on the piston and the other side on the caliper’s steel backing.
Step 10: Press Piston Into the Caliper Until It Sits Flush
Be sure not to damage the piston’s rubber.
Step 11: Lubricate Inboard Pad
Take the inboard brake pad, the one with a retaining clip on its backing, and place a small amount of brake pad lubricant on the back of it.
Step 12: Lock Piston
Press into the piston’s opening until it locks in place.
Step 13: Lubricate Outboard Pad
Take the outboard brake pad and place a small amount of brake pad lubricant on the back of it.
Step 14: Rest Brake Pad
Rest the outboard brake pad on the caliper mounting bracket that’s still attached to the rotor.
Step 15: Insert Outboard Brake Pad
Slide the caliper with the outboard brake pad attached back onto the mounting bracket with the outboard brake caliper.
Step 16: Lubricate Mounting Bolts
Grease the caliper’s bolts, but not the threads, and reinstall them.
Step 17: Reattach Anti-Rattle Clip
Step 18: Repeat
Complete this process at every corner that needs new brake pads.
Step 19: Reattach Wheels
Hand-tighten the lug nuts for now.
Step 20: Remove Jack Stands
Raise the jack enough to remove the stands. Be extremely careful not to bump the jack while under the car.
Step 21: Lower Car
If you're using a floor jack, twist the handle slowly to the left.
Step 22: Torque Lug Nuts
Torque the lug nuts to their manufacturer’s designated specification.
Step 23: Locate and Remove Brake Fluid Cap
Pop the car’s hood and remove the brake fluid cap, which will likely have the letters "DOT" in big letters.
Step 24: Pump Brakes
Press the pedal repeatedly to make sure braking pressure has returned and the air is out of the system. Then put the brake fluid cap back on and close the hood.
Step 25: You're Done
If there's no air left in the system, you’re done!