We may earn revenue from the products available on this page and participate in affiliate programs. Learn more ›
Clogged injectors can cause a myriad of issues for your engine—it needs a consistent flow of fuel to run properly. Sometimes, simply pouring a can of injector cleaner into your gas tank before a fill-up can sort this out. But if injectors are really dirty, there’s another DIY cleaning process that’s a little more complicated.
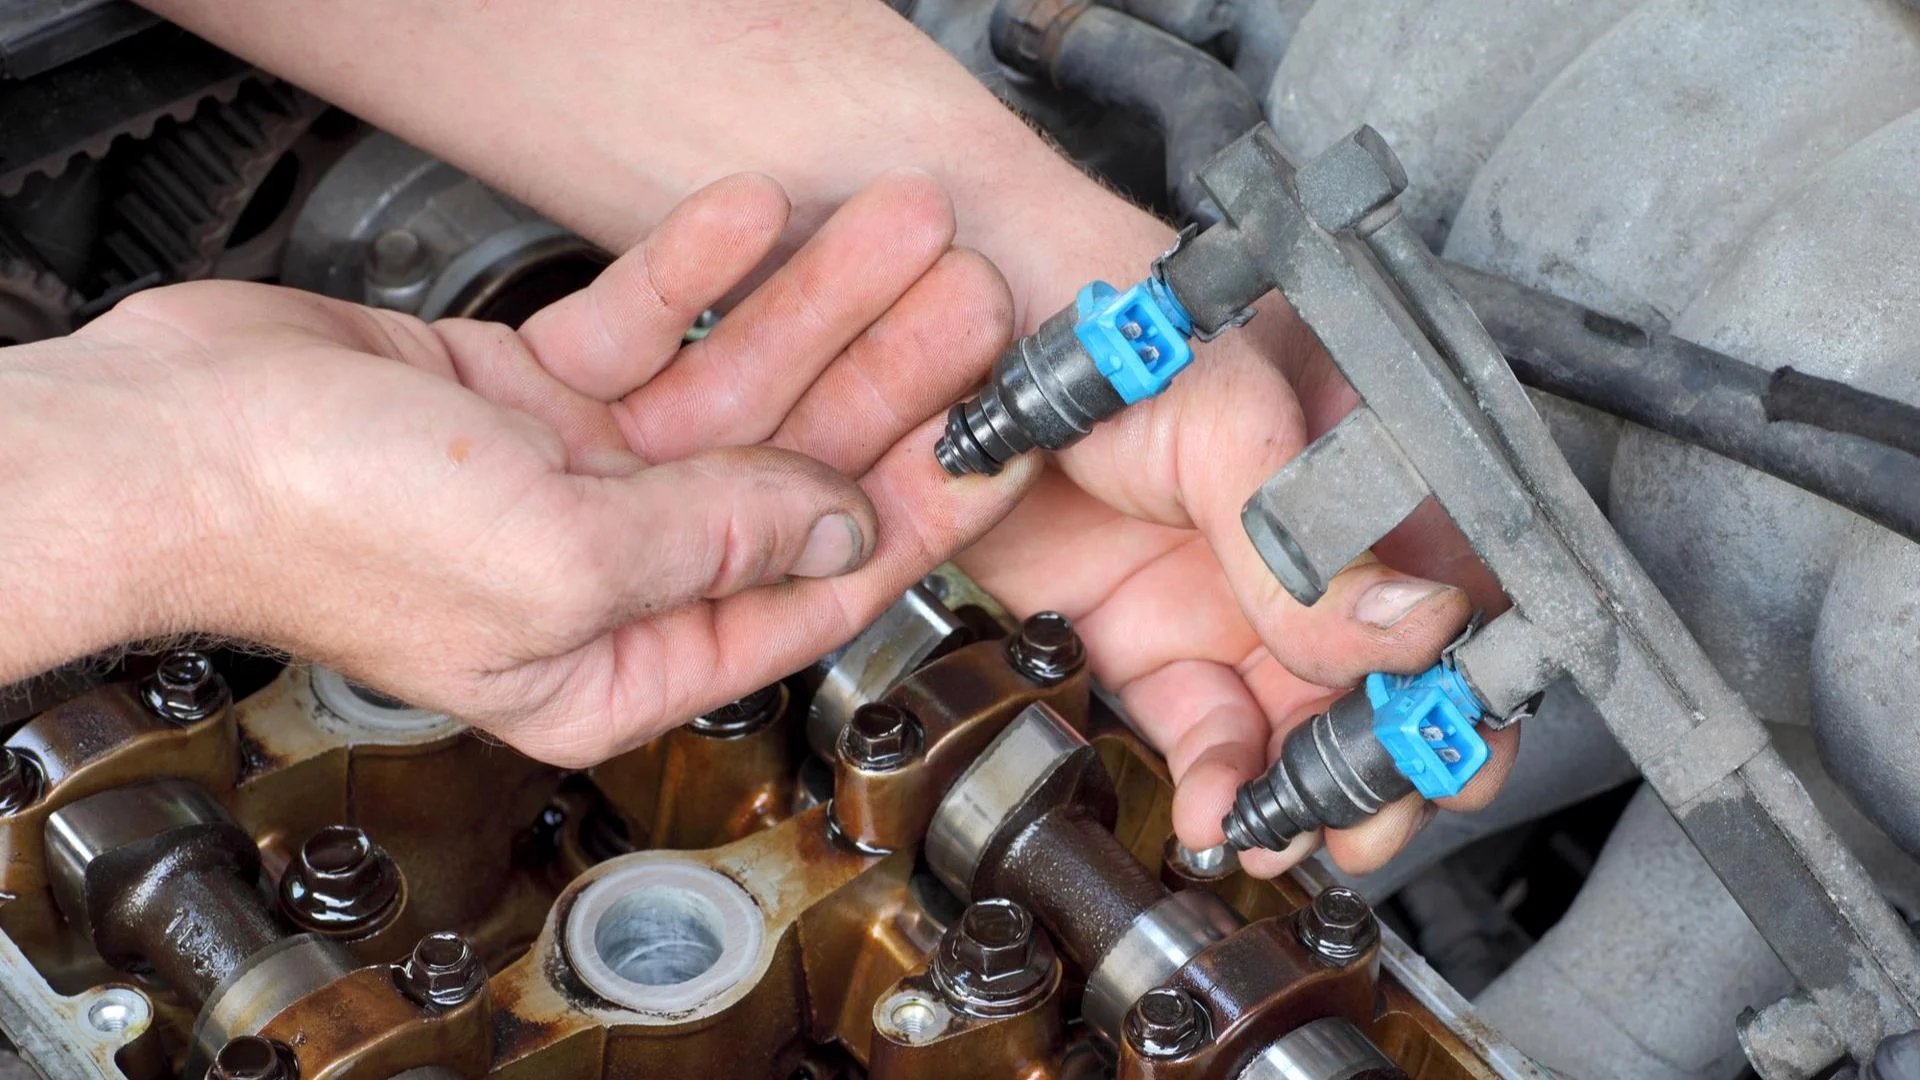
What are fuel injectors? As their name implies, they inject fuel into your engine’s combustion chambers as a fine mist. Over time, carbon buildup and other gunk can clog them, reducing their ability to adequately provide fuel to your engine. While modern cars will throw a check engine light if the fuel-to-air ratio is off, some older cars won’t, so look out for the aforementioned signs of backed-up injectors.

There are two methods for cleaning your fuel injectors. The first is just using an over-the-counter fuel injector cleaner to try and flush your injectors out. The cleaners have detergents that can break down gunk and they’re applied to the fuel tank, so they can run through the injectors along with the fuel. However, that method is better for preventative maintenance and probably won’t unclog really sticky injectors.
The other method is more invasive and requires some actual wrenching. Depending on the engine and your skill level, it can take 30-60 minutes or much longer. It requires hooking up a pressurized fuel cleaner to the engine’s fuel rail and running it through at the recommended psi until the injectors are clean.
For this job, you’ll need a fuel injector cleaning kit, fuel injector cleaner, a wrench/socket set, an air compressor, and, since this requires using chemicals under pressure, be sure to wear gloves and safety glasses.
But First: Check Filters Before Messing With Injectors
Common symptoms of clogged injectors (running rough, down on power) can also be caused by a dirty air and/or fuel filter. Before you start disconnecting things and pulling your injectors, it’d be worth looking at both those filters because they’re typically much easier to service and do indeed get gummed up in the course of a car’s normal life.
Cleaning Your Injectors With Fuel Additives
Step 1: Pour Injector Cleaner Into Fuel Tank
Start off with a nearly empty fuel tank, or as directed by the manufacturer of the fuel cleaner. Then pour the specified amount of cleaner into the fuel tank. If you’re not sure what to buy, ask somebody at a parts store—this will be a common item. Our writers have reported good luck with Redline SI-1 and Seafoam. Here are some other products you could check out too.
Step 2: Fill Tank With Fuel
Once the injector cleaner is in the fuel tank, go ahead and fill it back up with fuel. Run a Top Tier gasoline brand when you can—it’s held to a detergent standard.
Step 3: Start it Up
Start the engine up and let the cleaner work its magic.
Step 4: Rinse, Repeat
Repeat this process every oil change to ensure your injectors don’t get gunky again. And that’s it, you did it!
Using a Fuel Injector Cleaning Kit
Step 1: Fill Up the Canister
The fuel injection kit will come with a canister. Unscrew the top of the canister and fill it with the recommended cleaner. Screw the lid back on.
Step 2: Hang the Canister From the Hood
Most cleaning kits come with some sort of hook or chain, so you can hang it from the underside of the hood. Open the hood and hang the canister somewhere above the engine that’s convenient for you.
Step 3: Pull the Fuel Pump Relay
You don’t want the fuel pump running during this procedure, so find the fuel pump relay and pull it.
Step 4: Attach Canister to Fuel Rail Test Port
Find the fuel rail test port (your owner’s manual should tell you where it is) and connect the hose from the fuel injector kit to it.
Step 5: Attach Air Compressor
Attach an air compressor hose to the canister’s air port.
Step 6: Adjust the Pressure
Adjust the pressure on the canister’s gauge as directed by its instructions. Typically, you want just a few pounds lower than the car’s normal fuel rail pressure.
Step 7: Start the Car and Wait
Start the car and let it run until all of the solution in the canister has flown through the fuel rail. This process can take up to 10 minutes.
Step 8: Stop the Car
Once the canister is empty, turn the car off and disconnect the air hose from the canister. Then disconnect the canister hose from the fuel rail.
Step 9: Reconnect the Fuel Pump
Now that the canister is empty, you’ll need the fuel pump to start the car once again, so reconnect its relay in the fuse box.
Step 10: Start the Car
Once the fuel pump relay is back in, start the car and that’s it, you’re done. Way to go, you did it!
Video
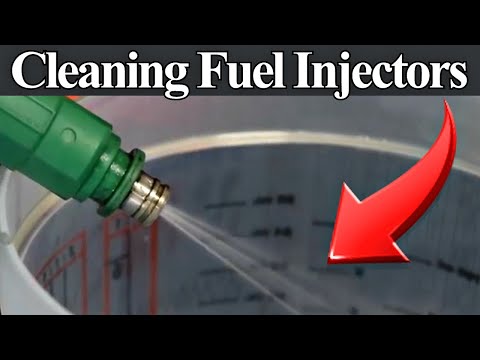
How To Clean Your Fuel Injectors – No Expensive Tools Needed