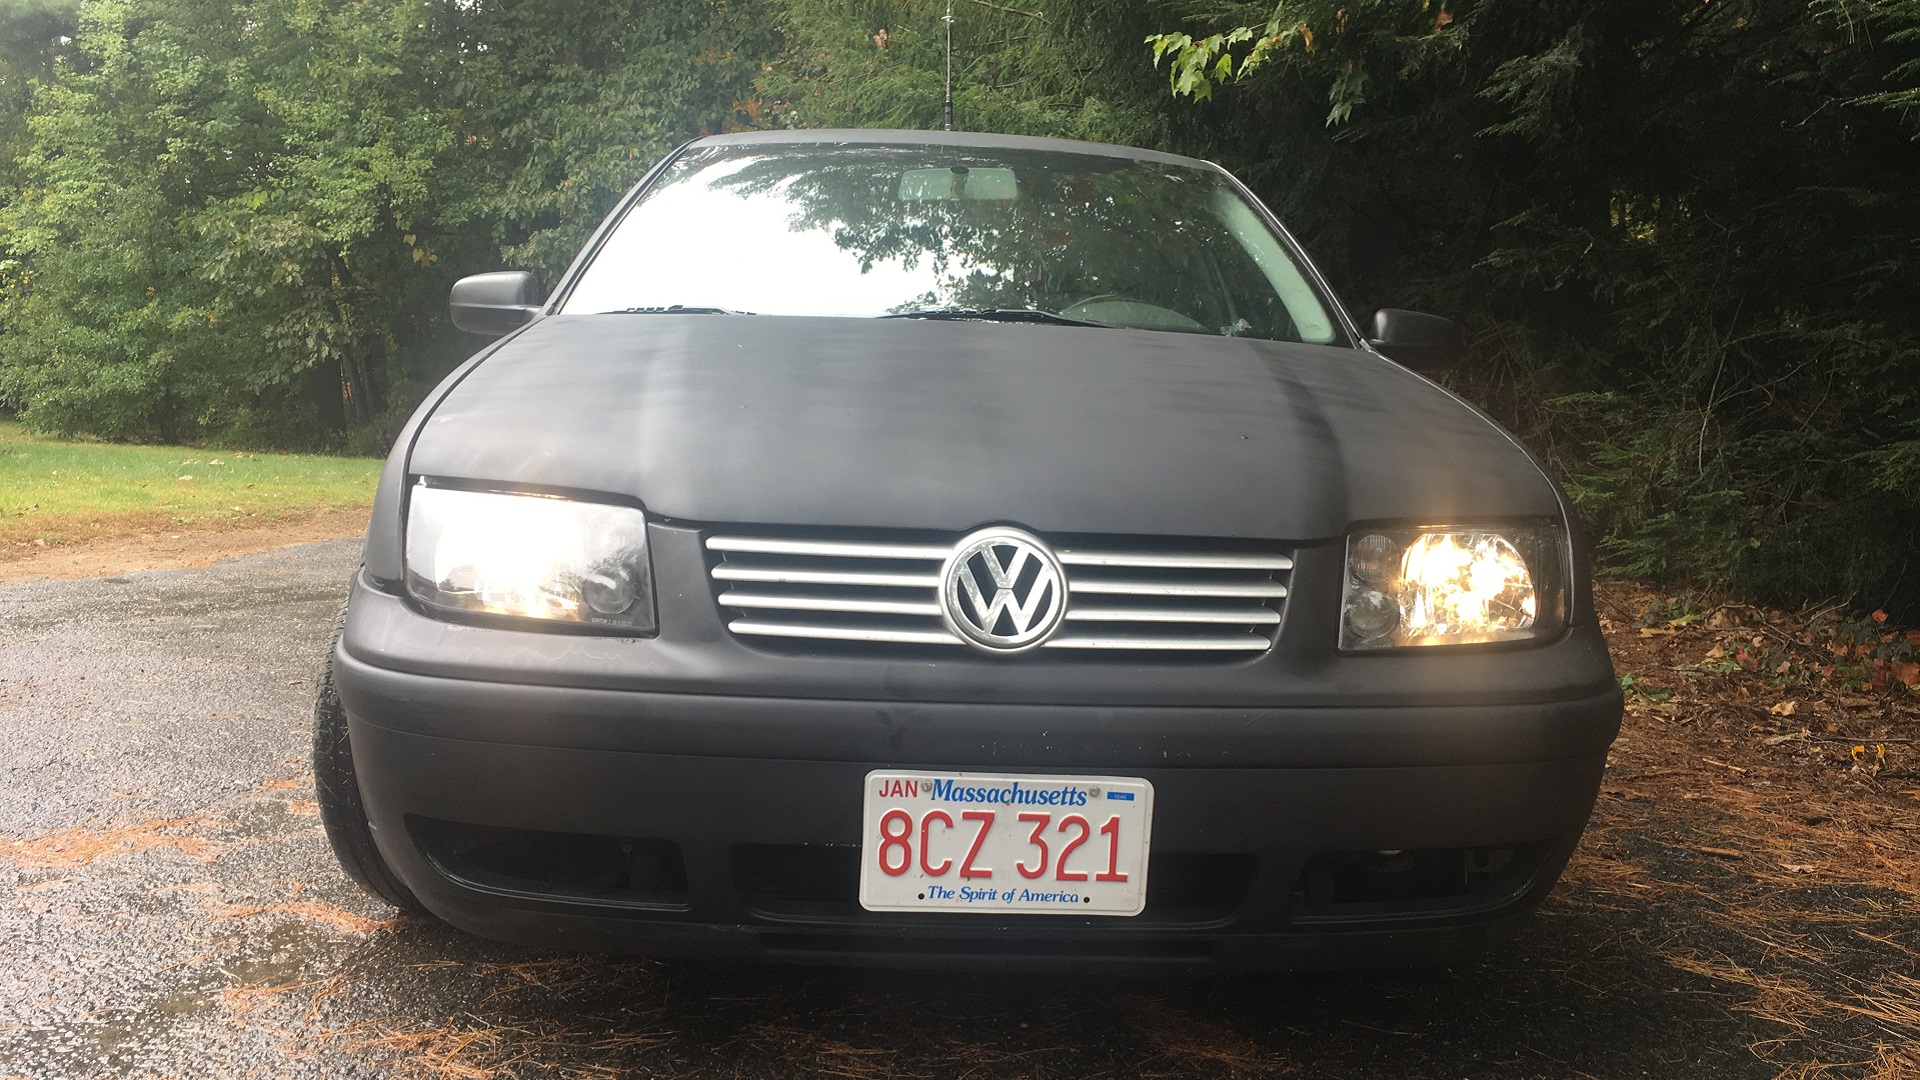

So far most of our attention has been directed to the back of our Volkswagen Jetta—specifically, the process of turning it into a Ute with the Smyth Performance kit. Now that this is done aside from some minor bodywork, we can do a little bit of work on the front end.
The car came with a dented right front fender. The right headlight was slightly damaged as well, with a broken adjuster that pointed down about two feet in front of the car. Aside from that, the standard headlights for the American Jetta are simply terrible. It was time to replace both of these parts. Since the front bumper cover has to come off for either job, I decided to do both of them at the same time.

Numerous aftermarket headlight options exist thanks to the popularity of the VW Jetta. I went with one of the more affordable options, a set of Euro-spec headlights by DNA Motoring. Not only would these work better than the original lights, the black housing would look good, and they also included the integrated fog lights that American models didn’t get. To operate them I also ordered a Euro headlight switch. This also enables the parking lights to be operated separately from the headlights, like any other car on the road rather than the basic on/off switch that comes with the Jetta.
The switch arrived first and was the easiest car part I have ever installed. No tools are required. Simply push the dial in, twist it half a click clockwise, and the stock switch pulls right out. Unplug it, plug the new switch in, slide it into the dashboard, and you’re done. It’s so easy, and the switches are so cheap, every VW owner should have one.
They came without bulbs, so I needed to stock up on them—H4 for the high/low beam, 1156 turn signals, 194 city (parking) lights, and H3 fog lights. I plugged the new lights into the wiring harness. The headlights and turn signals worked, but the city lights and fog lights did not. Come to find out I need an additional wiring harness to enable the fog lights. That will be a future project, as well as wiring up the city lights to become the new front parking lights.

I did a great deal of searching on Car-Part.com to find a used replacement fender that didn’t have a big dent in it. Since I’m eventually planning to Plastidip the whole car, I didn’t have to be picky about the fender’s color, or even if it had a minor scratch or two. But all of my local options were still more expensive than a brand new replacement from ECS Tuning. For $54.95, including shipping, I soon had an unblemished match for my car. It was a simple matter of unbolting the old one and bolting the new one on. Though not a factory part, it fit perfectly. I just had to swap over the turn signal from the old fender and plug it in.
Unlike the photos on ECS Tuning’s web site, the fender came primed in a grey color, not black as I expected. This was not a problem, but would look ugly until I got around to the Plastidip phase of the bodywork, which may not happen before the weather in New England gets too cold. So I decided to finish what I had begun on the roof, and rattle can the remaining silver parts of the car with black primer.
I sprayed the new fender before installing it, as well as the front bumper while it was already off the car. Reassembly was the opposite of removal, just like the repair manuals always say. Then I got to work spraying the remaining portions of the doors, the driver’s front fender, and the hood. I chose to leave the grill silver, the only part that remains the factory color. I figured a silver grill might add some class, or something.


A rattle can paint job is never the greatest, but keep in mind that this is not the car’s final look. It’s simply to make the car all one color until the real color comes along, and since the Smyth Performance kit’s panels are already flat black, I simply carried the theme through to the rest of the car. Personally, I think the flat black body, along with the new headlights with black housings, looks pretty mean. Even better, I can actually see where I’m going at night, thanks to losing the original glow worm headlights.
Now that the exterior work is at a good point, it’s time to do some fiddling under the hood to make the Jetta Ute work a little better. That will be our next step.