The Build, Part IV: Mechanic’s Time Warp
Our Toyota FJ project is turning into a serious time sink.

It's been awhile since you've heard from The Build. There's a good reason for that. Remember when I griped about all the problems with our project Land Cruiser? After delving deeper into the dark, cavernous recesses of vehicular neglect and mechanical ineptitude, the list of things in need of fixing and/or replacement has grown. We’re basically spelunking at this point. Send help.
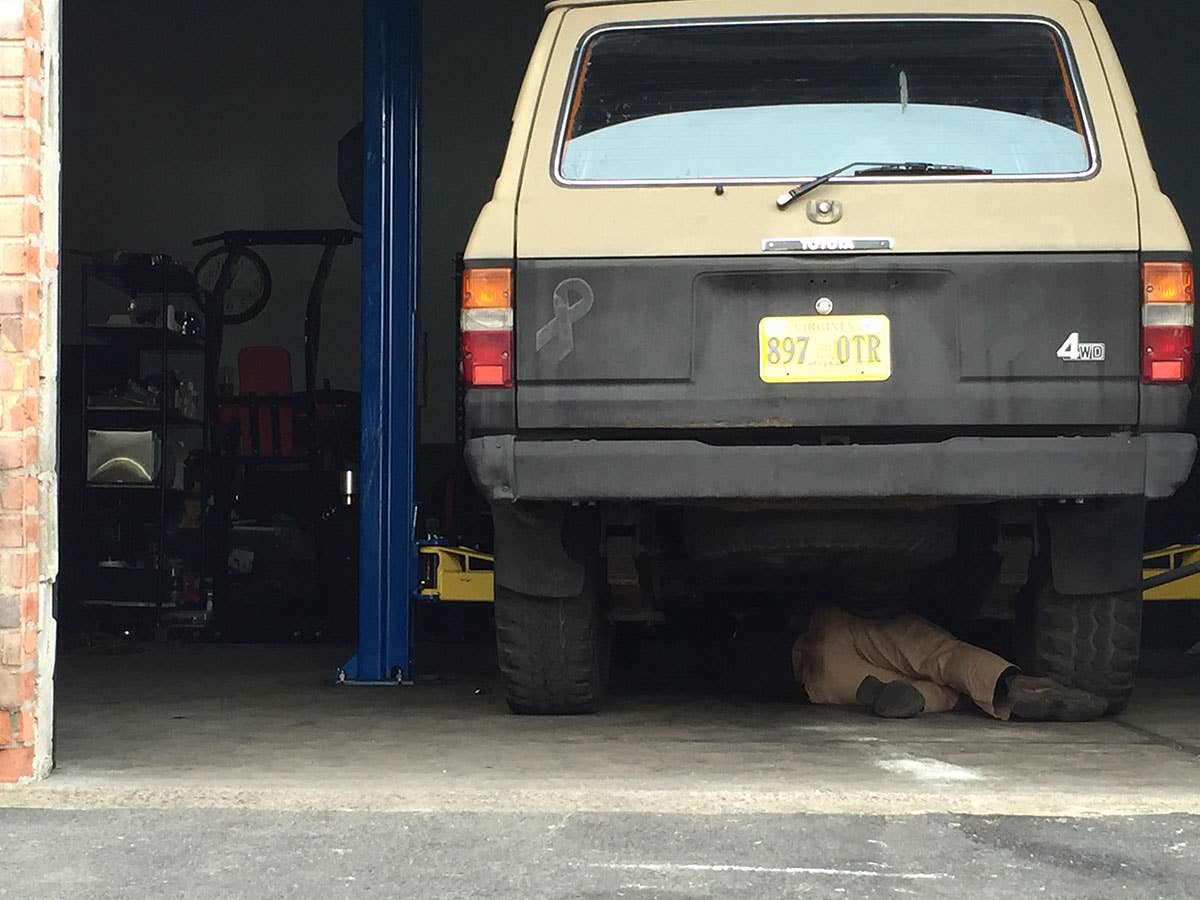
So, quick update: The engine, transmission and transfer case have been plucked. Ditto the fuel tank, spare tire, interior and most of the accessories under the hood.
That doesn't sound so bad. What are you whining about?
On these older, well-used vehicles, the path to restoration is littered with roadblocks. One afternoon, I couldn't figure out how to get the wiring harness out of a deep crevice in the intake manifold (that's on top of the engine, so it looked easy enough). Another, when I'd planned to remove the engine and transmission together by pulling the 4WD transfer case, I discovered that, in order to do so, the entire transfer case had to be disassembled, in situ. (More on that later.)
Didn't you expect to run into problems?
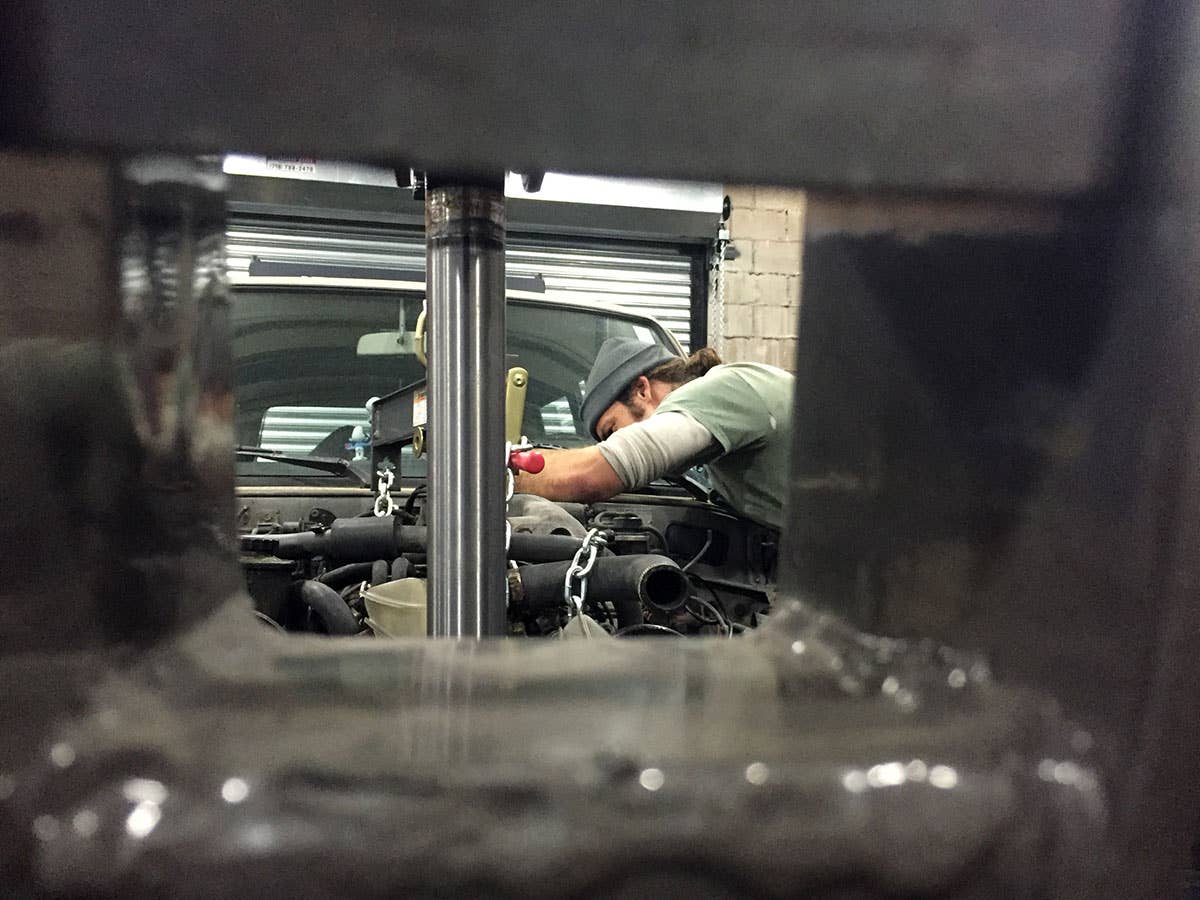
Yes. But you never really know what you're going up against until you're up against it. Beforehand, and after the fact, pulling an engine doesn't seem like such a big deal. But there are so many things attached to it that must be disconnected before it'll come out. When those things are rusty and/or covered with dirty oil, it complicates the process.
Explain.
Well, after realizing I’d have to pull the engine by itself, then yank the transmission and transfer case from the bottom, it also became clear that the transmission and transfer case needed to be supported in two places to facilitate safe removal. Together, they're unwieldy and difficult to balance; the weight distribution is odd. I ended up resting the transmission on a low-lift transmission jack and the transfer case on a floor jack, then elevating the truck clear of the whole mess with the lift. In the Stygian blackness of the truck's oily, flaky underside, I missed a wire or two. For a moment, the bulk of the transmission began to tilt sideways...
Oh, oh! What happened next?
I lowered the truck and disconnected the wires.
That was really anticlimactic.
Sorry. I did have a little hazardous flirtation with the gas tank, though.
Go on...
You're supposed to be able to remove it by draining the gas, yanking off a few bolts and lowering away. But, here, most of the bolts were rusted into a section of the frame. I ended up cutting out a big piece with a sawzall. The shop owner, Carlos, stood behind me, watching sparks fly from the saw's blade into the void between the gas tank and frame.
Nice.
Not for Carlos.
But no fires, right?
Nope. It just took way longer than anticipated to get the tank out. The important part is that the underside of the car was exposed to allow rust descaling. We'll talk about that later.
Bummer. I like fire. Hold on, though. What about the transfer case thing from earlier?
O.K., so we're removing the original Toyota and transmission to make way for a more potent Chevrolet V8 and auto tranny, both of which are easier to build up and find parts for. The transfer case is setup to work with the original Toyota axles, and can be attached to the Chevy guts with a special adapter. Or, at least, so I’ve heard.
From who? Seriously, who keeps telling you this stuff? That guy who sold you the truck? The one who made tapestries and called himself “The Grateful Dad”?
Funny you should mention that. When I dug into the transfer case to get it off the transmission, I found that some redneck (I won't mention any names, but the Grateful Dad said the transmission was replaced during his tenure as owner) had welded together some big, expensive parts inside of the transfer case that should definitely not have been welded together.
Sounds like a time sink.
As a wise man at the Denver airport rental shuttle stop once told me: "It always takes longer than it does."
You’re weird. So what else is taking so long?
Well, getting our junkyard Chevy van engine to the machine shop went smoothly enough. But sitting in traffic to and from Queens added plenty of time to the build.
Ugh. Queens, man.
Yep. Every time. Besides traffic, there’s reading. I’ve found that taking things apart—or putting them together—without research can lead to costly breakages and delays. The typical obstacle, however, is usually just some little unexpected head-scratcher of a problem. Also, cleanup. After several hours of work, oil, rust flakes and solvents are splattered everywhere. Tools are filthy and in disarray. It's always a good idea to tidy up to avoid losing tools, parts and fasteners, and to keep the garage from turning into one of those grimy nightmares.
Sweet. Thanks, mom.
Just sayin’. Point being: That's the nature of the beast, and why big projects like this take so long to complete. If the home mechanic can justify ditching family and friends for several hours at a time to wrench on a project vehicle, though, the payoff is just that much sweeter. We still have a ways to go on ours, but already a faint light is beginning to appear way down at the end of the tunnel.
That’s probably just fumes from those solvents you mentioned before.
Maybe. But, I have to say, seeing the glimmer feels pretty good.
I’m sure it does. But the truck still needs a lot before it can do neat stuff. You know, like move under it’s own power. What’s next?
The machine shop, rebuilding our Chevy V8, and trying to get the damn thing installed.
Then you’ll do neat stuff?
The neatest. Stay tuned..